What to do ’bout that Carport?
I actually started this new post a month ago when I finally had some spare time. Unfortunately that spare time didn’t come around again, until now! Tomorrow marks 4 months since we welcomed our baby girl into this world. It seriously shocks me that 4 months have already passed…and that I’ve left my blog pretty much at a standstill for that period of time. Yes, it’s hard to get anything (not to mention something enjoyable but somewhat unnecessary like blogging) done with a two and a half year old and a four month old demanding of you nearly every second of the day. However, since we haven’t stopped working on the house I don’t think I should stop blogging about it. I sort of feel that blogging is just as important to Pavlo and I as it is to any readers. It’s a way for us to look back and remember all the things we did to make our first house a home.
Before we got slammed by hurricane Irene followed by tropical storm Lee, we had a wave of absolutely beautiful weather. During that time we were able to complete the carport. I’m sure that a post about our carport isn’t exactly what you would have wanted as a return post but, boring or not, it’s still one of our projects.
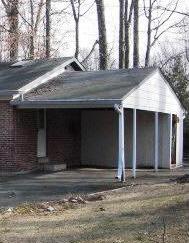
At purchase the carport was at least usable, unlike the majority of the house, it was just in need of a little TLC.

It’s a little difficult to tell from the above picture but the old carport had open rafters like this:

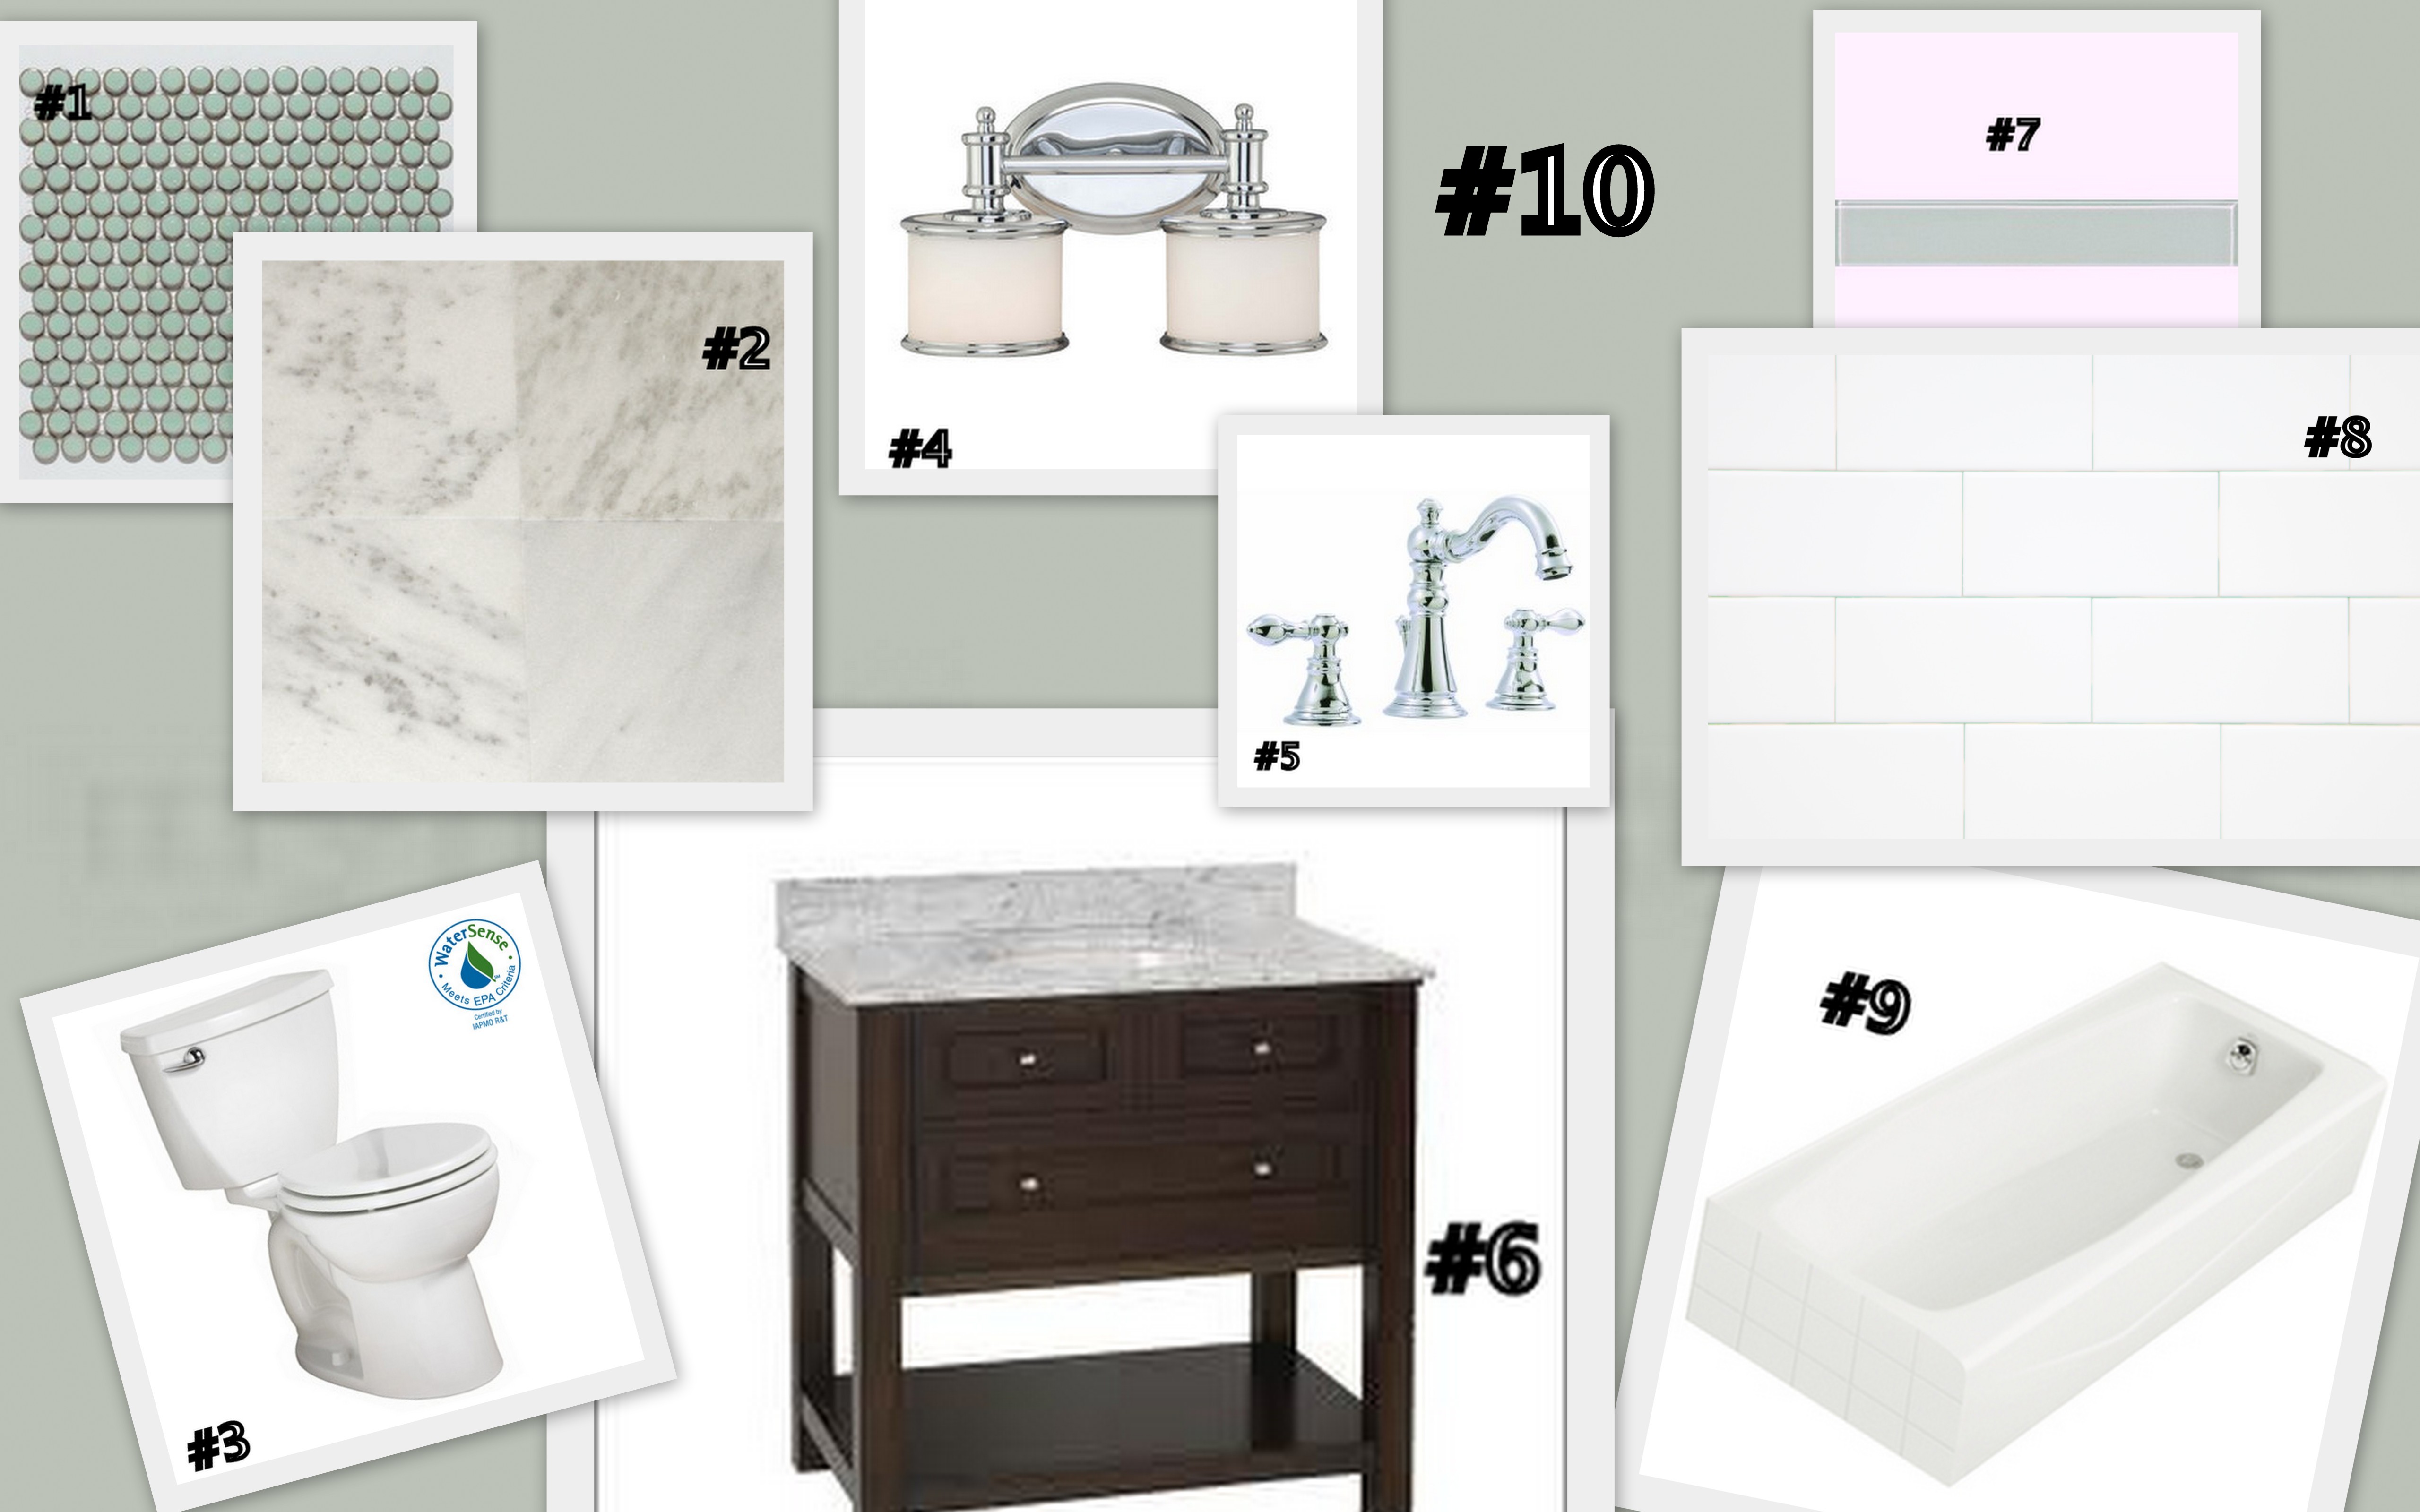
So in addition to needing a ceiling, it needed new support columns (which we put in when we poured the concrete for the new driveway) and it needed better lighting. My dream would’ve been to have hanging exterior lanterns like this:

however, those were definitely not budget friendly…sigh. Instead we decided recessed lights would be the way to go.
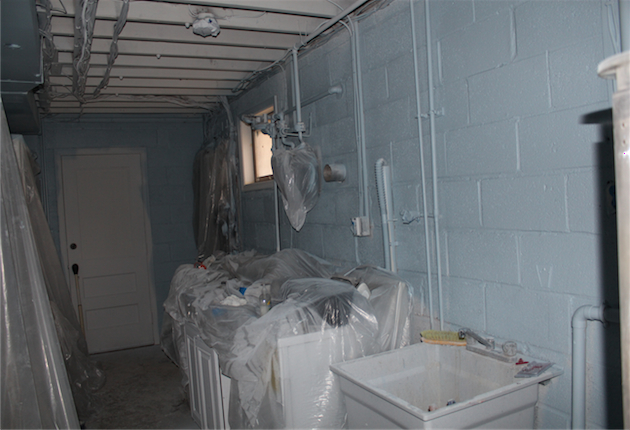
First some minor demolition was done to remove a tiny shed that was at the far end of the carport. Removing this opened up the carport to the backyard and made the space much brighter.

Then came the wiring for the new lights followed by hanging drywall for the ceiling. This not only covers the ugly rafters but also gives the carport a more completed look. Next, the ceiling was primed and then painted a soft greyish-blue color. Why paint the ceiling you ask? Well, I had grown kind of tired of white ceilings and since the carport doesn’t have walls to add color (and therefore warmth) I decided to take a risk and have a little fun with the ceiling. I figured that there was no better place to test an idea then the carport. It’s such a light and soft color that it doesn’t stand out but it definitely helps give the carport that more finished feeling we were hoping for…at least I think so. In fact, when I saw the paint going on I thought to myself, “I need to paint more ceilings!” It really does add something extra. Though, I have to admit, it’s such a soft, muted color that from the picture you can barely tell that it’s even painted. Here is a picture of the completed carport ceiling, lights and all.

Then came the new 6″ by 6″ support columns that we had put in when we replaced the old cracked, asphalt driveway with our pretty new concrete one. Pavlo routed the edges of the columns to give them some shape and a little more architectural detail for a once again more finished appearance.


They were then primed and painted a crisp white.
Here’s the carport now:

Another glimpse of the house before

Current picture of the house: