Dining In Style
Fresh new look for a fresh start? Let’s hope because I’m just not finding the time to blog about all of our projects. In addition to the lack of time it seems like every time I sit down to write, the internet world just doesn’t want me to! Last week I had problems with my server and yesterday I received notice that there was an issue with my WordPress theme – hence the new look. As a final note on this topic, I had to throw things together rather quickly with this new theme so chances are more changes are going to come to improve upon it more.
On to more important things, the reason you’re probably even reading my blog, the house! More specifically, the dining room!
Just so you know, the dining room is well underway. Actually, it’s practically complete. That being said the main purpose of this post is to try and get you up to date on where we stand with yet another room of the house that we’ve worked on vigorously since my blogging hiatus began at the end of spring.
Ever since going under contract on this house I would save pictures of rooms, accessories and design ideas I liked and found inspirational. I do this on a daily basis anyway (thank you Pinterest) but seemed to kick it into high gear when I had an actual house and layout to work with. After a great deal of torn magazines and multiple “pins” I finally had a vision for our dining room. My master plan? See below!
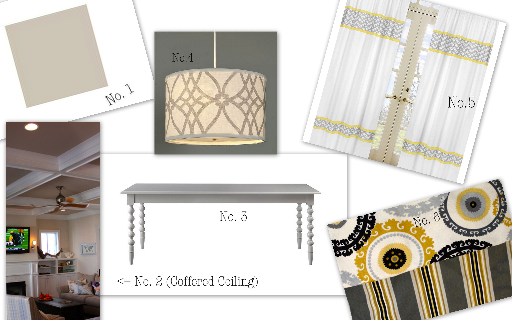
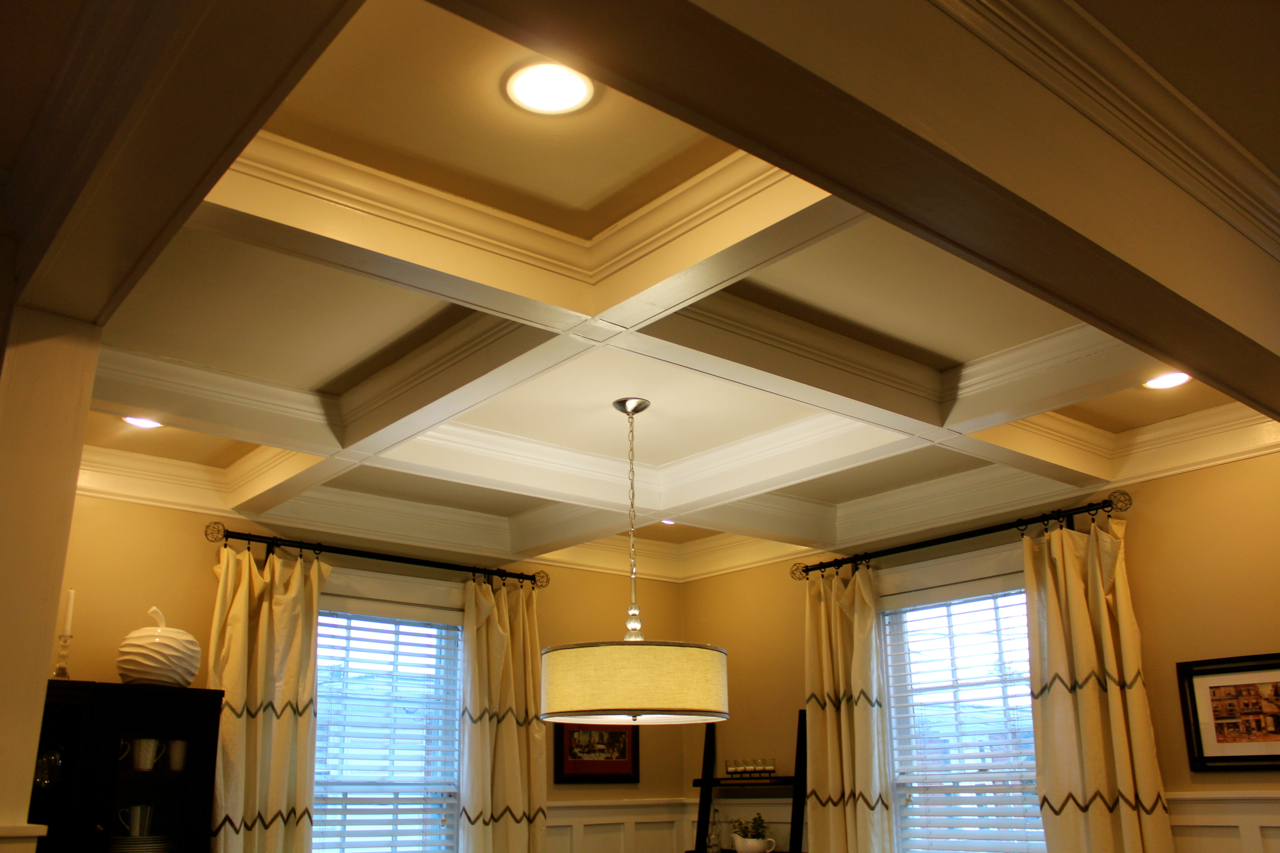
No. 2: Coffered Ceiling
No. 3: Gray dining room table
No.4: Drum shade light (this one is from Shades of Light)
No. 5: Gray, White & Yellow curtains to go with
No. 6 which I had already picked out and used as the starting point for the room’s design.
As mentioned in the previous post (and seen in the mood board above), the color scheme of the kitchen (gray with pops of yellow) would be continued throughout the main floor. I chose to do this mostly because the main living area is so open that it just made sense to design it so that it looked cohesive.
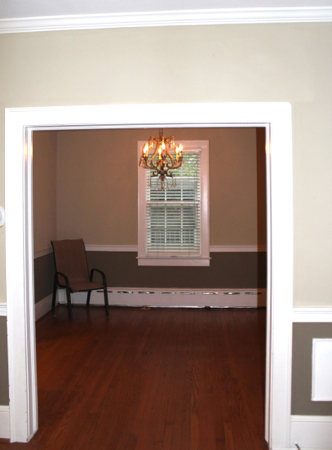
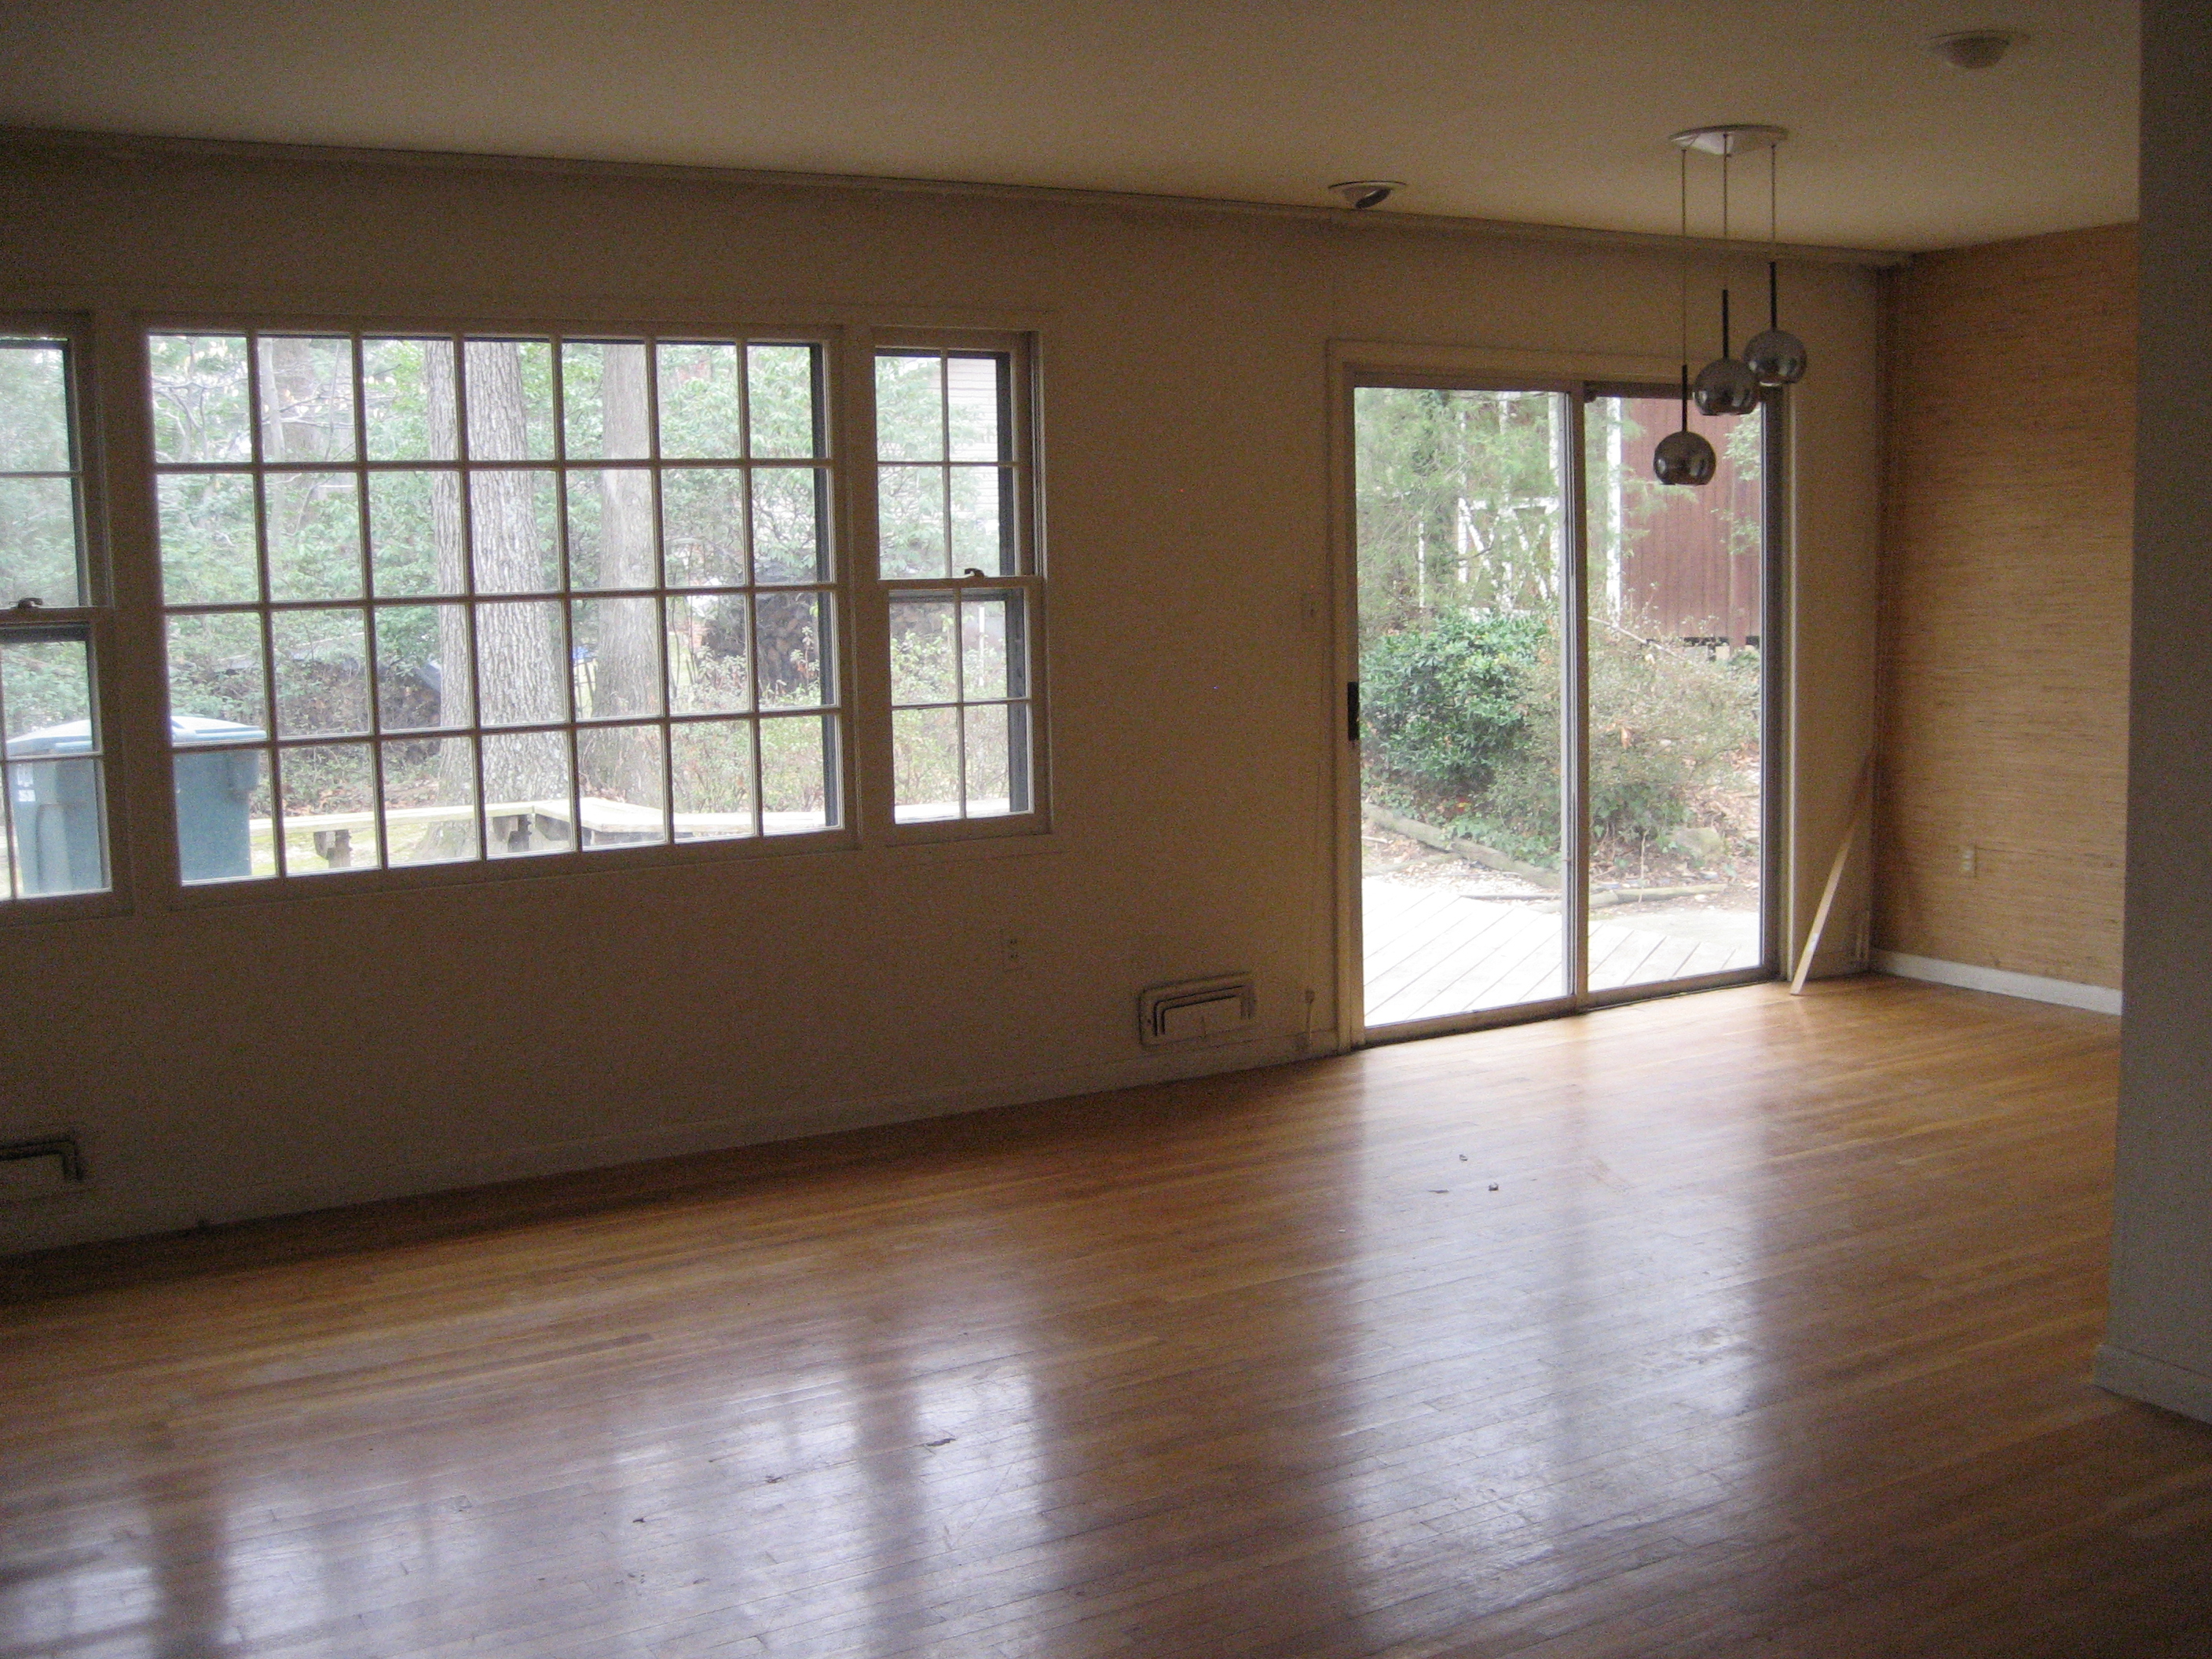
Here are a glance at the stages of the dining room up to where you saw it last. Let’s reminisce (or cringe) over a picture of the dining room from when we first bought the house:
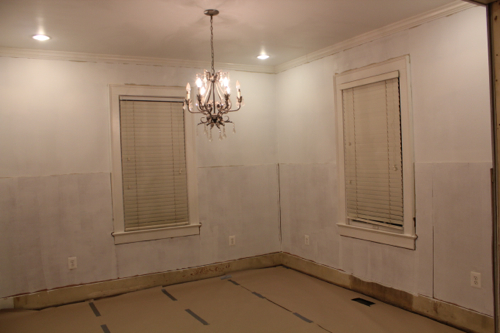
Then, after a small amount of progress, included removing a portion of the wall to open it up to the living room and kitchen, removing the old (but not original) trim, installing new trim (at least the start of it), refinished (but covered) floors and painting the walls with a coat of “Anew Gray” by Sherwin Williams, we had this:
Next came moving day! This actually resulting in a step back for the dining room because it suddenly became a dumping ground for things until the kitchen was complete and the sunroom and basement were organized well enough to become storage space. Of course the sunroom wont always be storage, unless you call the place for all the kiddos’ toys storage – undoubtably, some of you might!
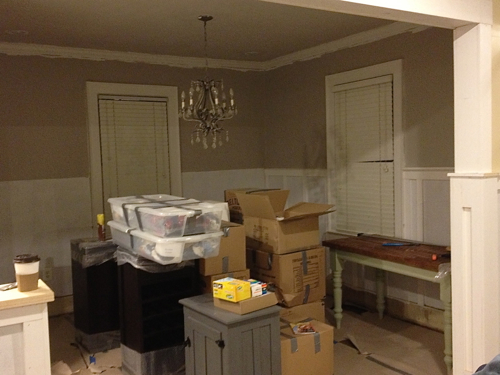
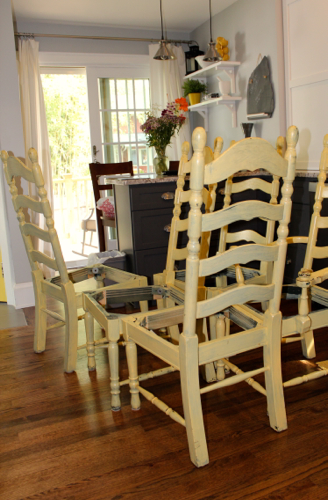
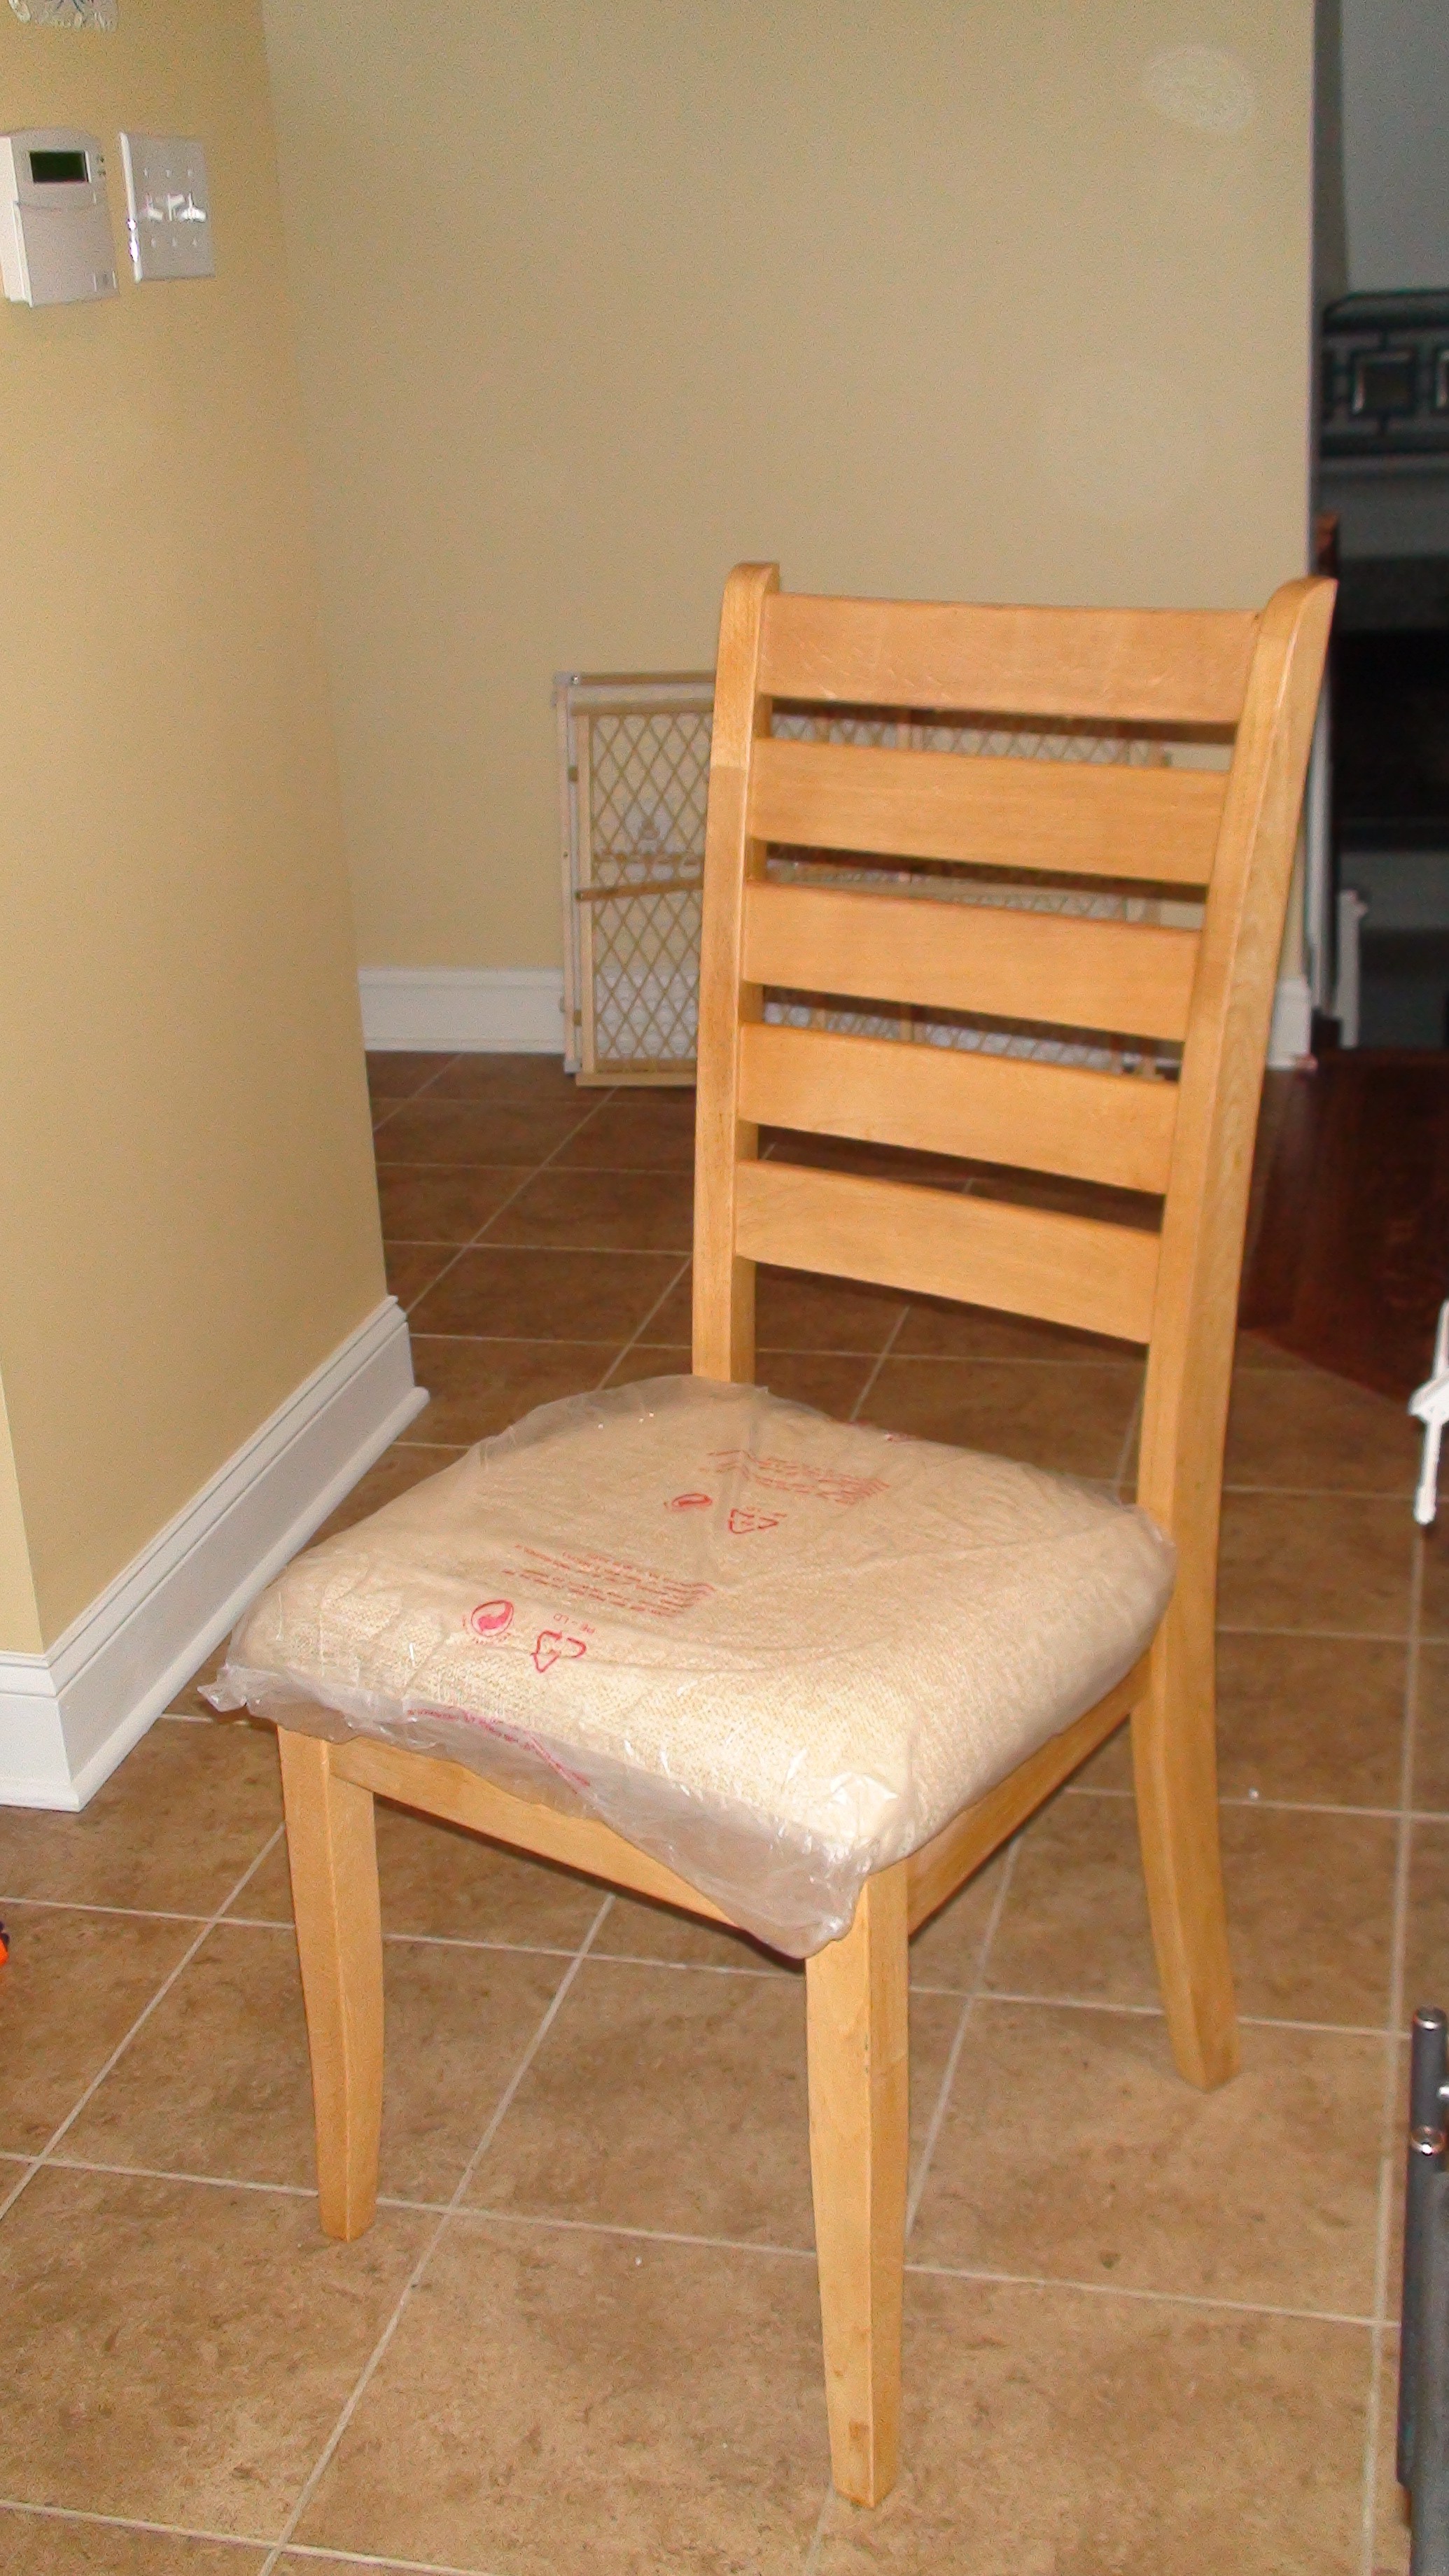
Once we finally had the space for a table we brought it on in…but only for a few days! Nope, the table didn’t last too long because it, much like our house, needed some fixing up. We actually sold this table from our last dining room

because once we built my parent’s their farmhouse table (more on that here, here and here) they handed over their old kitchen table to us. Here are glimpses of that old table. One of the many disadvantages of not blogging consistently is that my pictures are no longer organized!
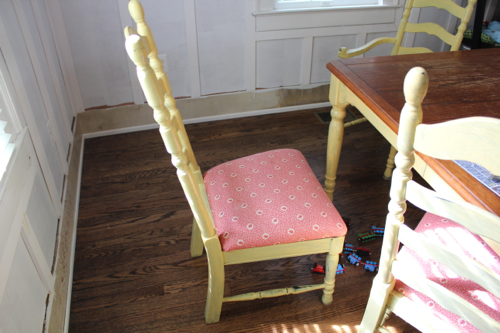

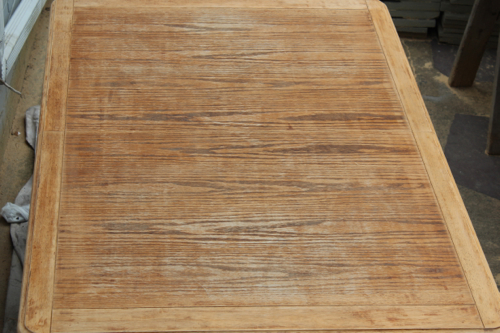
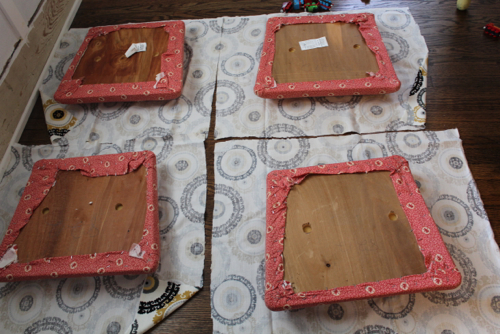
The table was still in great shape and really only needed cosmetic refinishing. You know, the basics: reupholstering the seats, repainting the chairs and table legs and re-staining the table top.
The fabric, paint and stain combo I chose? This:
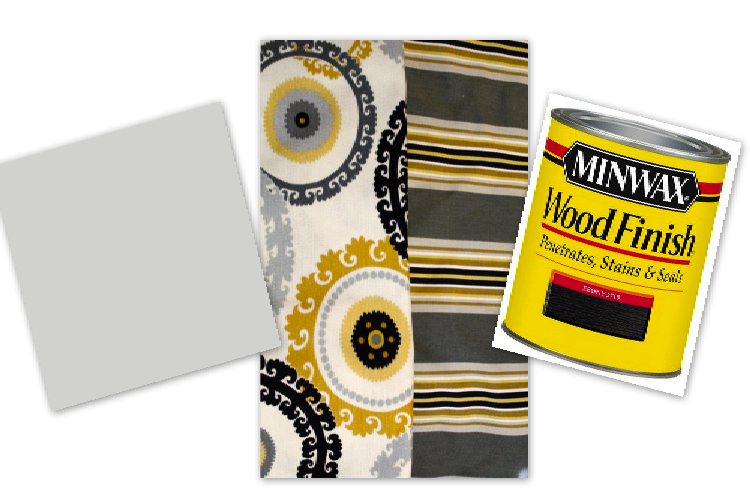
-Fabric that I chose as the starting point for the room’s design.
-“Ebony” stain
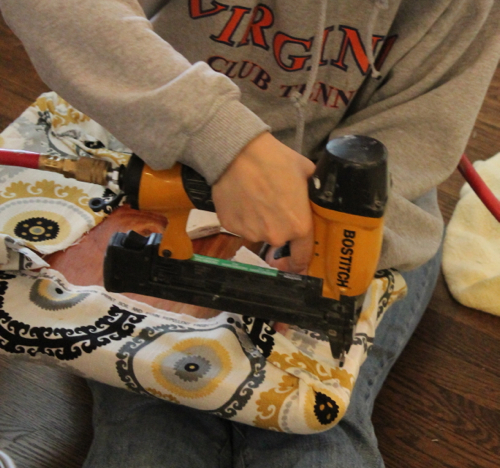
Reupholstering is actually pretty simple. Just lay the cushions out on the fabric and measure so that you’ll have enough fabric to pull it taut to the back of the cushion and staple into place. The tricky part is to be careful not to create folds and creases that are exposed along the sides. It’s particularly difficult to avoid along the corners!
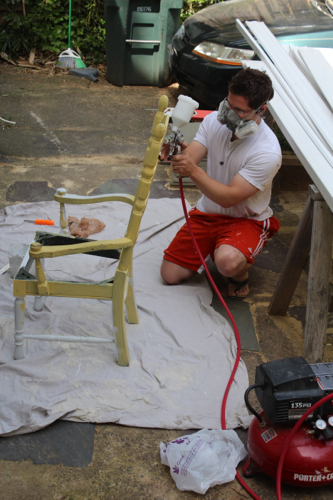
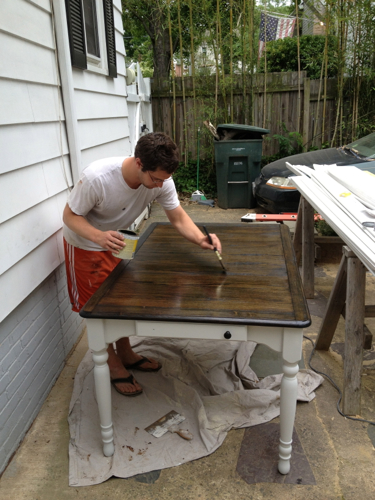
When painting the table & chairs we opted to use our new spray rig that attaches to our compressor rather than brush painting. Spraying furniture that has several curves and crevices leads to a much more even and smooth finish. I should actually say that spraying in general results in a much smoother finish – no brush strokes!
Finally, we stained the table a dark ebony so that it would coordinate better with our hutch and not contrast with the wood floors.
The end result? This:
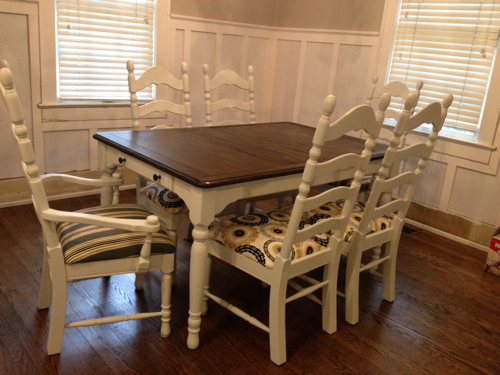
I guess I could have taken the time and effort to stage it and dress it all up for you, but let’s face it, getting a picture for a completed post is accomplishment enough!
Wow, that post ended up much longer than I anticipated. Up next, the completion of some amazing trim work and the addition of lighting.
Wow! Really nice end result. 🙂
Are you referring to the last child inside you or are you pregnant again??
You have done a great job with your dining room. The chairs and table looks amazing. I might say that your color choice seemed odd at first look but it is really nice.