Coffered Ceiling & Wainscoting

As promised, a post on all the amazing trim Pavlo installed in our dining room. I know that back in February I posted on the beautiful, tall wainscoting we were installing in our living and dining rooms, but I don’t remember whether or not I ever followed up on that February post and I’m figuring that if I don’t remember, then you probably don’t either! That being said, it seems an appropriate place to start.
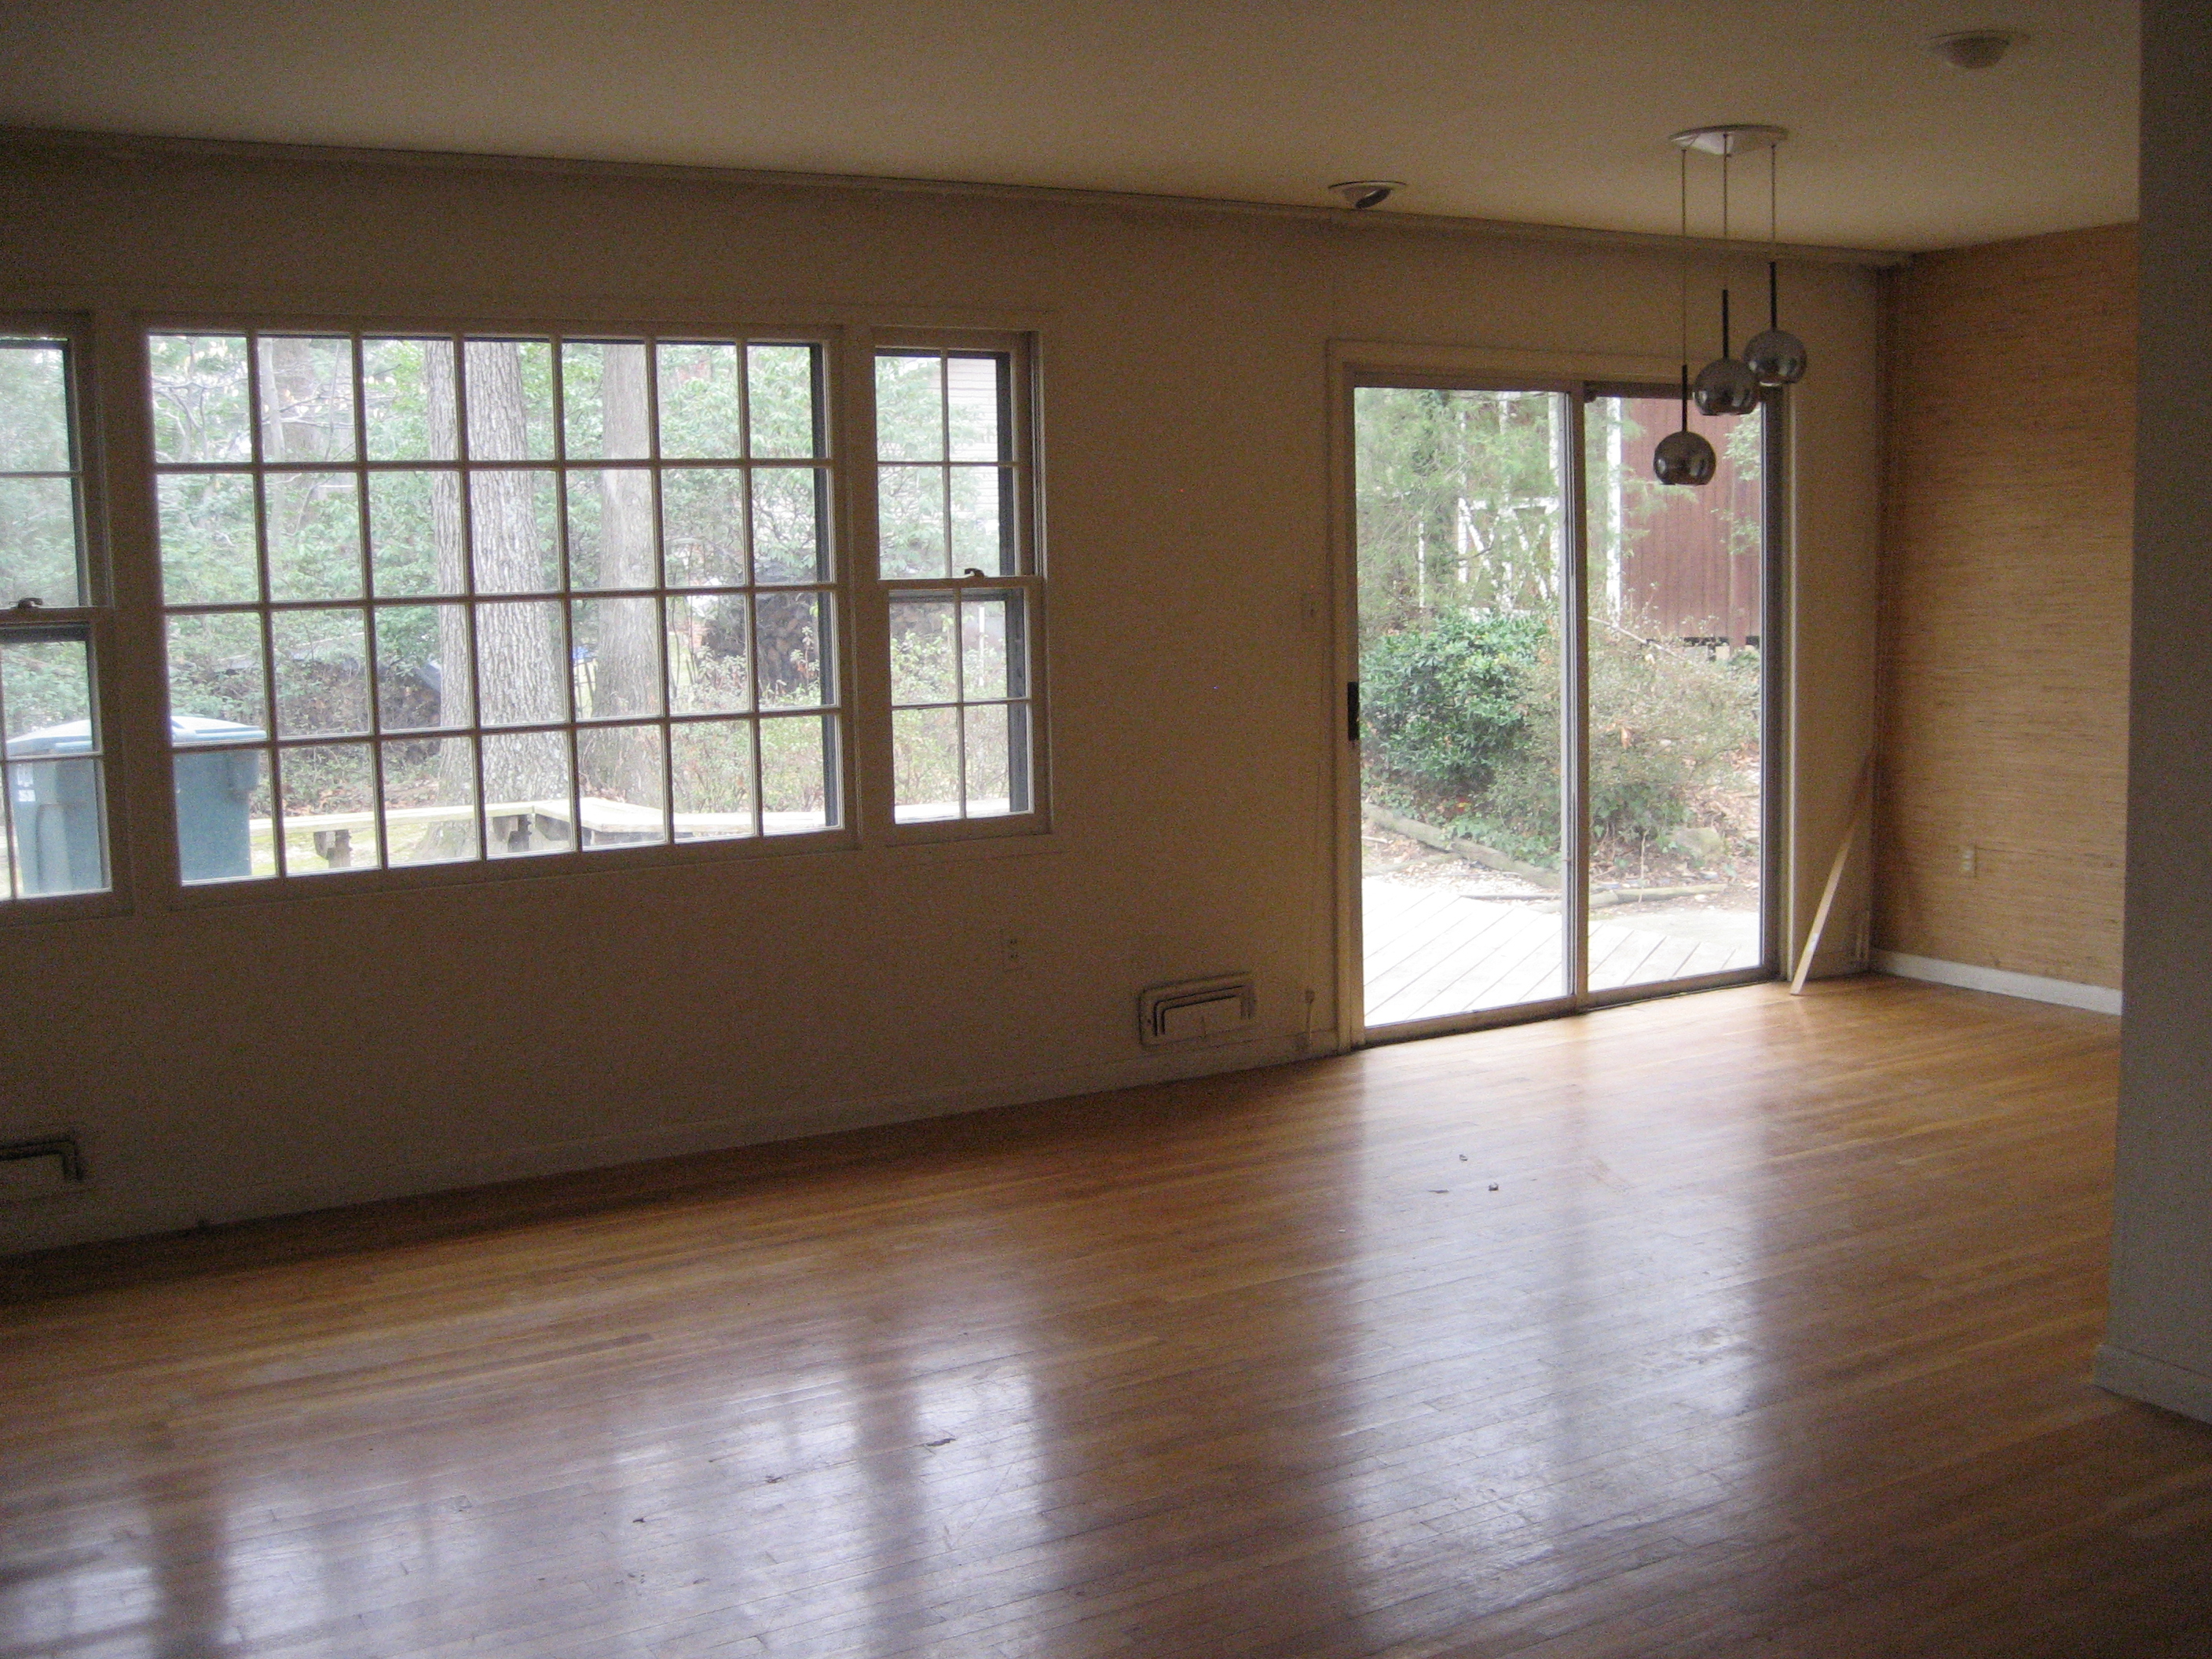
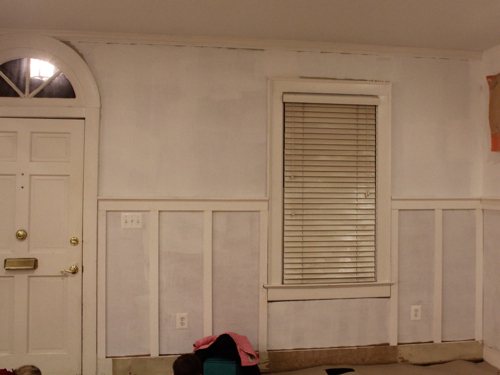
In that post published nearly 8 months ago (yikes) I showed you how the trim went from this (the not-so-original, ugly trim the poor house had at the time of purchase):


To this:
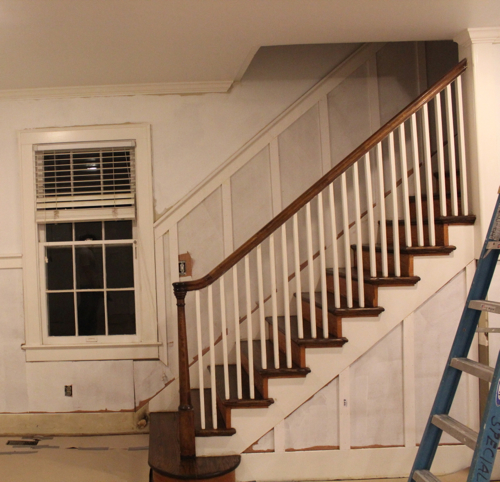
That wainscoting was continued around the dining room and all of it (living room, dining room & stairwell) was painted a crisp semi-gloss white.


 After wrapping up the wainscoting we painted a second coat of “Anew Gray” by Sherwin Williams (seen in the image directly above) on the dining room walls. Oh but that wasn’t the end of the trim for the dining room. Let’s revisit the mood board I showed you last time.
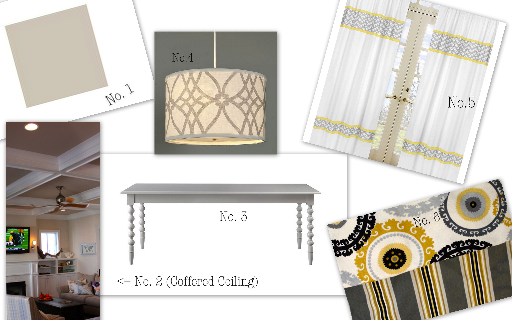
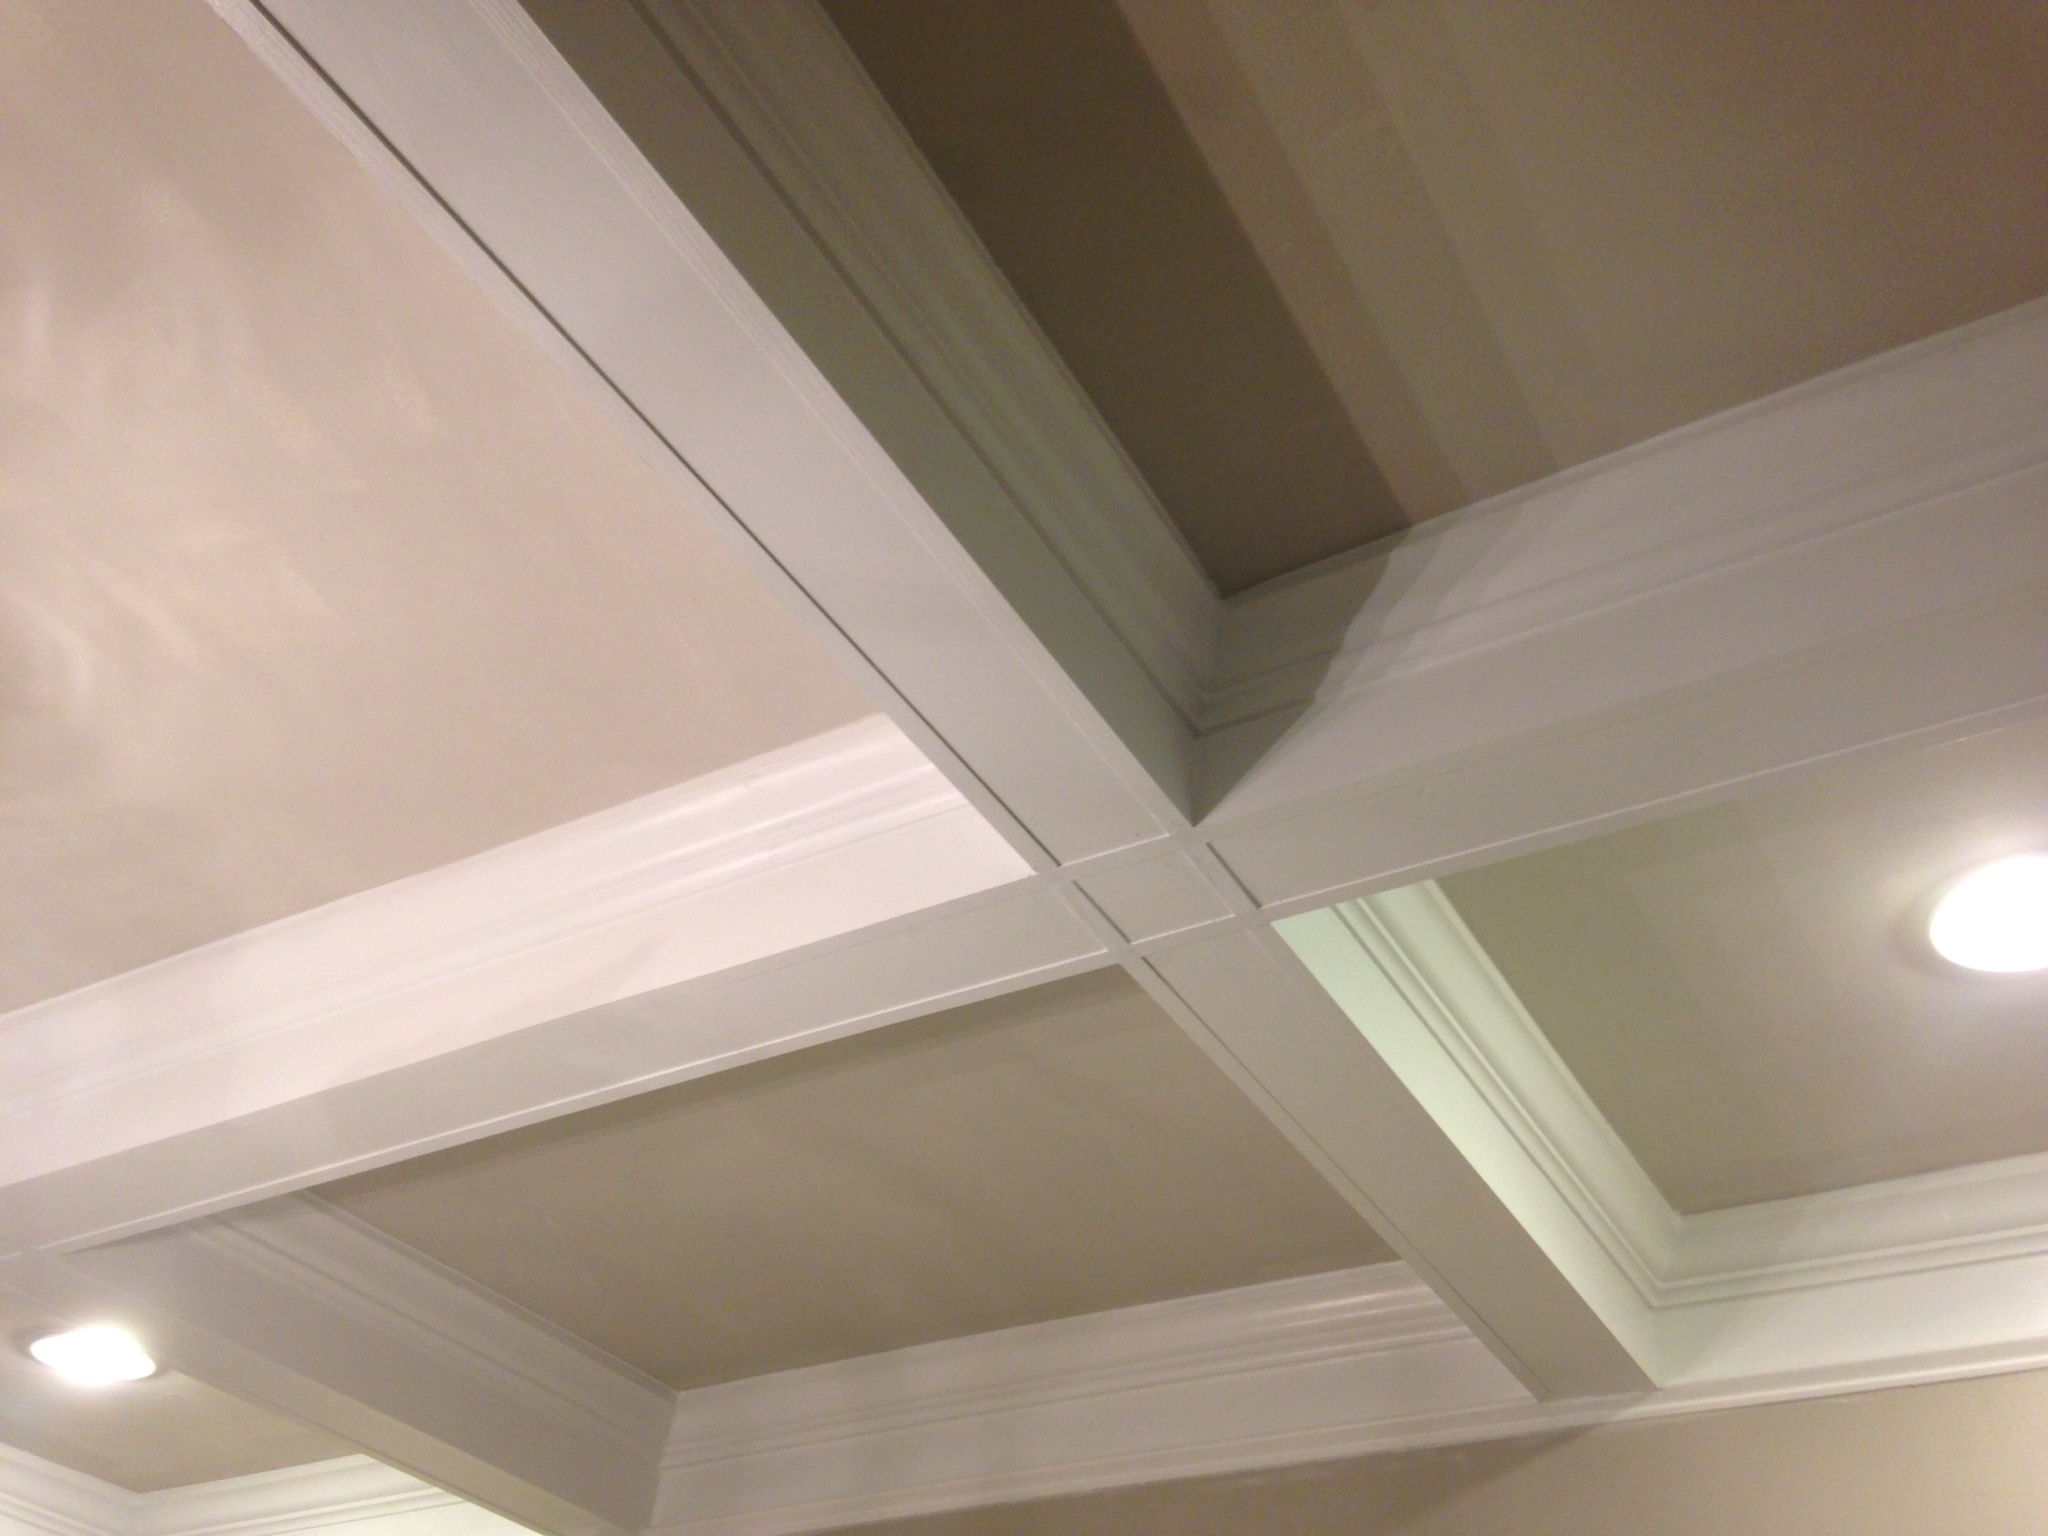
No. 2: Coffered Ceiling
No. 3: Gray dining room table
No.4: Drum shade light (this one is from Shades of Light)
No. 5: Gray, White & Yellow curtains to go with
No. 6 which I had already picked out and used as the starting point for the room’s design.
No. 2, the coffered ceiling, was the next thing we tackled. I want to give you all a “how to” on this since I feel like it’s something that more and more people are falling in love with again (trim work was underrated and even somewhat eliminated for quite some time) and could possibly want to accomplish themselves and for their own homes. I figure why be selfish and keep how we did it to ourselves? However, in an attempt to actually get posts up again, I’ve decided to hold off the “how to” for the next post. Lucky for you, not only am I not selfish and want to share our DIY step-by-step with you, but I’m also not cruel enough to make you all wait until the next post to get a glimpse of our new and improved ceiling! No, no, no I just can’t do that to you, especially since I have no idea when I’ll find the time to get that next post up. So here it is: