Light of a Lantern
Unfortunately we didn’t get to spend all of last weekend kicking back by the Virginia Beach shore with my family. We returned home late Saturday night so that we could wake up early and hopefully get at least one thing accomplished on the house. In the end it was literally one thing that we were able to get done. It was much too pretty of a day to not spend it just enjoying the kids! Besides, we usually don’t do anything house related on Sundays so we were fine with just the one accomplishment.
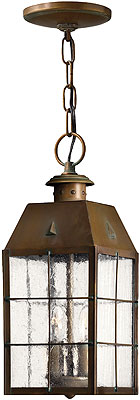
Last week our new front entry light came in so that became #1 on the house “to-do” list come Sunday. I found the light on the House of Antique Hardware website and was instantly drawn to it. It was a little bit expensive so before committing right away I searched high and low for something similar that wasn’t quite as pricey. After a couple of days of looking, and coming up empty handed, I decided to give in and just buy the light that I really liked rather then buy one that merely worked. Very often I’m able to search for something similar and find a substitute for the more expensive version of the item I like. My life of sticking to a tight budget for our renovations is a great deal like the HGTV show “The High Low Project” with Sabrina Soto. Many many many times I am able to find something that is just as good (and often better) for a much more reasonable price. However, as with the case of this entry light, there are times when nothing quite compares to the one expensive item you love. When this happens I will either change my mind on style completely OR I’ll splurge for the expensive thing. This time I splurged!
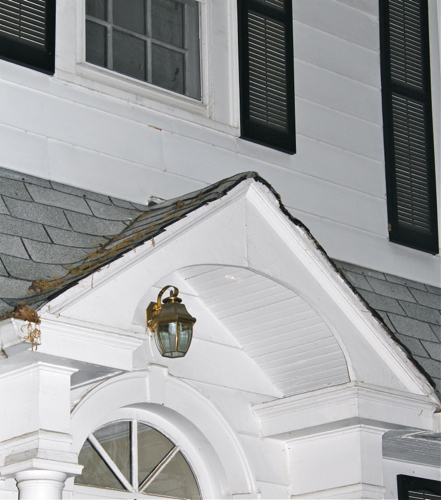
The old front entry light before was a dated wall-mount fixture that just didn’t do our old colonial revival justice.

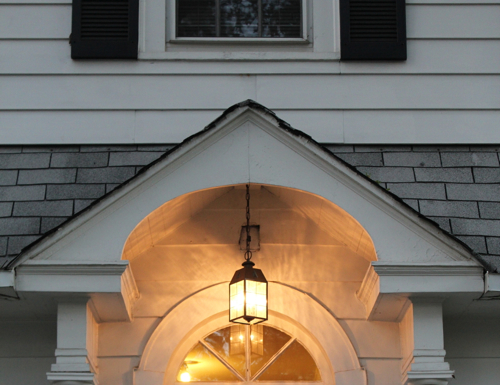
Rather than stick with a wall-mounted light, I chose to go with a hanging, lantern style one in an aged brass finish.
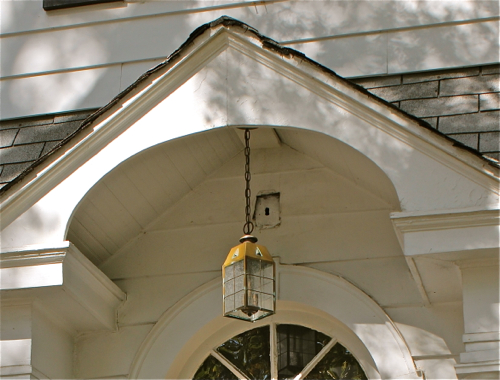
The first step in getting this new fixture hanging was to remove the old one. Then, because the ceiling in the entry way was peaked, Pavlo had to add a piece of wood to the peak so to create a flat surface for the fixture’s canopy.
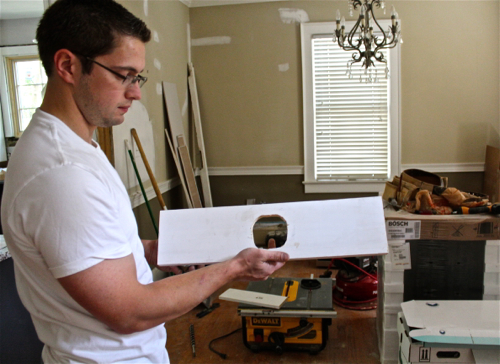
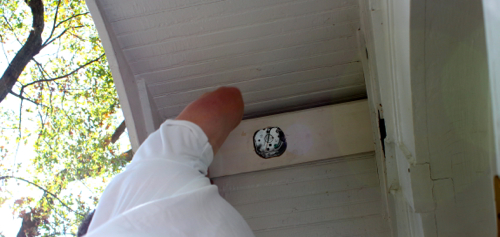
After adding this new piece of wood, the wires were fed through and the electrical box was installed (you can see the electrical box in the picture immediately above). Once the electrical box was in Pavlo added the support bracket that came with the fixture and then wired up the light. Landon was in charge of handing Pavlo the wire nuts!
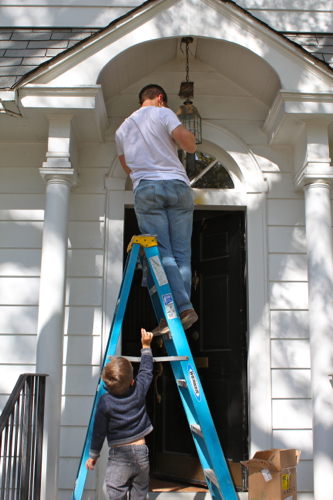
Once the light was all wired up the canopy was attached and viola, we have a new light! Admittedly the ceiling of this entry way still needs to be fixed up with additional trim and of course paint. However, even with that this new fixture is a drastic improvement!
As a refresher, here’s the old light:

And the new fixture:
