First Sign of Spring
A few weeks ago I was outside with my little man and I saw this: It was the first sign of spring in our yard and it was beyond thrilling. Although this winter wasn’t as rough as last year’s, I couldn’t wait for it to …
Renovation-DIY-Design
A few weeks ago I was outside with my little man and I saw this: It was the first sign of spring in our yard and it was beyond thrilling. Although this winter wasn’t as rough as last year’s, I couldn’t wait for it to …
After finally receiving our “splurge” of a master bedding set, I instantly began the shopping for additional decor. My initial checklist for the room included curtains, bedside lamps and artwork. I considered these to be the most essential pieces and figured that once they were …
I’m sure you all are wondering what the heck happened to our master suite! I can just hear the questions now. Is it done? What does it look like? What colors were used in that space? I can’t say I blame you, I get you all caught up and anxious to see the final product, then boom, it all stops! Just so you know, it didn’t really stop, it’s been going and going but with spring peeking around the corner we’ve been splitting our time between indoor and outdoor projects. We’ve actually accomplished a lot on both so now I just need to buckle down and update you on all of it!
This post will get you caught up on our master bathroom. The only thing we’re waiting on is the shower door (due to arrive early this coming week) and of course some decoration!
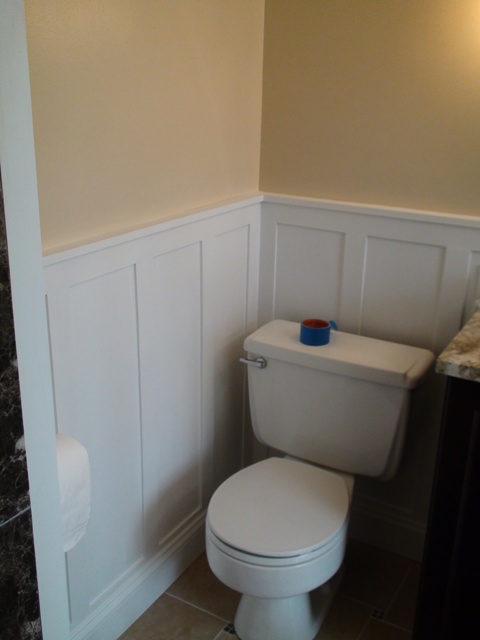
I’m pretty sure I ended any updates on the master bathroom at tiling. Well, after several long nights of tiling we moved on to several more long nights (for Pavlo at least) of trimming the bathroom. Fortunately this is Pavlo’s “favorite thing” about renovating a room so those long nights were actually somewhat fun for him! He did the trim in a very simple and clean wainscoting pattern.
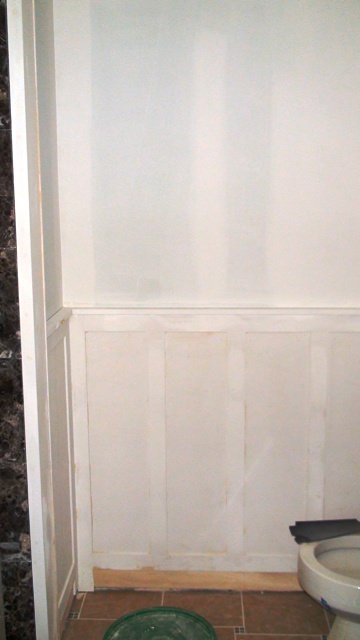

Once trimming was completed we (yes, even I got involved) tackled the incredibly mundane process of prepping for paint. This involves filling nail holes, sanding them and then caulking all of the trim. After that the bathroom was ready for final paint. The walls were painted in a semi-gloss of Sherwin Williams’ “Macadamia” while the trim was done in a crisp semi-gloss white.

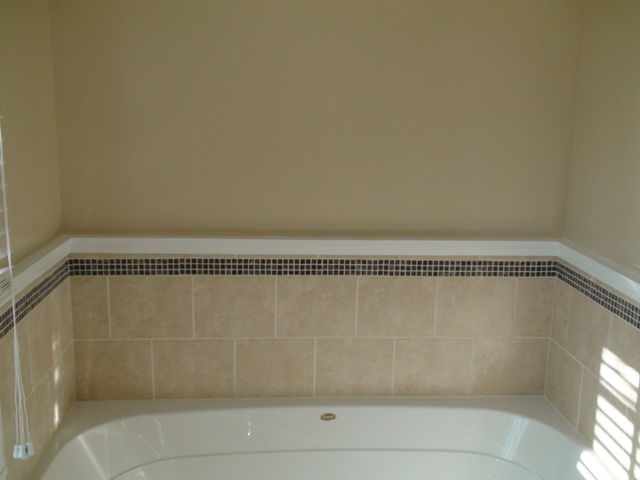
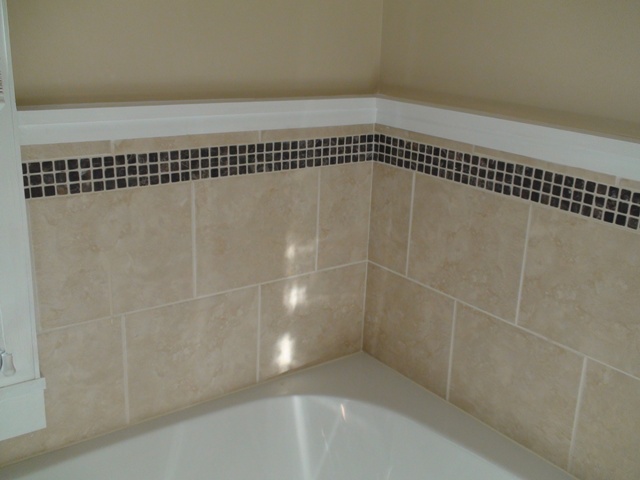
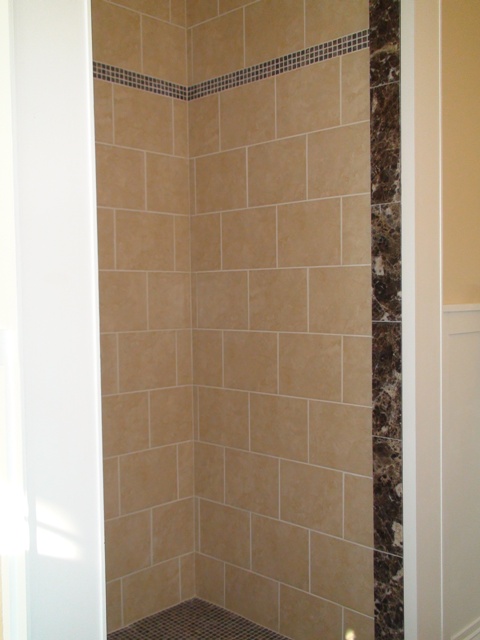
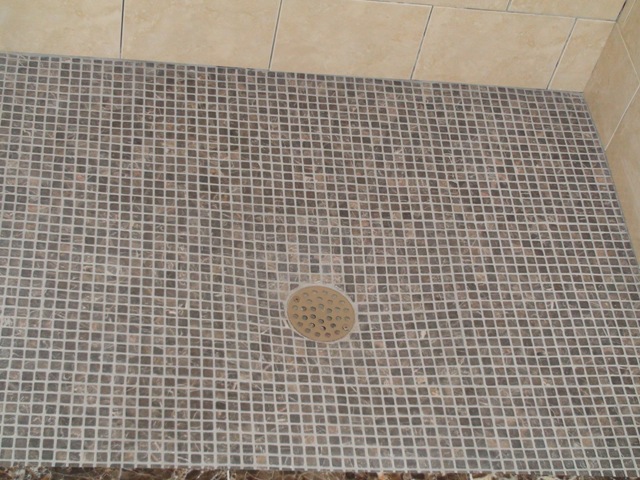
Oh, I almost forgot the grouting! Yes, all of the tile was grouted and caulked. The shower walls and bathtub surround were grouted in sanded Alabaster (Alabaster is the color) by Polyblend (found at Home Depot) but the shower floor was grouted in Delorean Gray (can’t help but think of Back to the Future when that color is mentioned) , which is also made by Polyblend.
Alright, on to adding fixtures and some color!