Dining In Style
Fresh new look for a fresh start? Let’s hope because I’m just not finding the time to blog about all of our projects. In addition to the lack of time it seems like every time I sit down to write, the internet world just doesn’t …
Renovation-DIY-Design
Fresh new look for a fresh start? Let’s hope because I’m just not finding the time to blog about all of our projects. In addition to the lack of time it seems like every time I sit down to write, the internet world just doesn’t …
Has it been long enough? Yup, I think so too. The good news is that just because I had a major lapse in blogging doesn’t mean there was a major lapse in renovating. Nope, quite the opposite in fact. I have so much to catch …
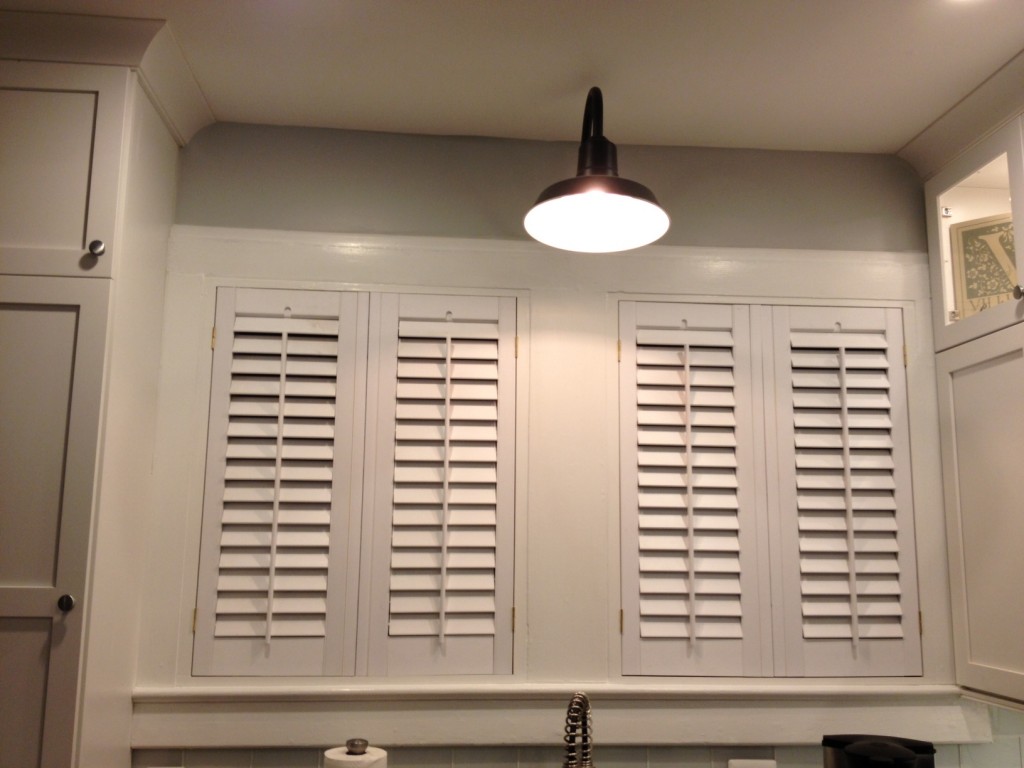
From recent posts you know we now have plantation shutters on the kitchen windows above the sink.
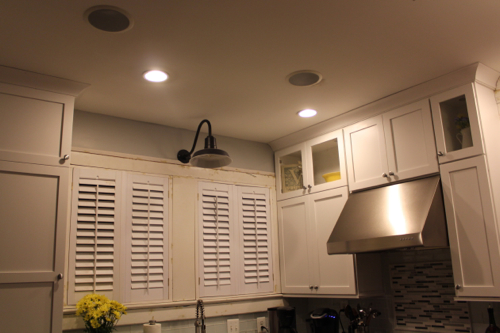 Since the start of the kitchen renovation I wanted plantation shutters for these windows, but I also knew how much more expensive they were compared to some of our other options. Shutters just seemed like the most practical solution to these windows because of their location (above the sink) and size (pretty darn big). We had two decent sized windows and love the natural light that comes streaming through in the mornings. Shutters would allow us to filter the amount of light versus an option like Roman Shades which provided either complete privacy (and therefore lack of light) or no privacy with direct sunlight.
Here is an example of a kitchen with Roman Shades. Don’t get me wrong, I really like them (this kitchen is beautiful and linked from Houzz.com) but I just felt I needed a little more privacy since our house is relatively close to our neighbors. I’m sure she appreciates it too! 🙂
Another option was to get the 2″ faux wood blinds that we currently have in the living room and dining room (and that we had throughout our last house). This option made me scrunch my nose because of the fact that they rise, lower and open with cords which would be really frustrating considering the windows sit above the most used area in the kitchen, the sink!
I had almost lost complete hope on shutters, and started to look for the next best thing (something I was told never to do in life), before Craigslist saved the day! Yes, one fiiiine day I searched the big CL for plantation shutters, just as I had been doing daily for a while. That’s when I saw it, the listing for 2 brand new, faux wood plantation shutters for just $25 each. As I mentioned back in this post there was only one little problem, they were an inch too short and too narrow. Also in that post I mentioned how this actually ended up being perfect because it gave us room to build a frame for the shutters which gives them a more custom look.
Here is the step-by-step on how we made these “deal shutters” work for us:
Step 1: We (re)measured the window opening to find out exactly how short and narrow they were. Our’s happened to be exactly 1″ for both.
Step 2: Then we took that difference and split it so that each of the sides was equal and the shutters were centered properly. In addition to splitting the 1″ in half, 1/16th of an inch was subtracted from each of the 4 sides (1/8th of an inch total for both the height and width) in order to ensure inside clearance for the shutter doors.
Step 3: The shutters came with their own hinge pieces which looked like this:
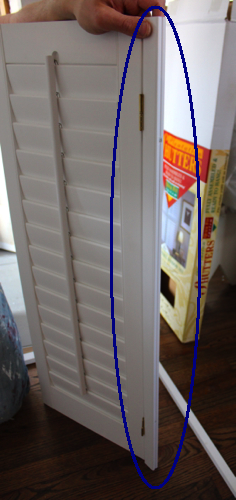 However, if they were to be installed on the outside of the main shutter doors(as intended) they would have encroached on viewable portion of the window. Instead the hinges were removed and the pieces were installed on the inside of each shutter in order to capitalize on as much window as we possibly could!
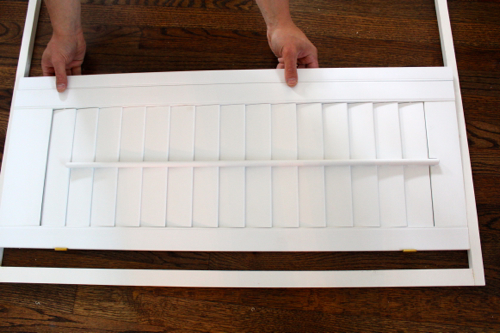 Step 4: Next, the frame was glued and screwed together.
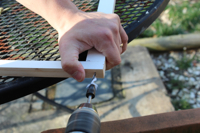
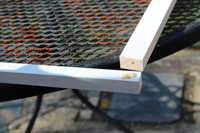
The result was two of these (made from scrap trim we had):
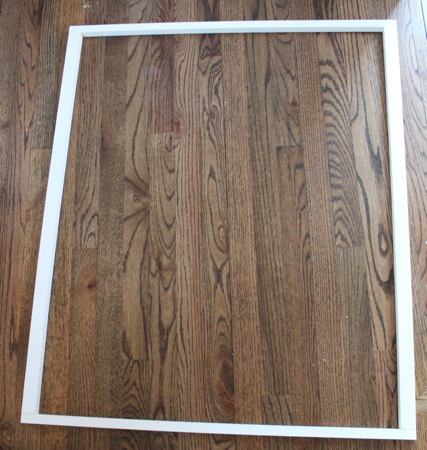 Step 5:We dry fitted the frames, with the shutters in place, into the windows and made adjustments to both the frame and the shutters. Adjusting involved using shims to make sure it was level and had proper clearance. In addition, the inside trim (that piece mentioned above that CAME with the shutters) had to be cut down a little bit. These pieces were purposely not cut/adjusted at all when Pavlo initially installed them onto the inside of the shutters because we wanted to have it all in place (shutter & frame) so we knew exactly how much to cut from the inside of each shutter.
Step 6: The final step (aside from filling nail holes with wood filler, sanding, caulking and painting) was purchasing magnetic latches (4 of them at $2 each) so that the doors would stay tightly shut.
So there you have it, $25 Craigslist plantation shutters (plus $8 worth of magnetic latches) made to fit our windows perfectly! Here is a current picture:
