Mudroom Progress
…and lots of it!
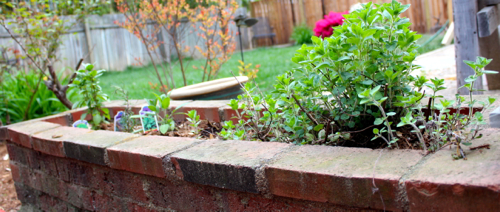
Last weekend (as in the one before this past one) we put complete focus on both the mudroom and the yard, given that spring is finally here. So far the yard has had little more than a cleanup involving some mowing, weeding and mulching. Pavlo even tackled a little herb planting with the kids and now I just have to get on making little labels for easy identification of each herb. Not necessarily because we have to have labels, but because I think they’re cute and it makes the flower bed look neat and tidy!

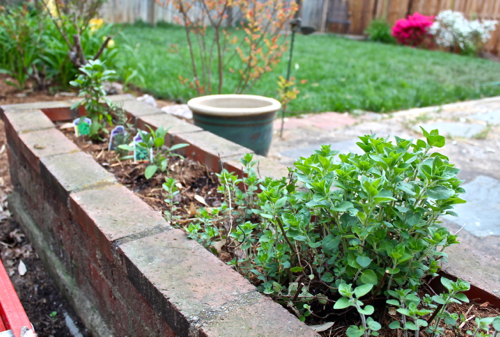
More on the yard later though, after all, the end of planting season is quickly approaching so on the “to-do” list for this week is to purchase and plant some new plants and flowers. After that we’ll hopefully have more to post about when it comes to our landscaping. Though, I have to say, the cleaned up flower beds and mowed lawn are nice to look at!
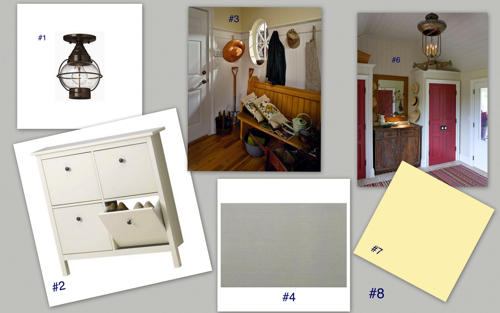
Let’s jump back a couple of posts to the mood board I created for the mudroom (you can read more about each item here).
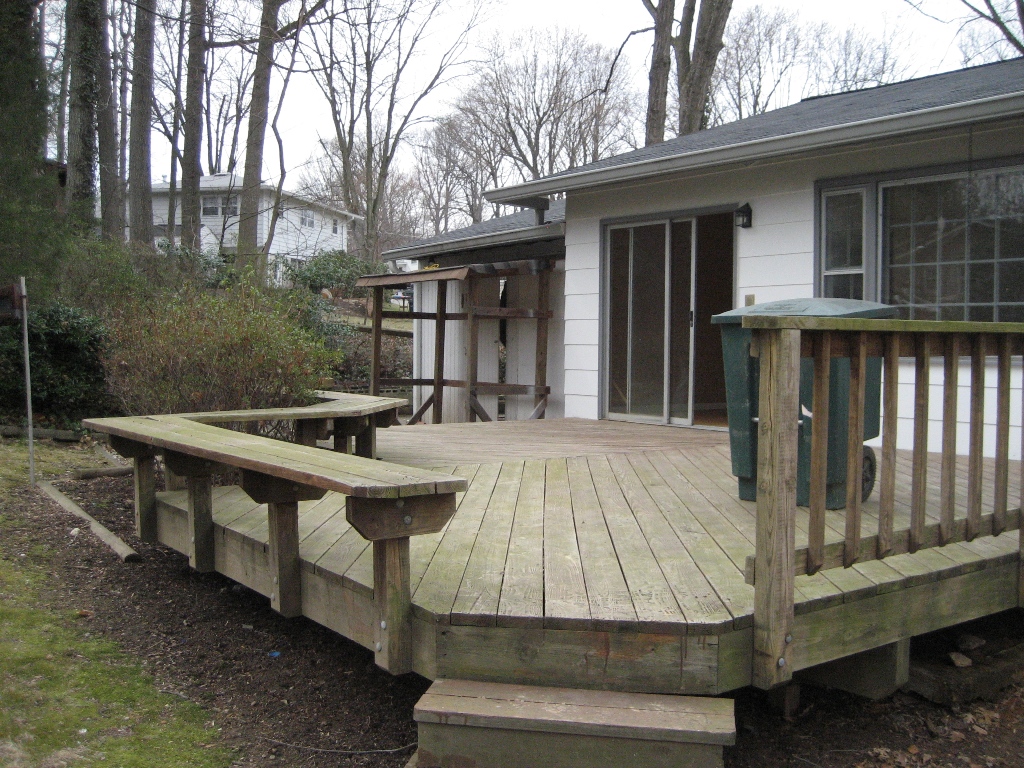
In the last post I mentioned how all of the windows and doors in the kitchen and mudroom were trimmed-out (using the house’s original trim) and I showed you this picture which also gave you a sneak peak of our mudroom’s paneling.
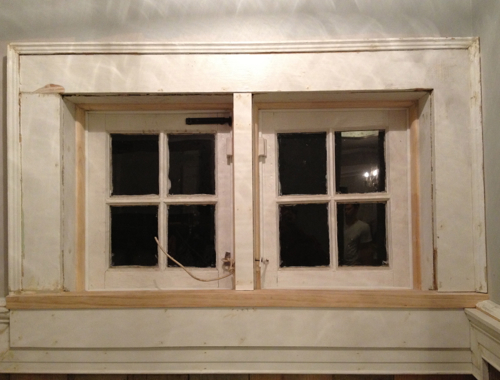
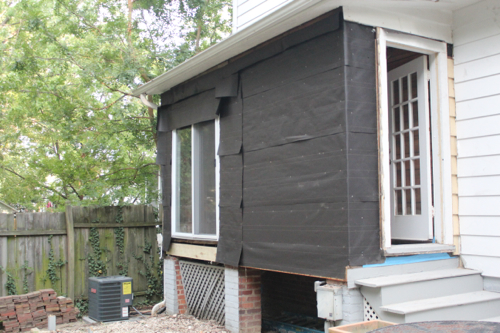
As said before, this paneling was actually pine sheathing that was removed and saved when we removed some of the old siding and framed out the addition that is now our mudroom (you can read more on that here, here, here, here and here).
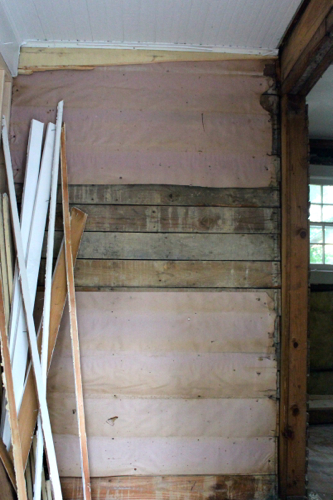

As you can see in the first picture above, the one taken when the sheathing was still on the original house, it was installed horizontally beneath the siding (which was standard). I decided, however, to have it installed vertically and to reach just below the window. Board by board the paneling went up:
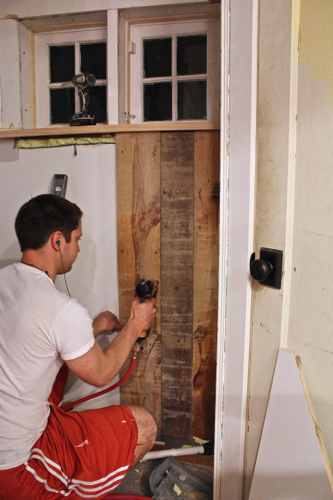
And before long, all of the paneling was up, the window trim was completed (including the sill) and the bench was moved into place. Yes, thankfully our preliminary measurements were right and it fits like a glove!
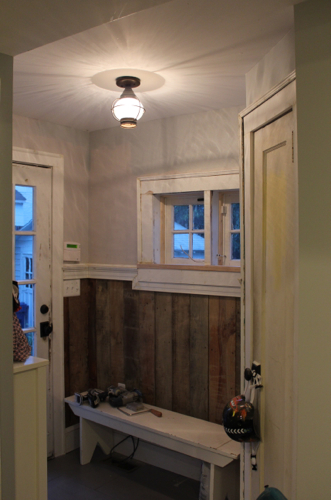
The other wall of the mudroom, the one facing this paneled wall with the bench, has been given a different purpose. This space is so small that we have to use every square inch as well as possible so this wall became our shoe storage and mirror wall.

Yep, after spending a great deal of time digging though some of our stored items, I finally found the mirror you see in the picture above. I mentioned in this post about the mudroom mood board that we had it…we just weren’t sure where it was in our chaotic mess of boxes and belongings. With the shoe cabinet below it, the hooks aren’t able to hold Pavlo and I’s jackets. However the kids’ jackets are still so small that they hang on there without a major issue. At this point we use it a lot for smaller items like our keys. Not to worry, I have a solution for Pavlo & I’s jackets, Landon’s little backpack and the oh-so-important diaper bag/mom purse!
With the trim completed we just need to fill some nail holes, sand, caulk and paint. I’m actually trying to decide how exactly I want to finish-out this paneling. My original plan was to paint it semi-gloss white but now I’m not too sure. We’ve had several people tell us they like the wood color and texture. Hmm, decisions, decisions!
Glad you’re nearing the end. I’d love to come by and see it sometime.
Of course! We’re moving into the dining room next but you’re welcome to come and see the progress whenever you’d like! Actually, my mom recently mentioned wanting to set up a time to see you so maybe we can all plan something soon. I know she’d be disappointed if I got to spend time with you but she didn’t! 🙂