…let’s talk about another powder room renovation we just completed. Since we sold our house, we are living rent free at my parent’s house until we close on our next fixer upper (yep, we’re under contract on house #3). We “pay” them by doing some updating and some general maintenance on their house. One larger project we tackled was the renovation of the foyer and powder room. The foyer still has a few things left to be finished, but the powder room is done and done!
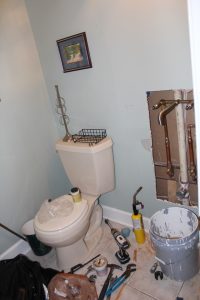
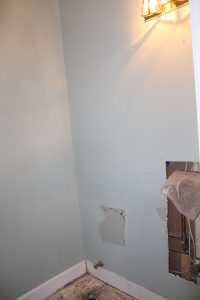
Here is what the bathroom looked like demoed and ready for a facelift:
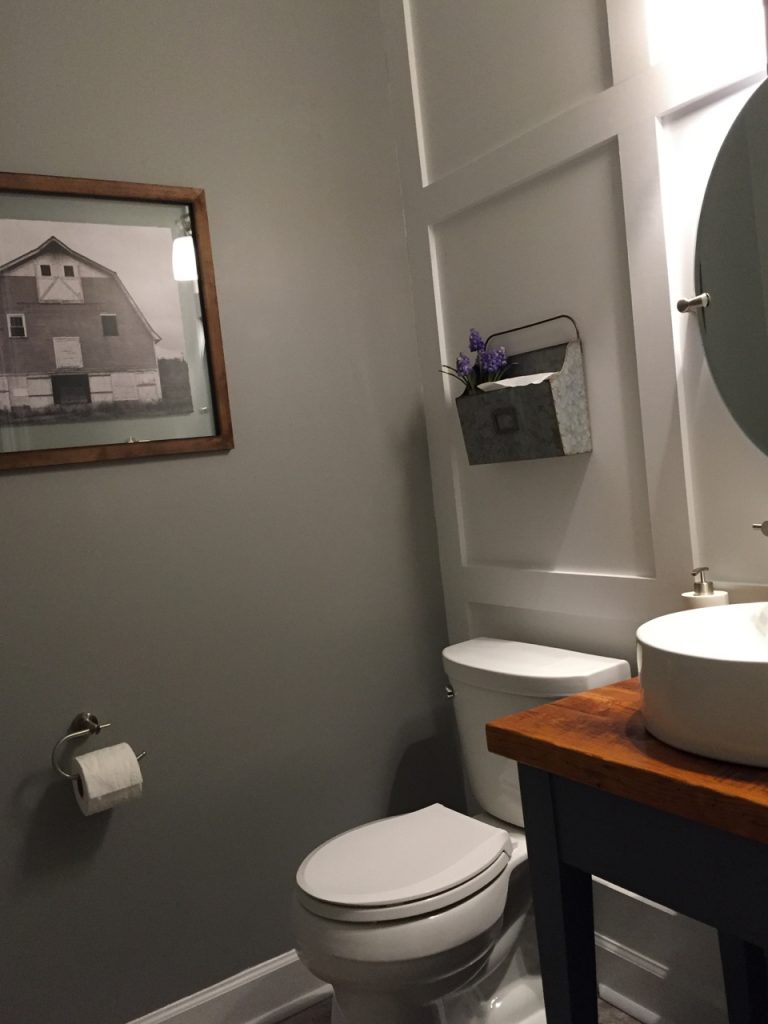
The first step to putting the “new” bathroom together was to do floor to ceiling paneling on just one wall – the wall behind the sink and toilet. It’s a very simple paneling of clean squares created out of mdf for stability. I felt the design, though simple, was a good balance of traditional and modern. Pavlo also added a crown around the entire of the bathroom. At first this wasn’t in the plan but I felt the room still looked a little bare without it. As I’ve said before, he loves doing trim work so there was no argument when I tweaked the plan a bit.
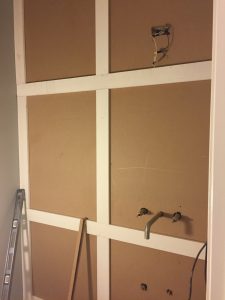
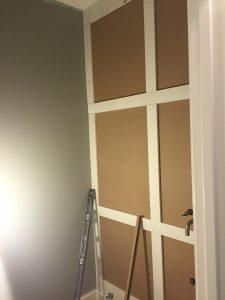
Next, the nail holes were filled and sanded leaving the wall prepped for paint. However, the paint would have to wait until after Pavlo reworked the plumbing to accommodate the new fixtures I’d selected. We would be using a wall mounted faucet so that required a little bit more work…completely worth it though!
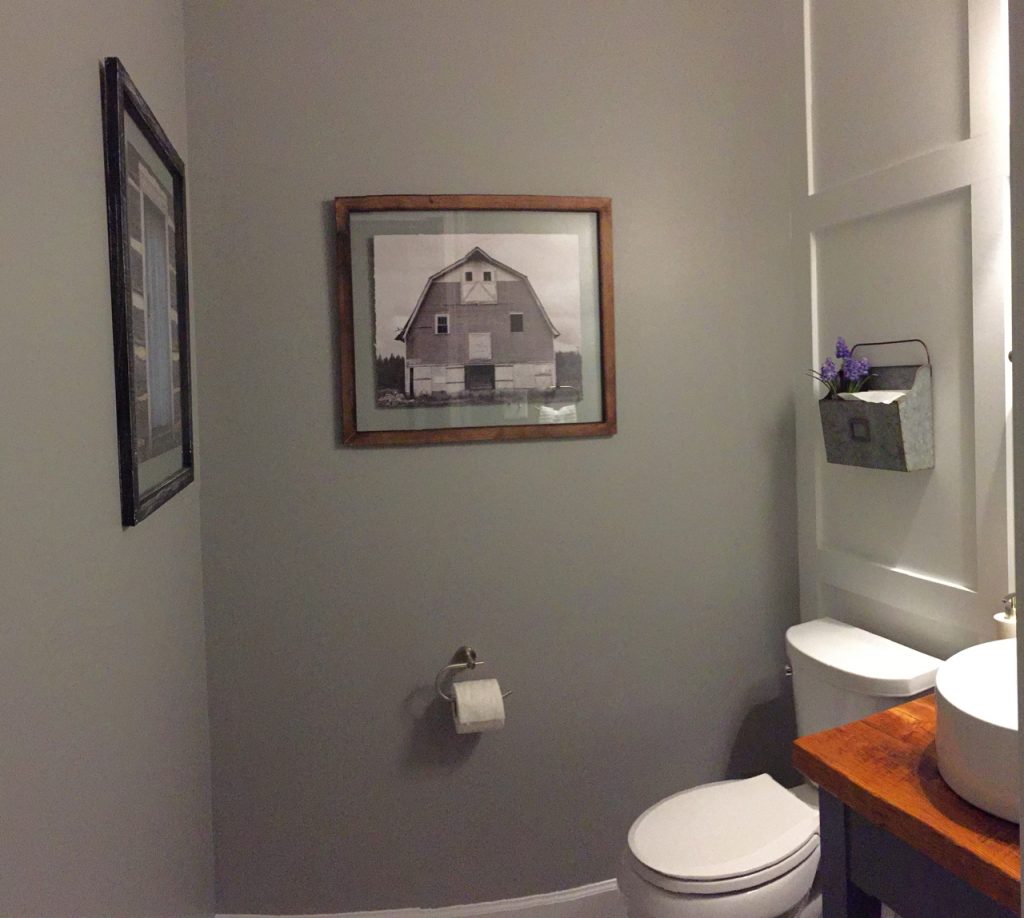
After the accent wall and plumbing were finished, paint went on all 4 walls. The accent wall (the one with the paneling) was painted a crisp semi-gloss white while the other 3 walls were painted “Ellie Gray” by Sherwin Williams.
By painting first we were left free to tile without risk of making a mess of our beautiful new stone flooring. Which, after setting over night, was grouted in a Power Grout named “Dove Grey” by TEC
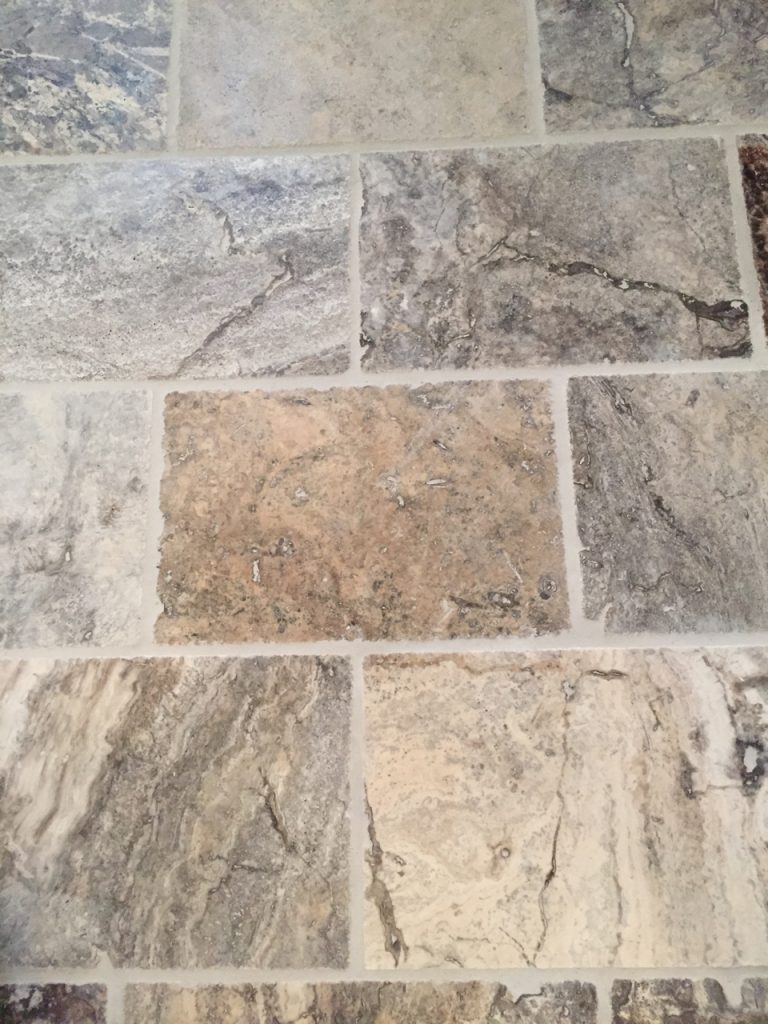
Once the floor was grouted, the base trim went back in and we were able to set the toilet and vanity in place. Before showing you those I need to show you how the vanity came about.
I searched and searched for a vanity that fit the design I had in mind and that we could simply purchase, you know, like most people do…but I came up empty. So, instead of rethinking things Pavlo and I built it! You read correctly, Pavlo and I! I helped with this one and here’s a little proof my mini-photographer, Landon, captured for me.
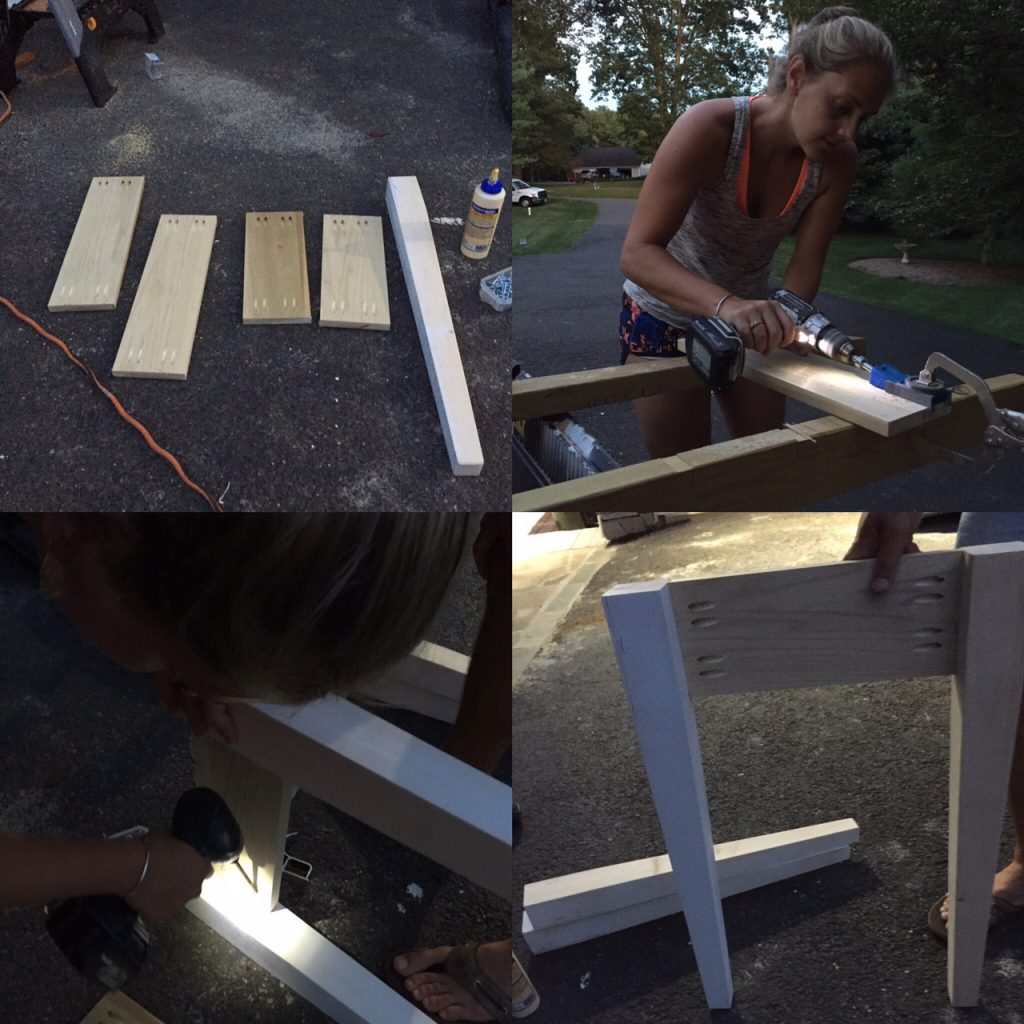
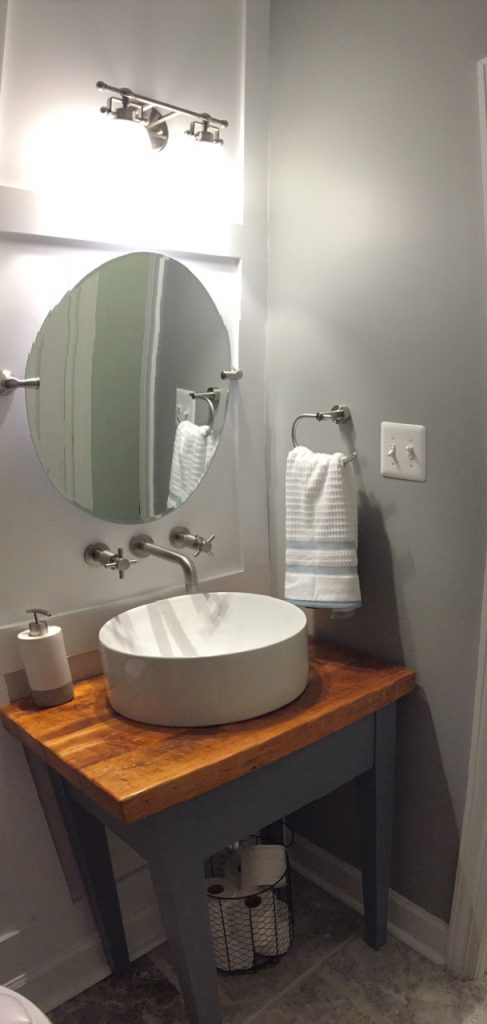
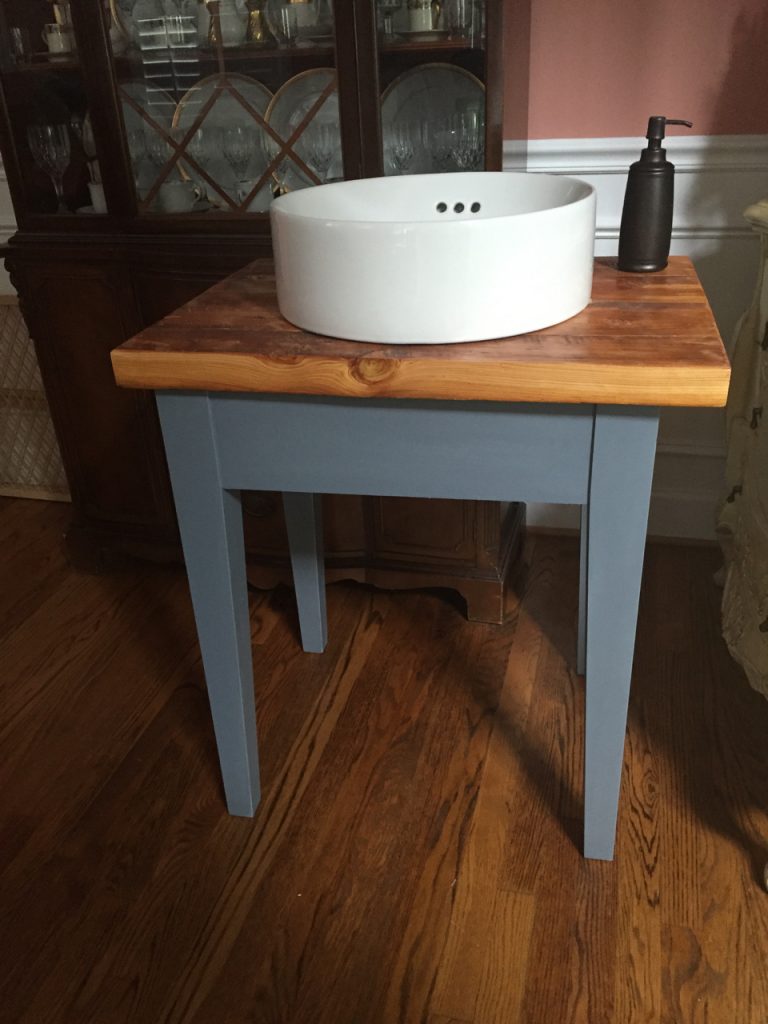
The base was sprayed out using the color Storm Cloud by Sherwin Williams and after that all that was left was a counter top. The top of the vanity was made of reclaimed pine that Pavlo joined, hand-planed and then sealed with a clear coat of polyurethane.
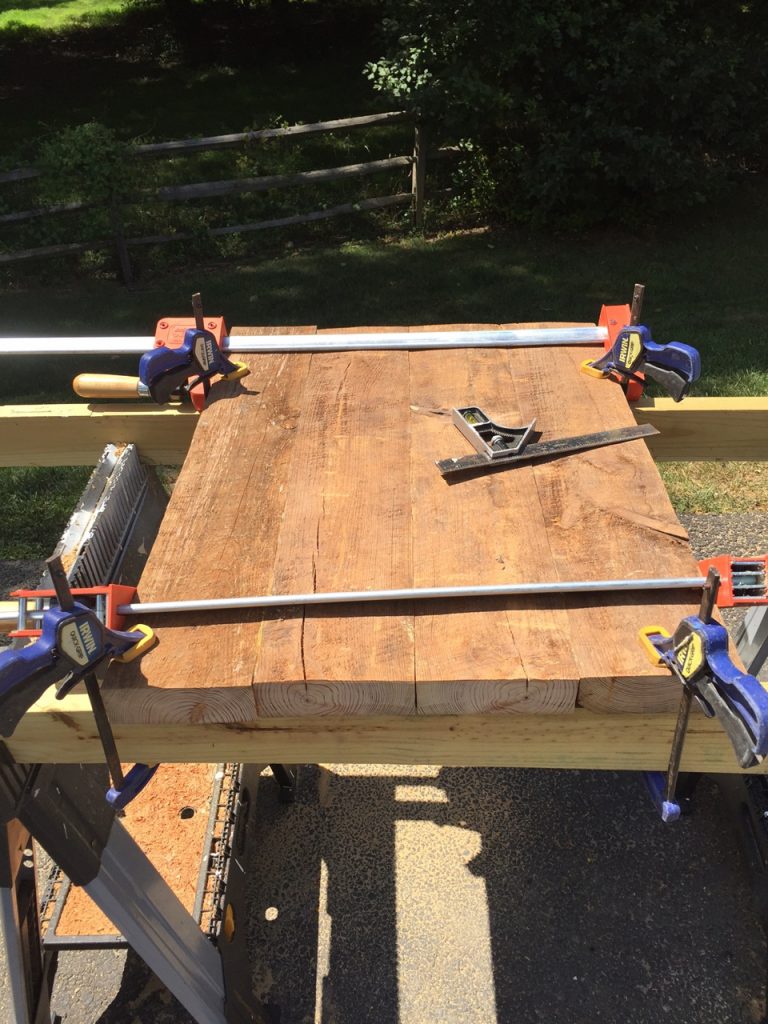
Using the template that came with our Kohler, vessel sink, a hole was cut into the counter for the sink’s placement. Here’s what the final vanity looked like:
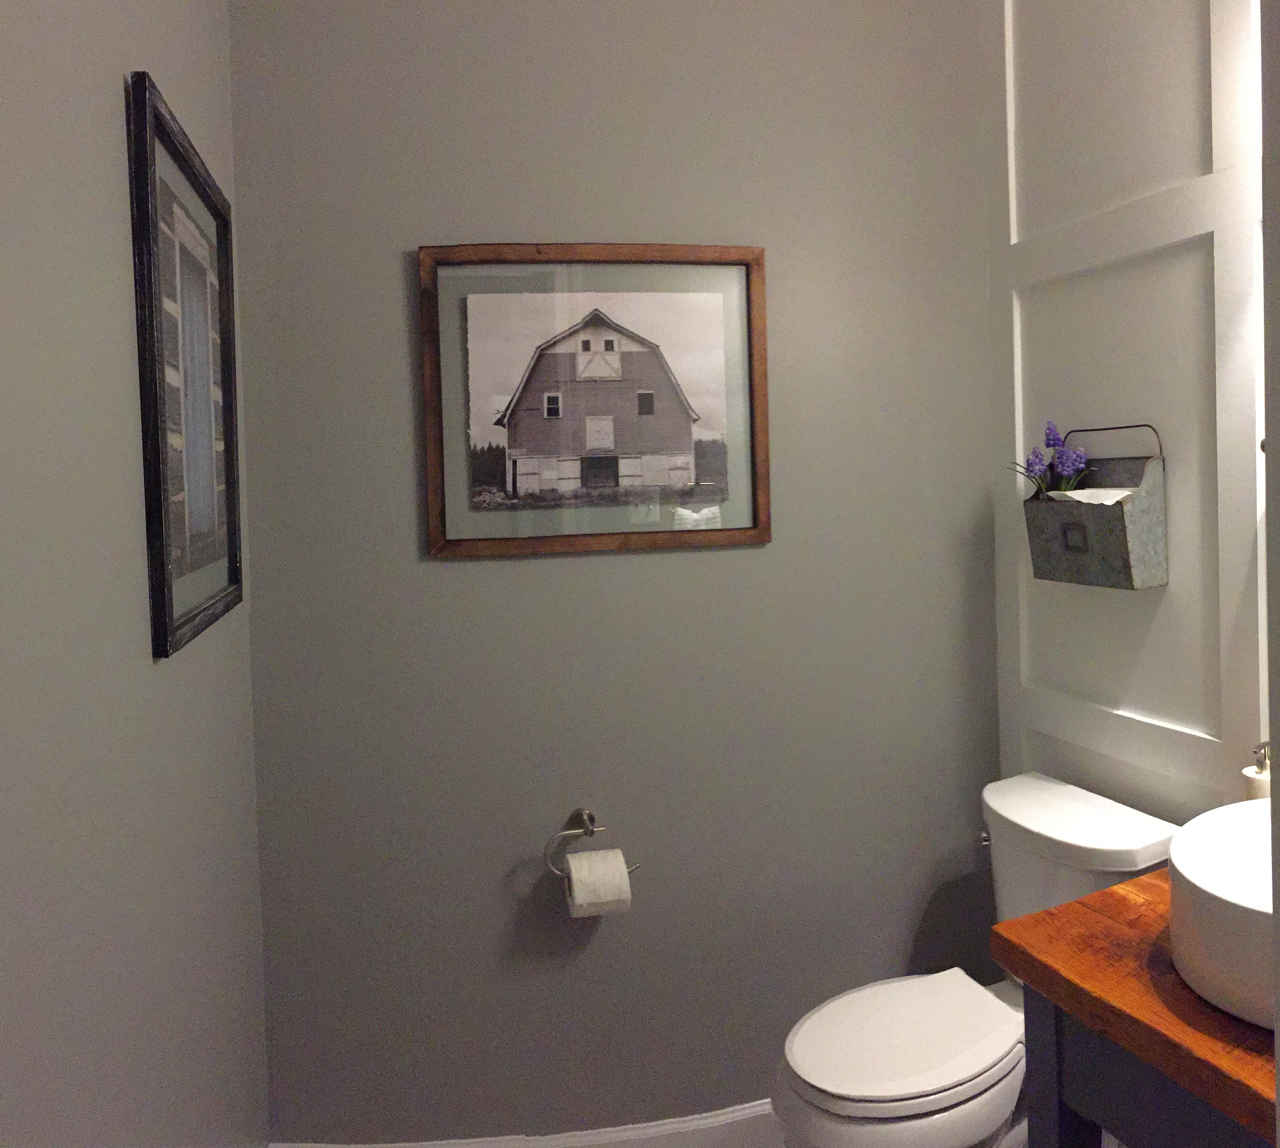
Ok, now it’s only fair that I show you the sink and toilet in place and the final bathroom:
