The Kitchen Remodel

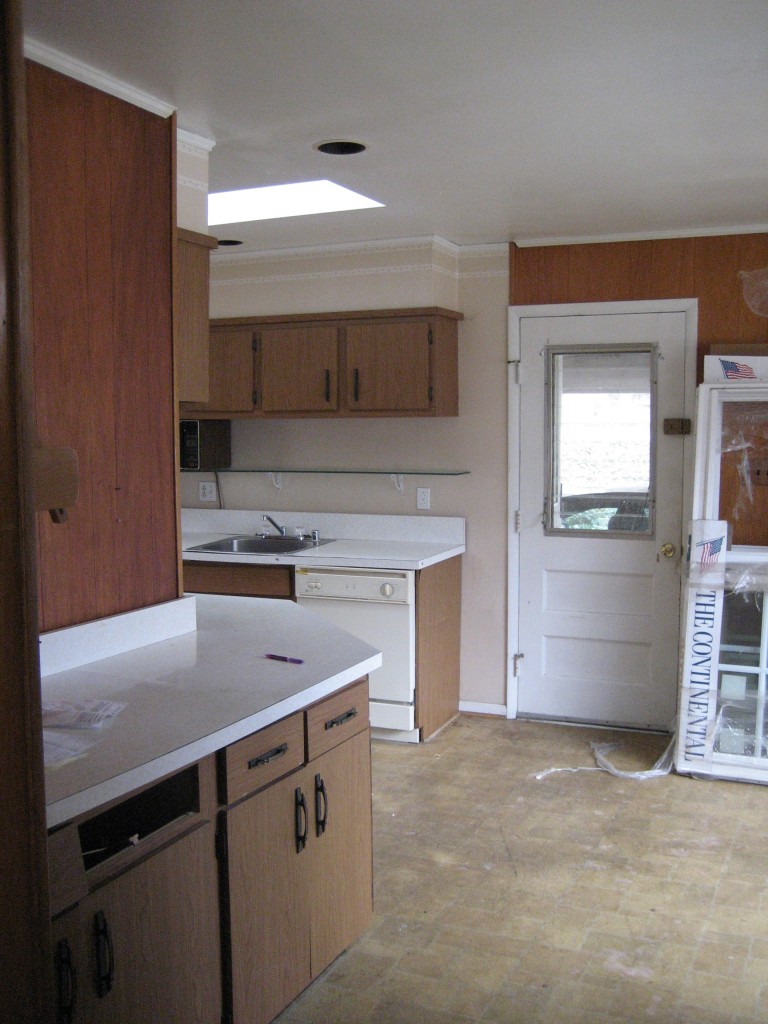
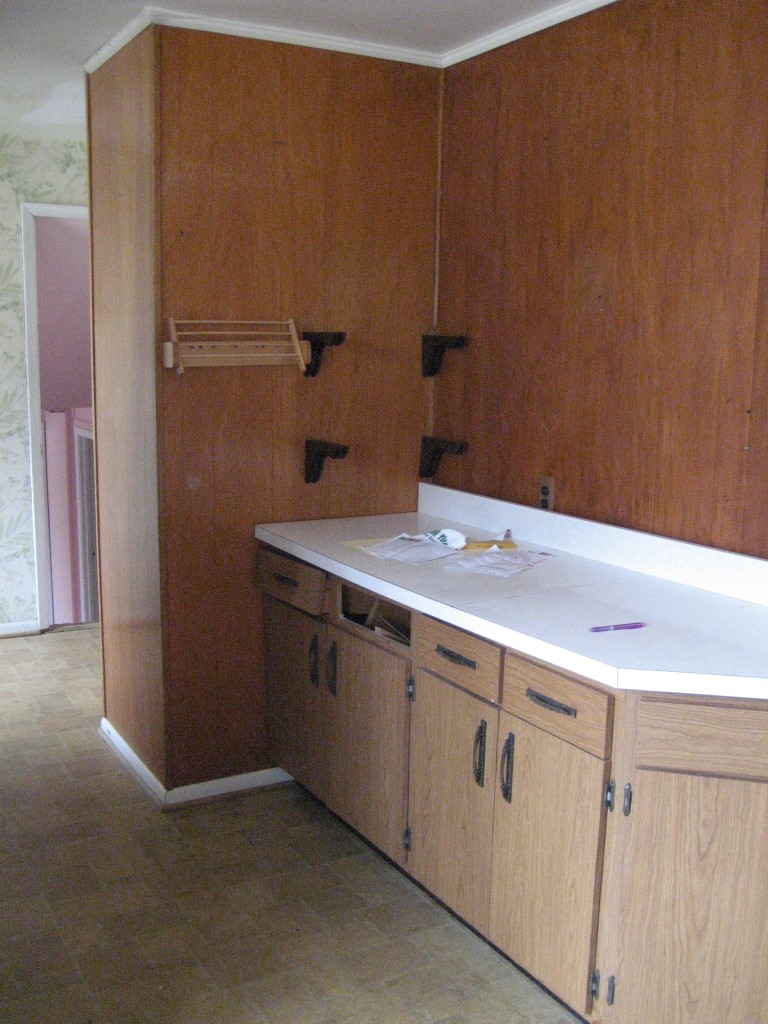
As shown in the previous post, our kitchen was extremely dark and dated. Since we were already planning to take down part of one wall (and thus some of the original cabinets) as well as rearrange the location of most of the appliances, we decided to do a full gut-out rather then attempt to reuse items that we weren’t exactly in love with anyways.
Originally the kitchen was plumbed so that the refrigerator was to go on the wall that we wanted to make into a breakfast bar and the sink was to be on the opposing wall.
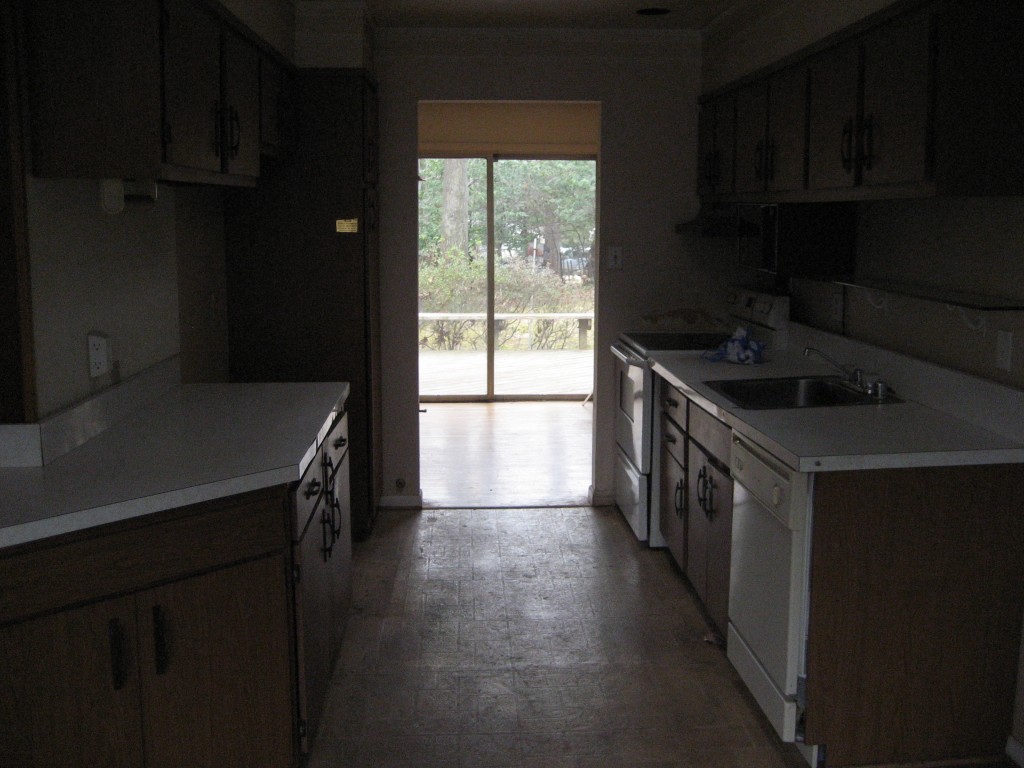
Pavlo rearranged this to accommodate our new open layout in addition to having a gas line put in for our new gas stove (Pavlo’s major preference), and re-wiring the entire kitchen for the most beneficial lighting pattern possible. This was all the “behind the scenes” work that went on when I felt like absolutely no progress was being made for weeks on end. However, I have to say that these changes were beyond necessary and I’m now grateful for what I felt like at the time were wasted days.
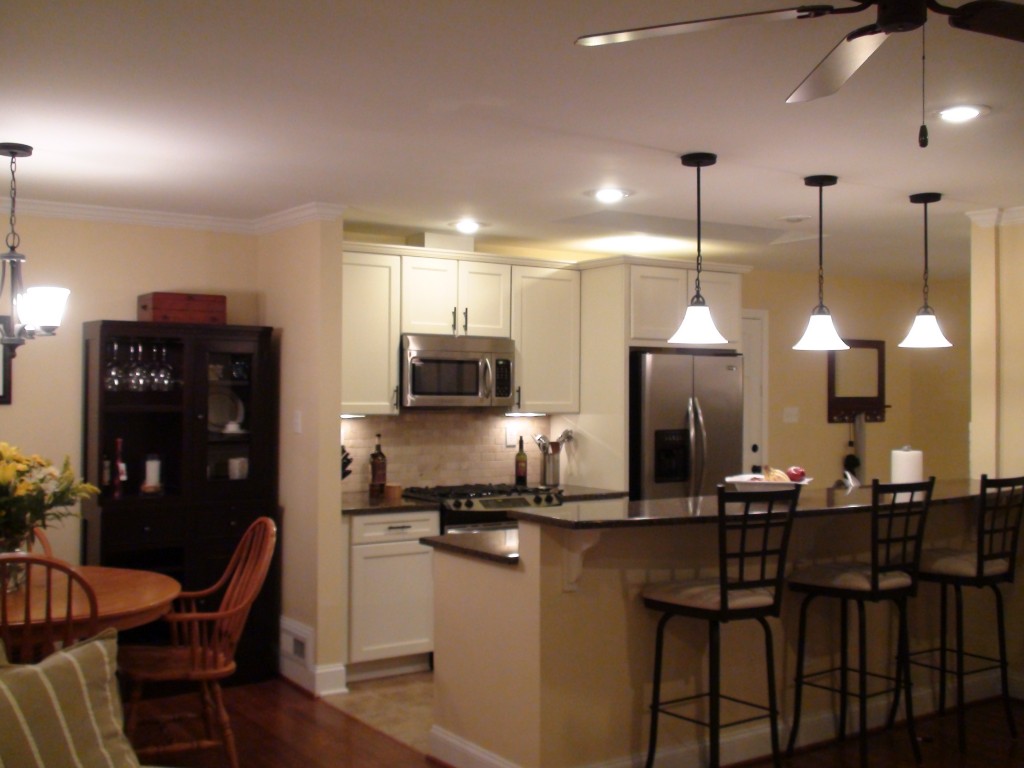
Now for the details on this new kitchen. To replace the dark p-lam cabinets we ordered semi-custom, all wood cabinets painted in an antique white finish. Although the open floor plan created by taking down half of the wall that separated the kitchen from the living room could have handled darker cabinets, we felt that the light cabinets made the space appear brighter and even bigger.
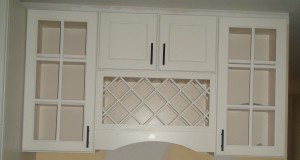
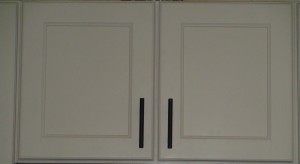
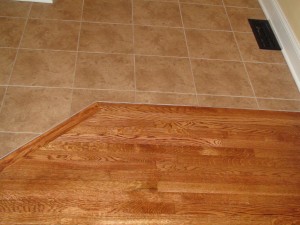
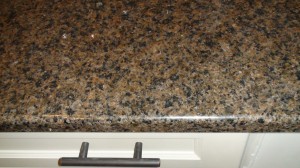
To compliment these new and beautiful cabinets we selected new stainless steel appliances and dark natural stone counter tops. To be more specific we selected tropical brown granite. It contrasted wonderfully with the antique white cabinets while at the same time coordinated with our newly tiled kitchen floor and our living room’s refinished hardwoods. Both floors have a brownish hue to them, the kitchen is a soft mocha porcelain tile while the hardwoods have a red oak stain. With these floor colors the choice of counter tops was actually perfect because it contained both in it’s pattern thus tying together the living room and kitchen even more.
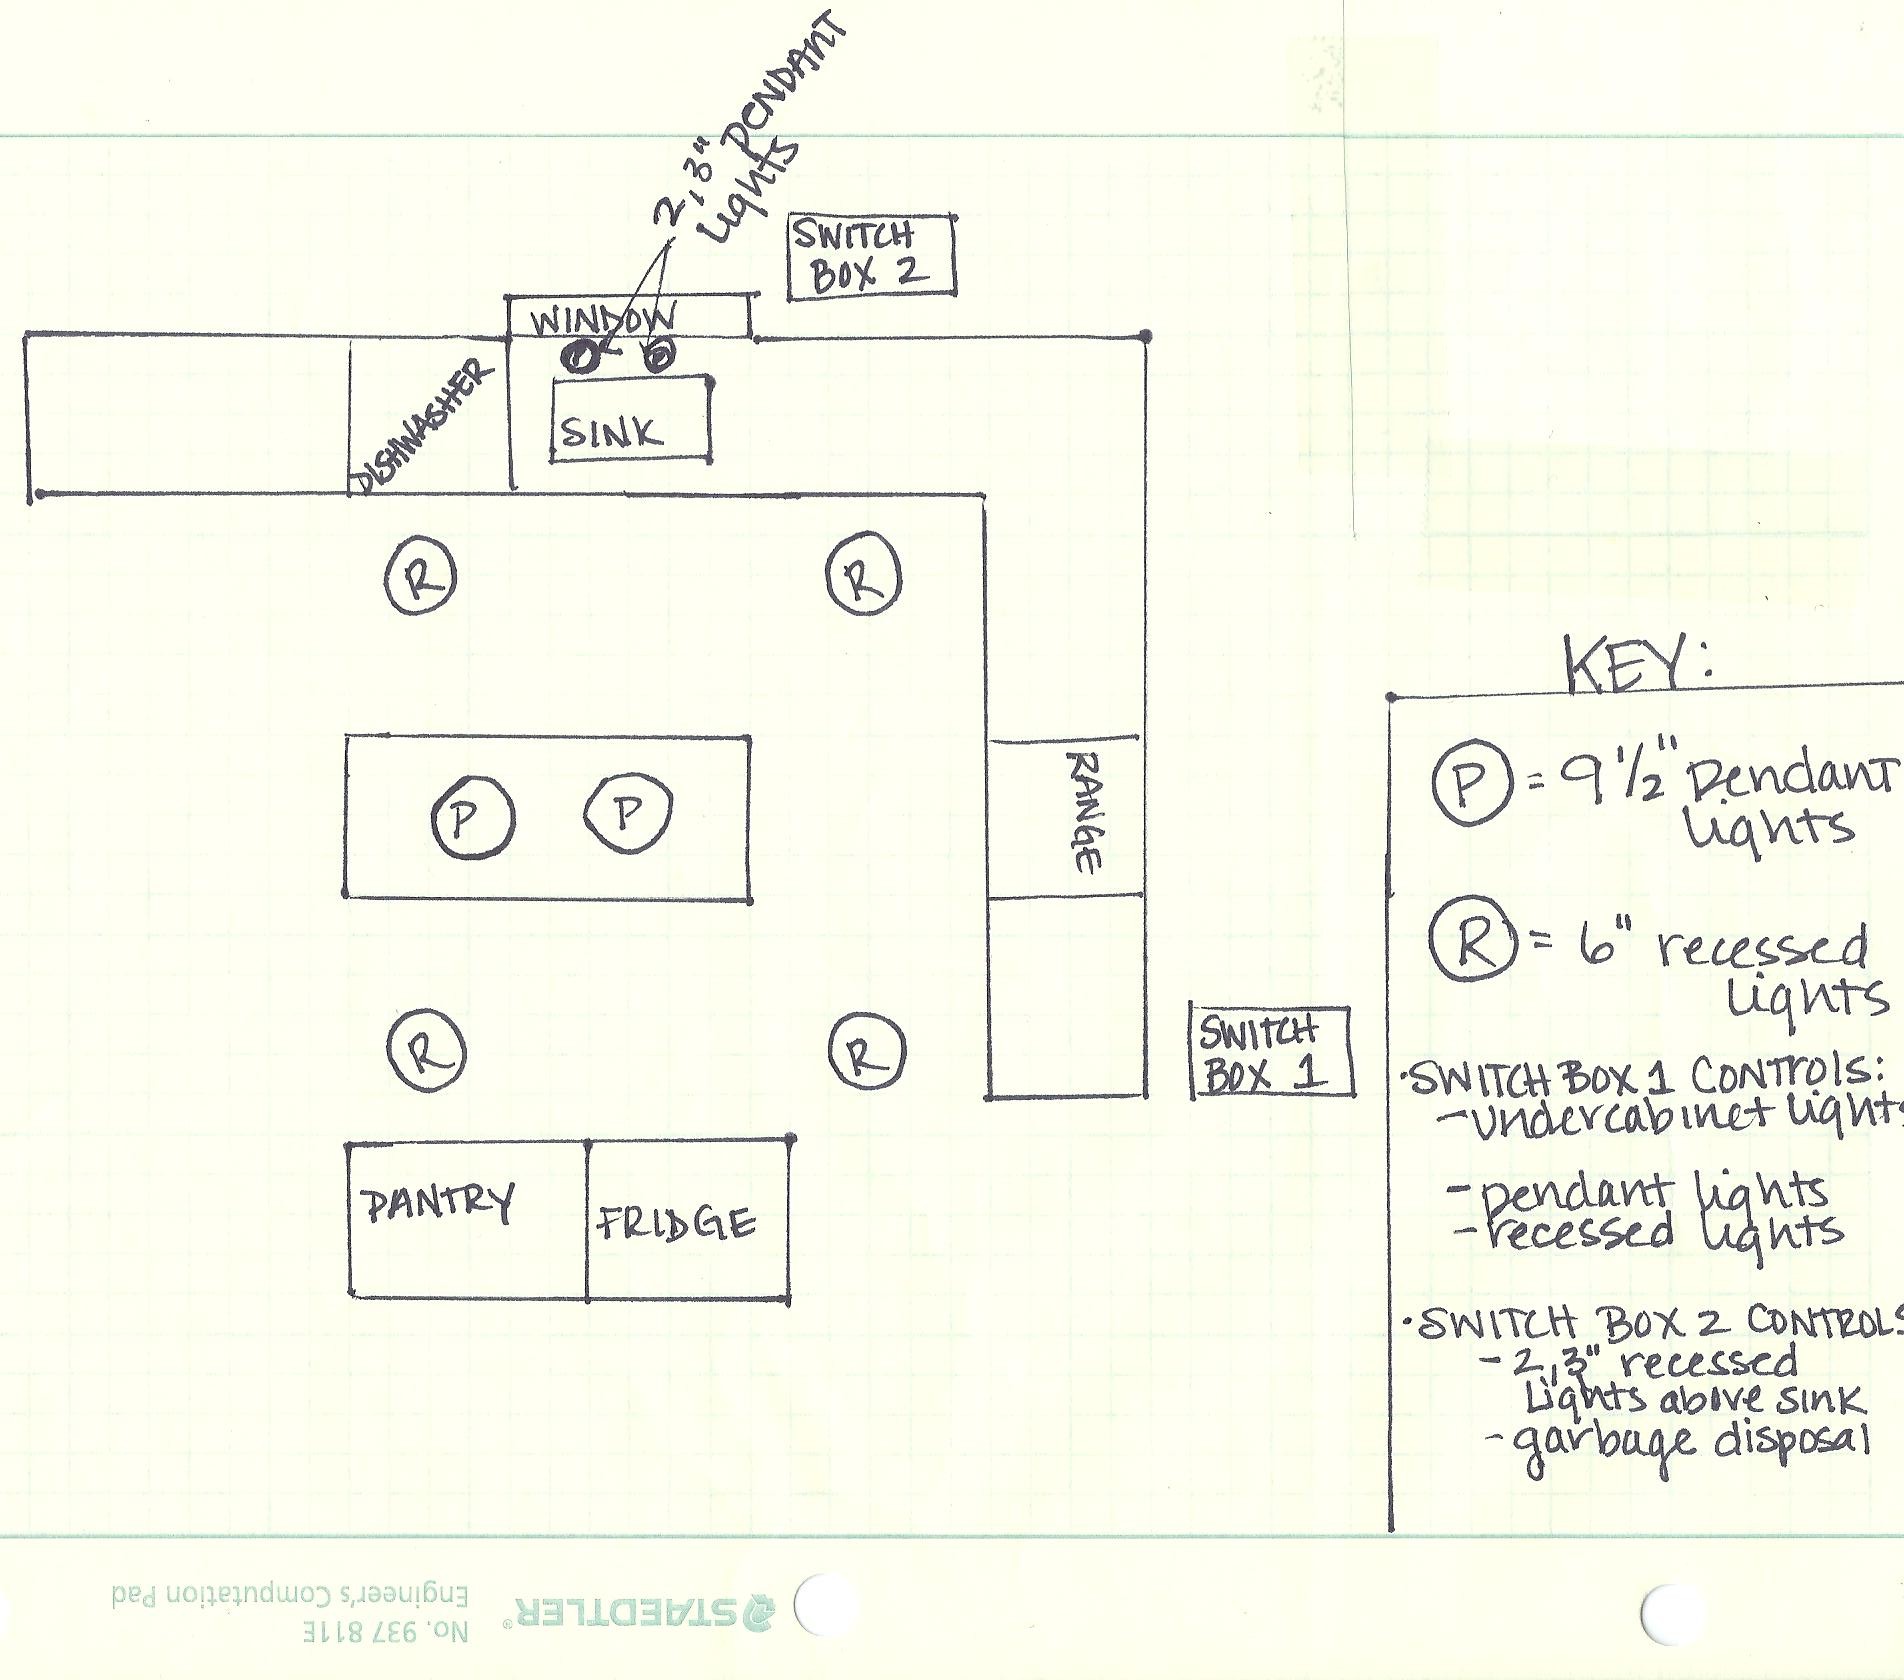
Now, onto the lighting! As I already mentioned there were certain moments during the kitchen remodel where I felt like absolutely no progress was being made and time was standing still. Well, lighting was one of those times! Pavlo had me sit down and write out on paper not only where I wanted lighting but which switches around the room worked which lights. I know, even to you readers this sounds like a very reasonable (and simple) request, and I agree. HOWEVER, remember that at this point we didn’t even live in the house so I had very little knowledge of which switches and lights I would be using most often or where in the kitchen I would be most likely to access them. I’m pretty sure that Pavlo was predicting this to be an issue because he made me draw out at least 5 lighting maps and even mark the ceiling with permanent markers! Yes, it was at about the third lighting map that I thought I was going to go nuts, but now that I see the whole lighting system of the kitchen, I realized I may have been oversimplifying things in my head just a tad! Yes, that’s my way of telling Pavlo he was right!
At any rate, the lighting system of the kitchen included 4 recessed lights surrounding our skylight. One above the stove, the refrigerator, the sink and one over the dishwasher. Basically they illuminate the whole work station of the kitchen. There are also 3 pendent lights above the bar and under cabinet lights under every upper cabinet.
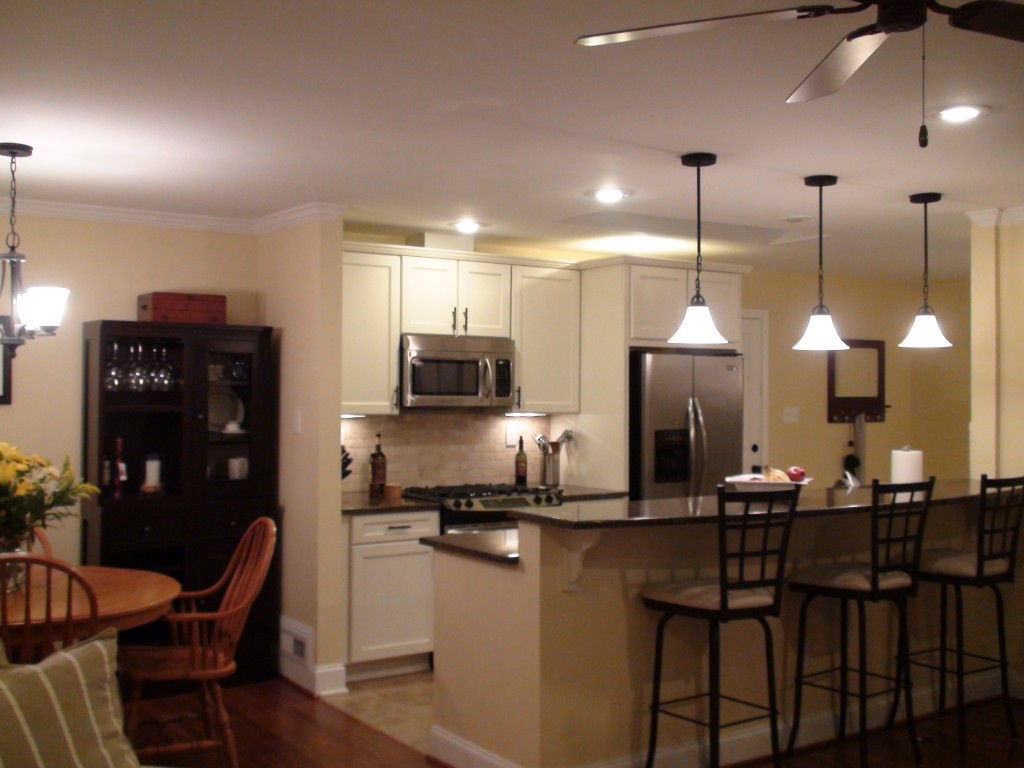
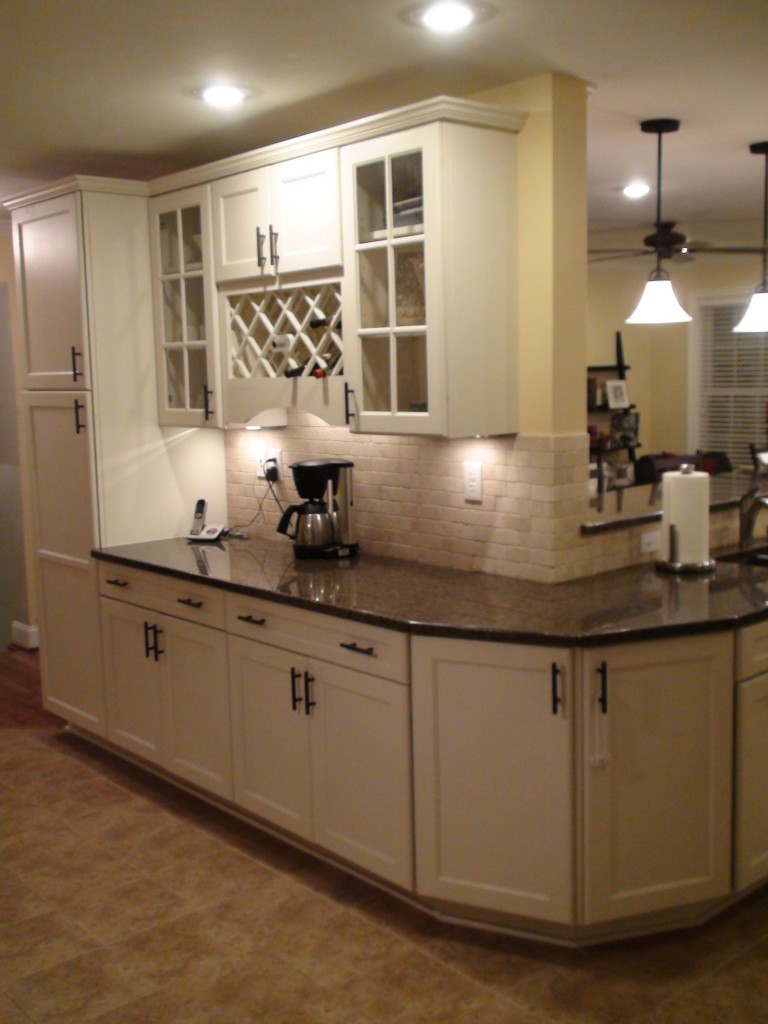
In addition to all this there is of course a chandelier above the dining table and a larger pendent above where the kitchen table will go (stay tuned for a future post on that table…it’s in the process of being made). Finally there are two recessed lights above the new built in wine rack.
All of the pendent lights and the chandelier are in a dark metal finish (peppercorn) as well as the the hardware on the cabinets (oil rubbed bronze). These dark fixtures worked brilliantly with the dark granite!
The final touch to the kitchen was the tile backsplash. We chose a cream colored 2×4 subway tile, a very neutral color and style that worked with our whole kitchen.
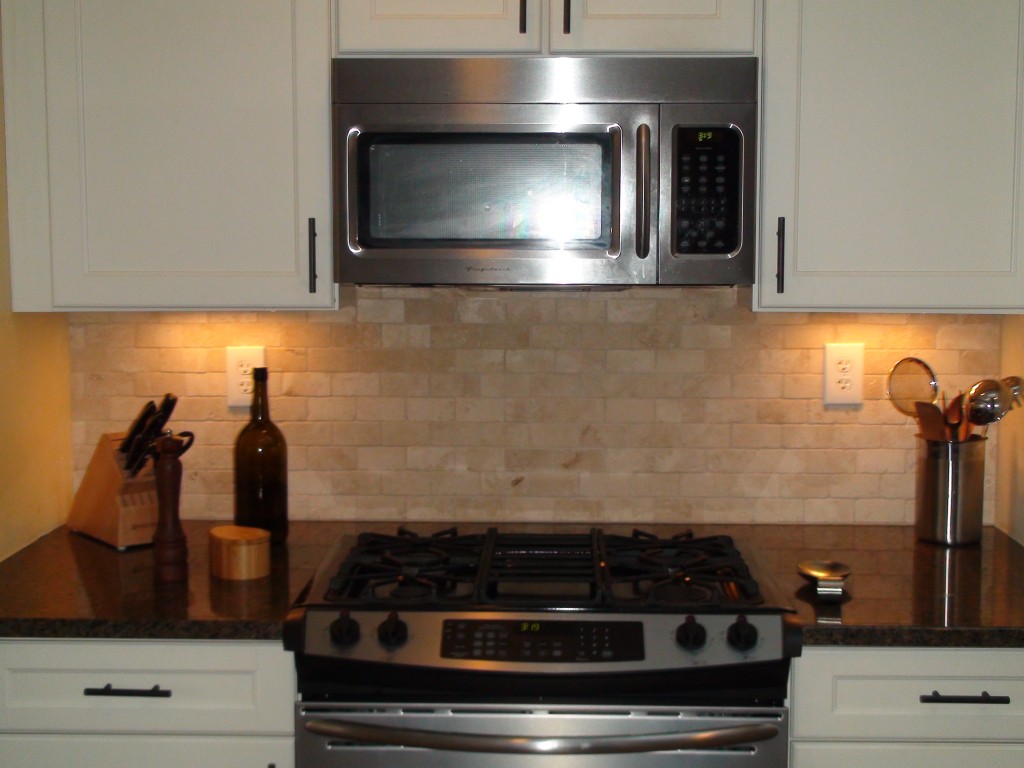
At this point you’re probably wondering where all the color is in this extremely earth toned kitchen. Well, in addition to the reddish tone to the refinished hardwood floors I went with a soft, almost golden, toned yellow on the walls. When Pavlo put that first coat of paint on the walls I thought I was going to cry…and not of excitement! Remember, this is not just the first house I’ve ever owned but also the first I’ve decorated! However, Pavlo told me not to rush into changing the color and to wait until all the pieces of the kitchen were in place. Thankfully it all came together beautifully and no change in color was needed.
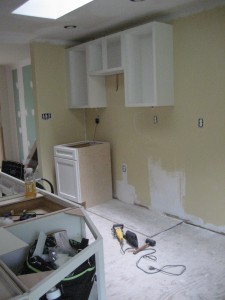
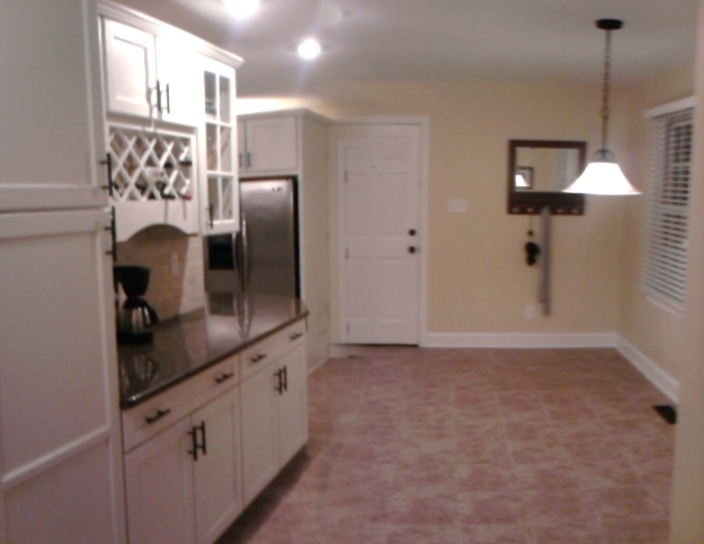
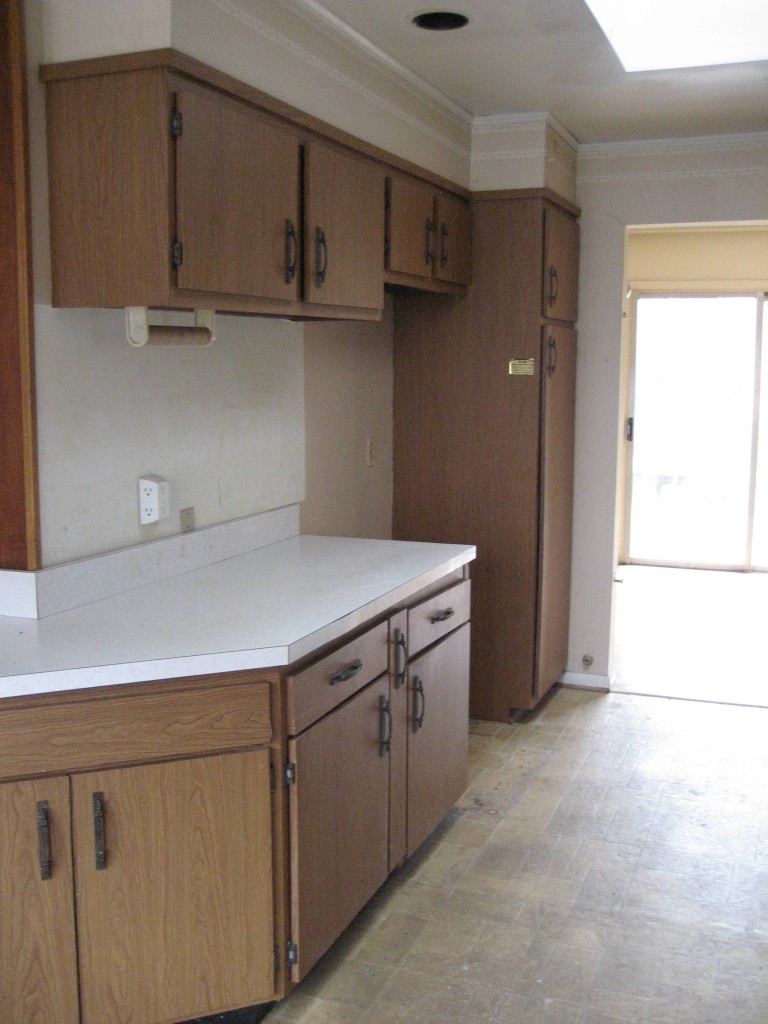
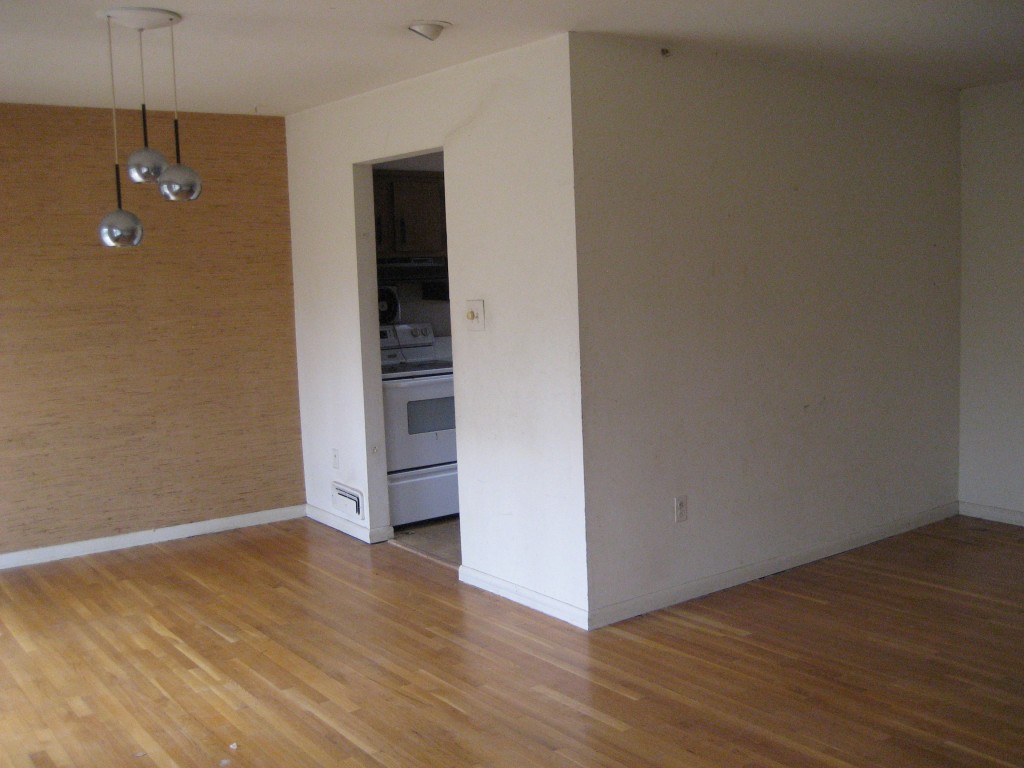
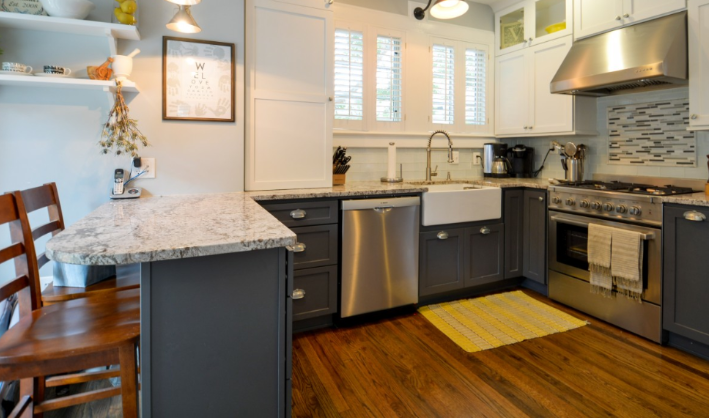
Here are some before and after shots of the kitchen.
Before and after of breakfast bar:
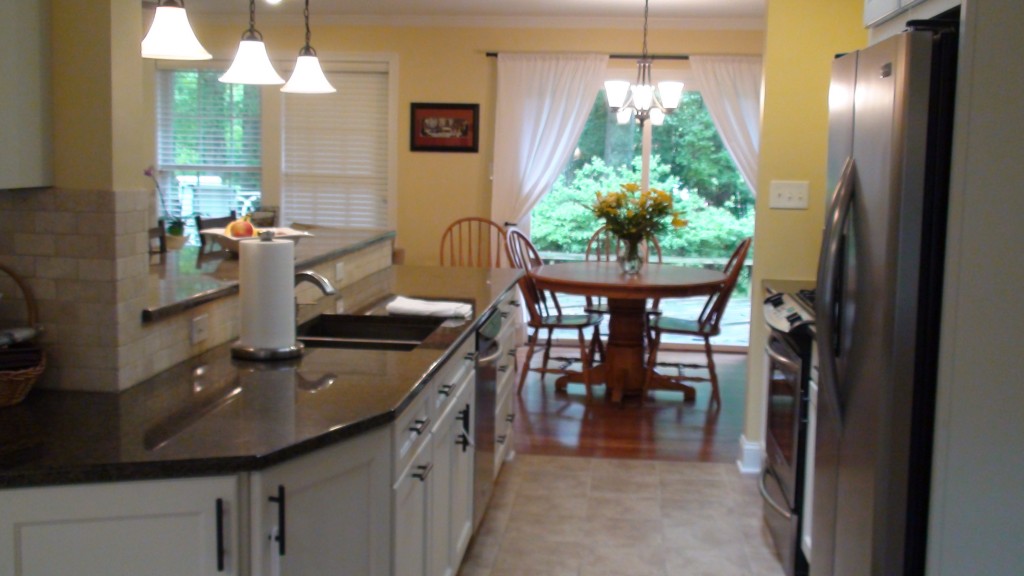 Before and after of kitchen viewed from living room:
Before and after of wine rack and kitchen table area:
Second view of before and after of wine rack:

Absolutely gorgeous! You two rock!
Stephanie and dear son, Pavlo, I am so very proud of both of you! I saw the house in the early stages, and although I have always had confidence in your abilities, it did look daunting. Stephanie, your ability to visualize the end result and trust in your husband is wonderful.
God bless you both! You truly have a very beautiful home.