The Story of a Kitchen Table
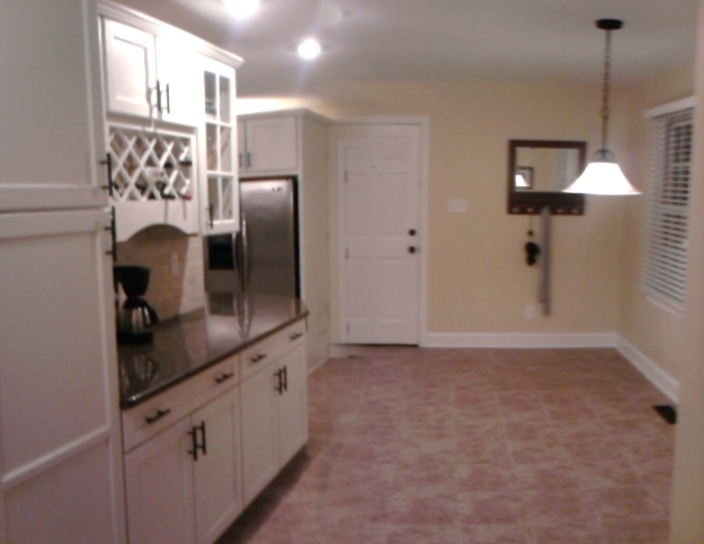
You may have noticed from our kitchen renovation post that we didn’t actually have a kitchen table in the eat-in portion of the kitchen. Well, the only table Pavlo and I owned (the round one in the dining area) was picked out and purchased by Pavlo, ALONE, before we were even engaged. I emphasize that he bought it ALONE because although it’s not a horrible table it’s just not entirely my style or what I would have chosen. At any rate this table didn’t fit in the eat-in portion of the kitchen so it was a given that it would go in the dining area and we would figure something else out for the kitchen. Daily, I dream up ways to change that round table to better suit the dining area but my dear, sweet and loving husband keeps finding ways to delay me. I think someone might be a little attached to his purchase!
At any rate the round table went into the dining area leaving a gaping hole in the kitchen. We literally went over a year without a table to fill the space.
 For a while we were just so wrapped up in completing other aspects of the house that buying a table was not a top priority. Then, when we were finally at a point where we were ready to to cross “buy a kitchen table” off of our “To-Do list”, I let Pavlo know what I had been envisioning. He responded with a look I was becoming eerily familiar with (sadly, my dad use to give me the exact same look). The look read, “Oh great, this is going to cost me.” You see, since the kitchen had been completed I had a firm idea of what I wanted and yes, just a few quick internet searches proved my vision could be quite pricey. I wanted a small (the space would only fit a 2X4 table comfortably) farmhouse table with two chairs on one side and a bench on the other. I realize that using small to describe a farmhouse table is kind of an oxymoron but hey, it’s what I wanted! I wanted that slightly rustic look of wide wooden planks and nail holes. I wanted the look of a table top in a deep colored stain sitting atop painted legs. The funny part was that even though Pavlo gave me that look, I knew he thought it would look pretty cool too. So, since we weren’t going to be able to afford any tables like I described we took a different route. Pavlo figured what we couldn’t buy he would build!
Pavlo actually did all of the shopping for this project, I have to give him that. Although I’m sure Pavlo could have made the table legs we found them for such a great price it definitely wouldn’t have been worth the time and effort. They were actually ordered online at AdamsWoodProducts.com and look a little something like this:
 The planks of wood for the table top were found at a warehouse that specializes in salvaging building materials of all types in the hopes they will be reused rather than tossed. These particular planks were douglas fir joists originally from a barn approximately 100 years old. Pretty cool!
 In addition to the legs and planks of wood we needed a few 2X4’s and miscellaneous things like screws. Can you tell I didn’t exactly pay a lot of attention to the building of this table? If you have questions about it after this post feel free to ask, I’ll just pass them on to Pavlo.
What I do know is that the first thing done was the framing which was attached to the 4 legs and constructed in a manner that would easily support the weight of the table top (which is a lot).


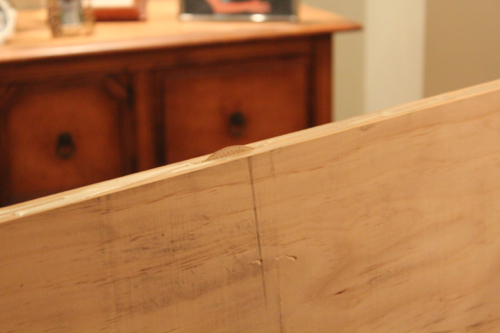
Then the top was constructed. 4 of the salvaged douglas fir planks were cut down to size and then using a tool called a joiner (yes, I know what one looks like but no, I have no idea how to work one) 4 of the douglas fir planks were tightly joined together to create this:

Finally, the top was connected to the framing using angle brackets and screws to allow for seasonal movement . Then it was planed and sanded until it was smooth enough to rub your hand over without getting a splinter yet still bumpy enough to maintain that rustic, 100 year old wood look. The finishing touches were polyurethane for the top (no stain was needed to achieve the color we wanted) and Bayberry Green milk paint for the legs.
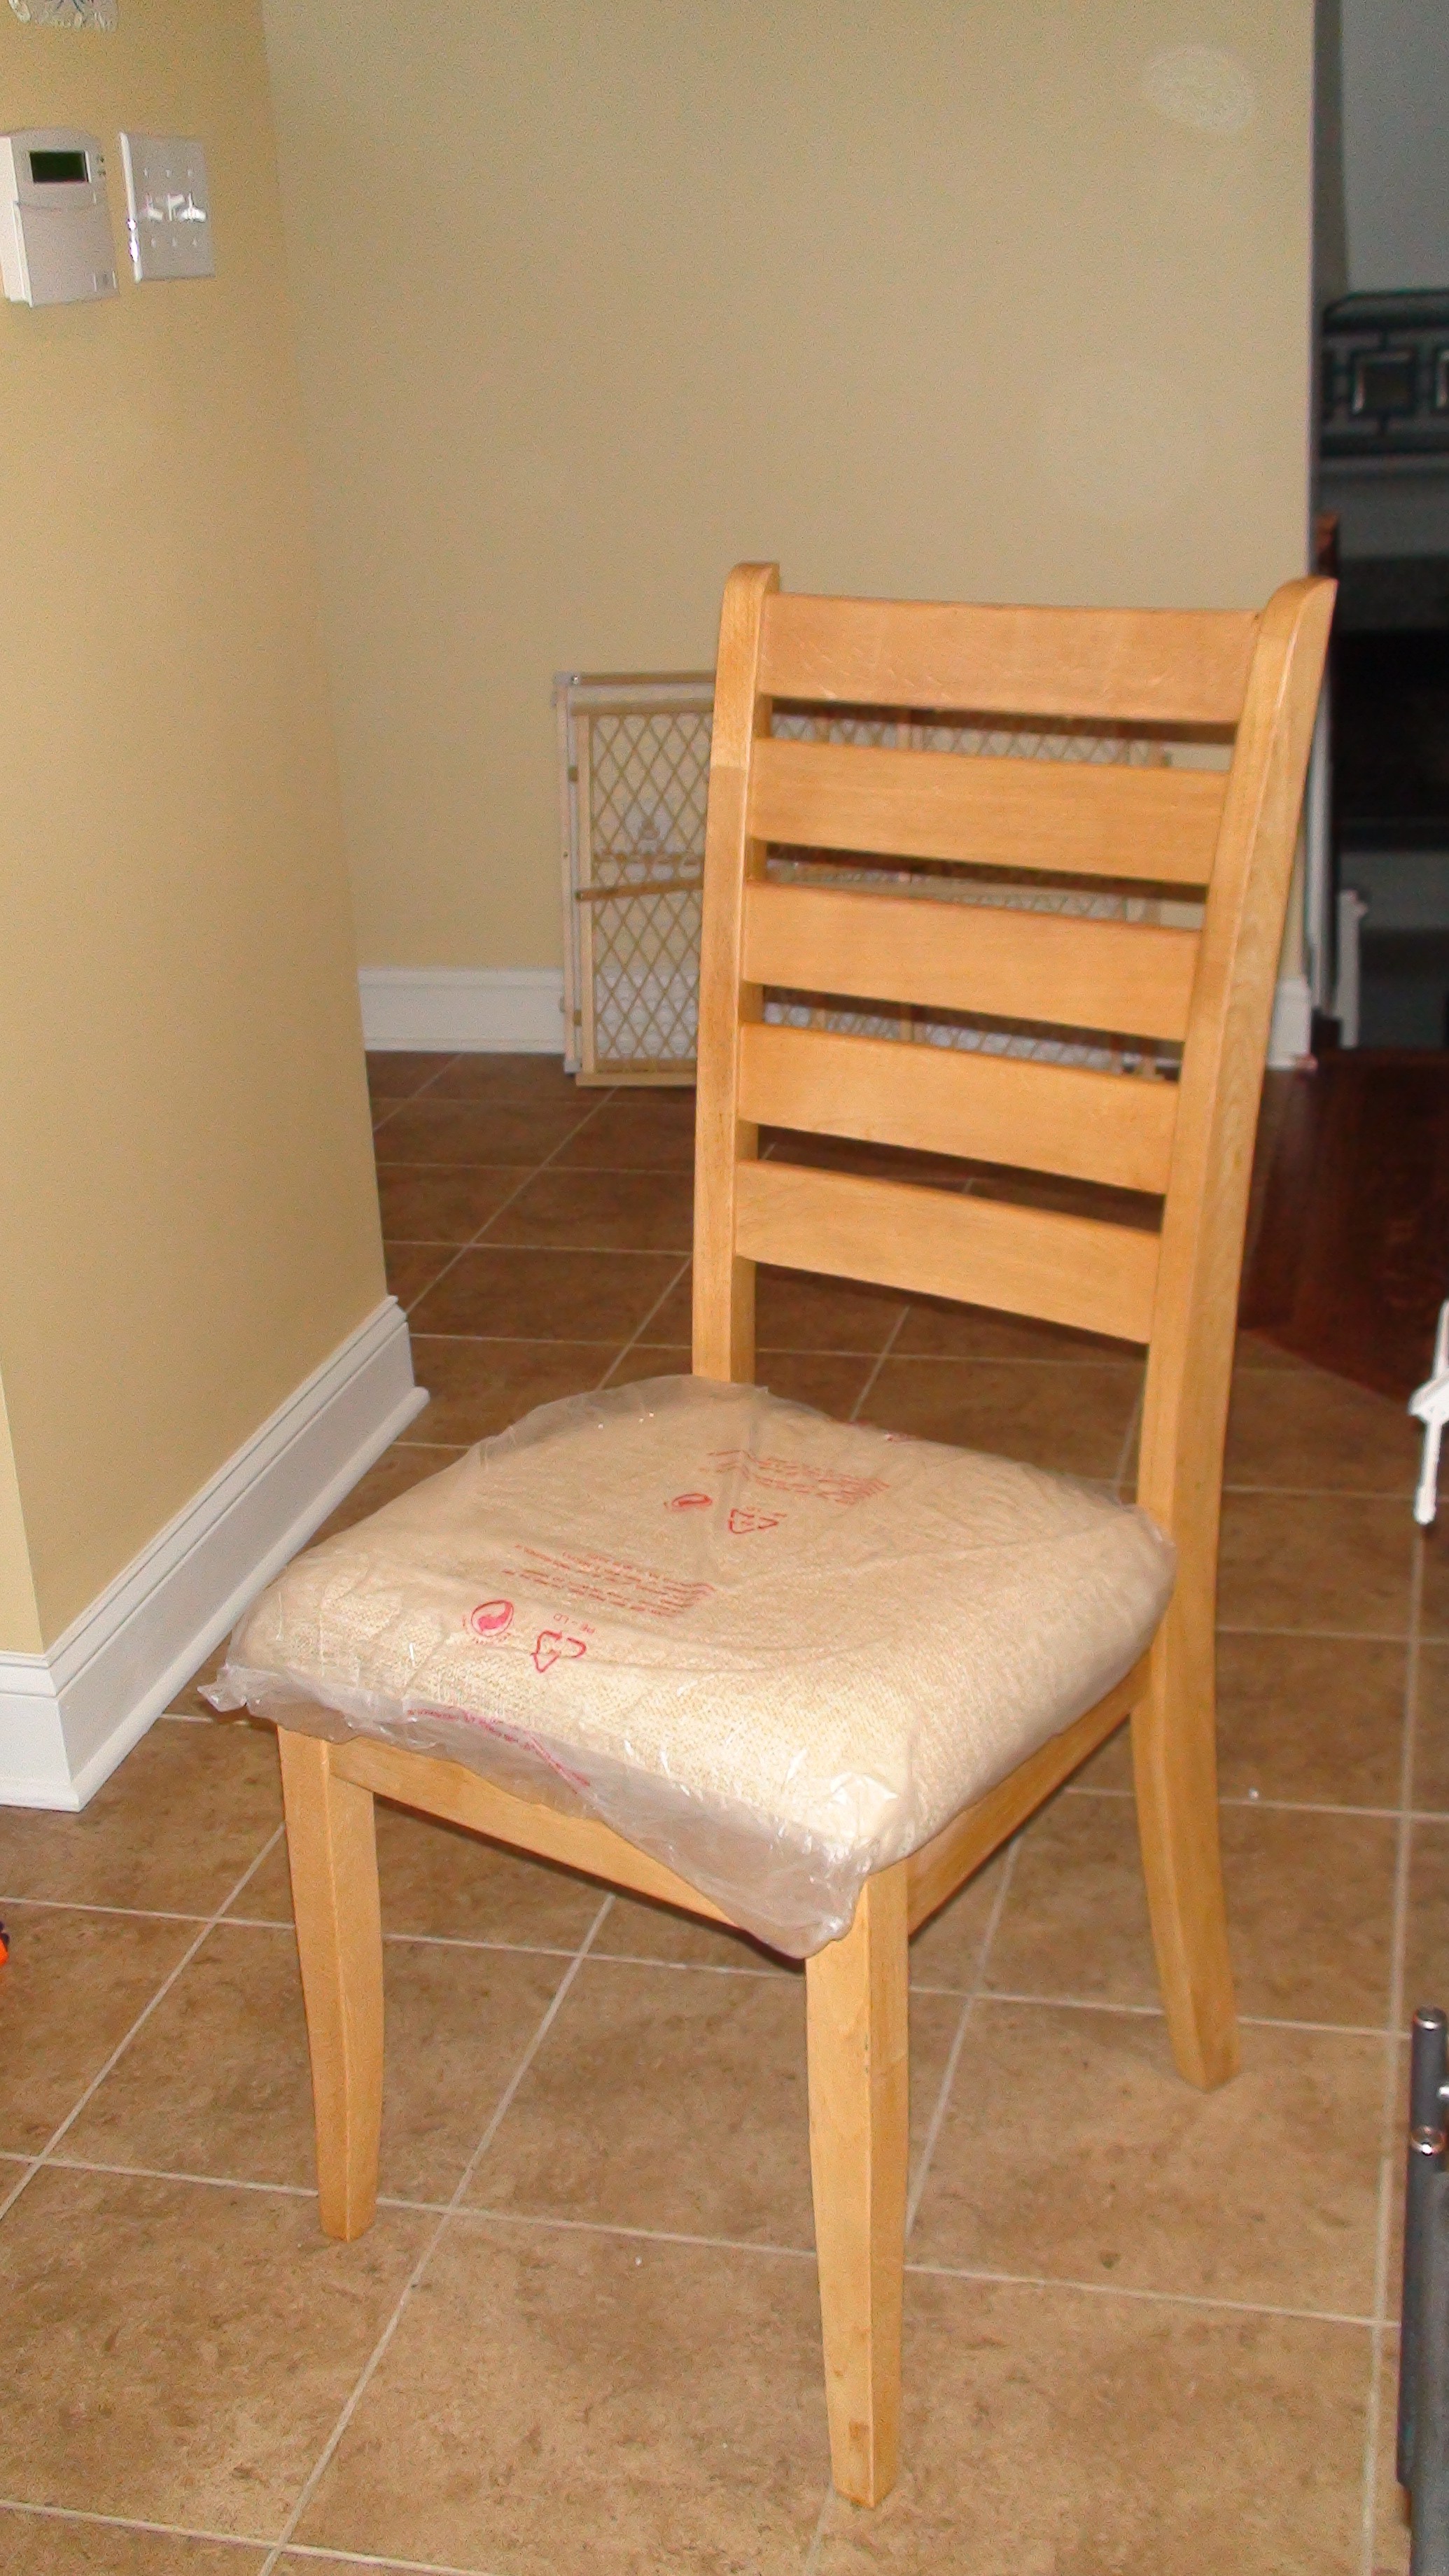
We lucked out when it came to finding two chairs. A furniture store close to our house was having a store-wide clearance and we snagged these two babies for just $35 each!

The chairs, just like the base of the table, were painted Bayberry Green. We also have some new fabric on order for the cushions so stay tuned for what that looks like. It should be delivered in a few weeks.
A couple more weeks went by before we found a bench that suited our new table. The idea of building it to match the table crossed our minds, but instead, while visiting some family in Pennsylvania, we went antique shopping and fell in love (well, I fell in love) with what I thought was the perfect bench. Unfortunately we got to the antique store 5 minutes before closing and we didn’t have time to measure it. There’s not exactly a return policy at these types of shops so we were hesitant to commit. Not to worry, our family is amazing and the next time they were near the antique shop they ran right in! And yup, my bench sold! Without a second thought two of my aunts and one of my uncles sweetly hunted through the store and found another one that was even more perfect. (It’s the white one below)

Since it was already a neutral color, and an antique, we decided to leave it just as it was, white and scuffed up in a few areas!
Here’s our final product:

Your ingenuity is spot on!
OMG. I feel like I’m watching HGTV only better!