The Basement’s Living Room Part I
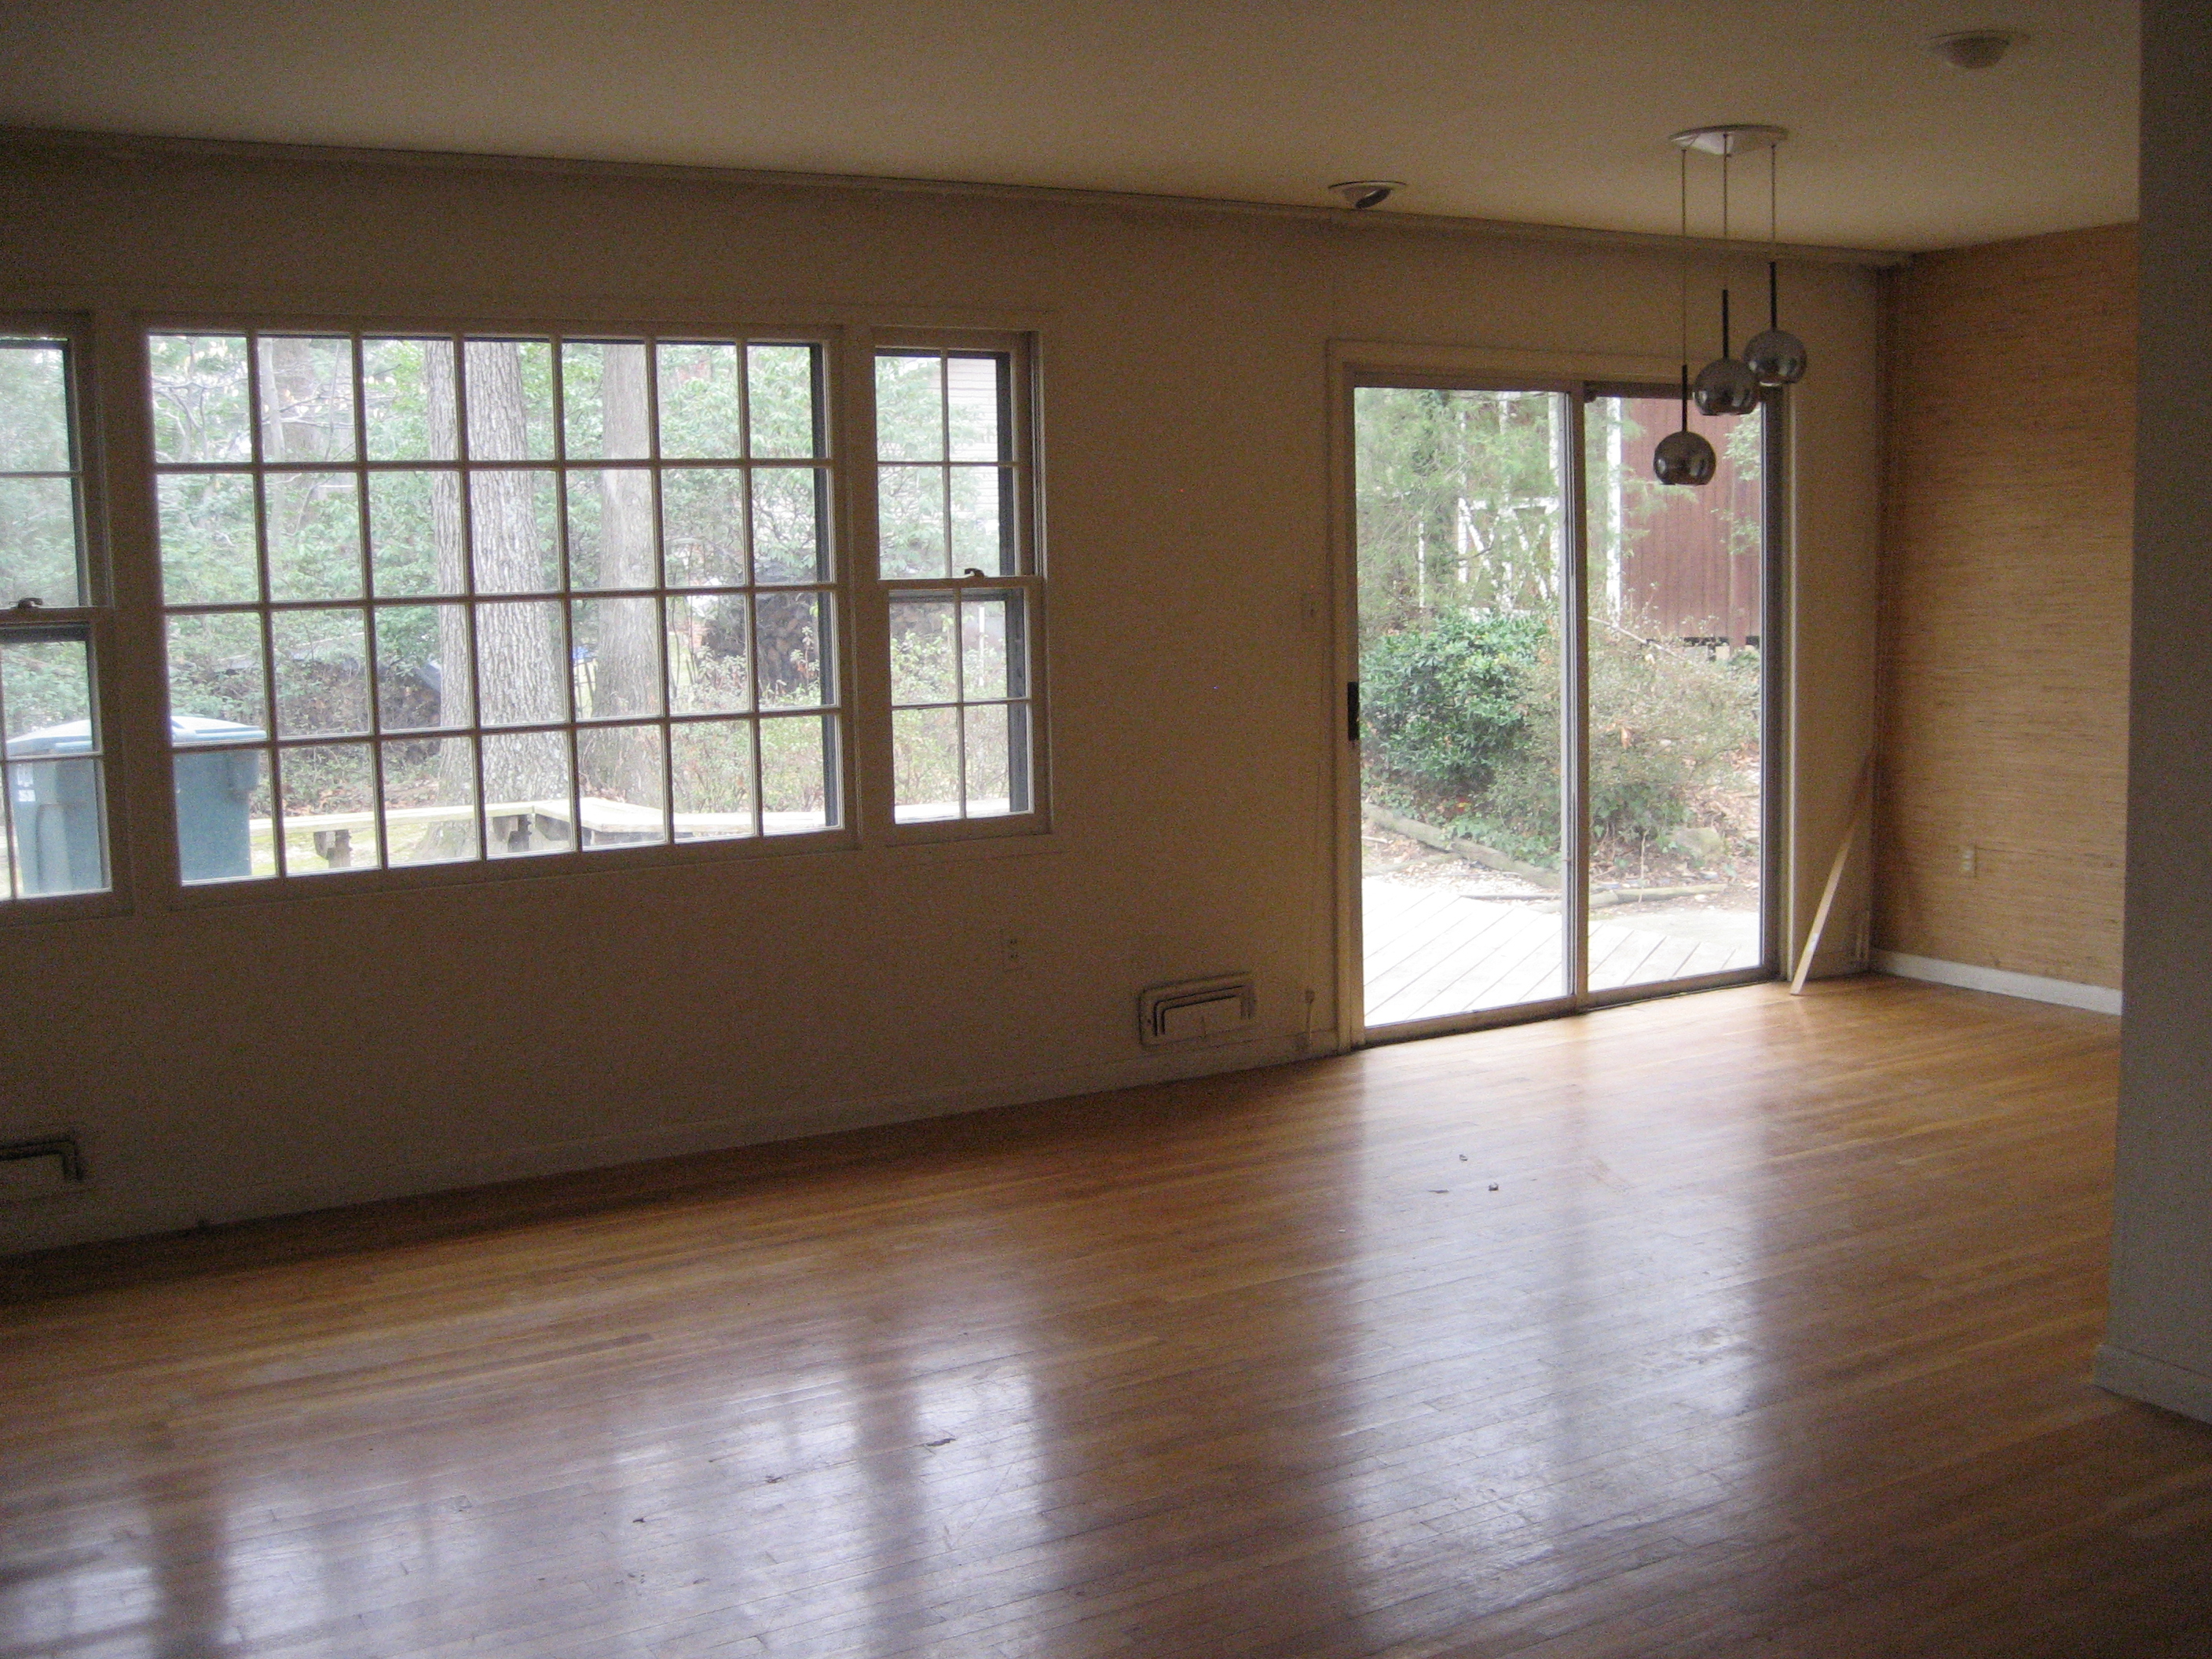
The basement living area is actually one large room but I’ll be splitting it into two different posts rather than one incredibly long post. We’ll call the side I’m writing about today the fireplace side. Yup, that’s right, it’s the side of the room with the fireplace! I have seriously been looking forward to writing the post on this part of the house since, well, we finished it! It is one of the projects of the house that both Pavlo and I are most proud of…hopefully you’ll be equally as impressed.
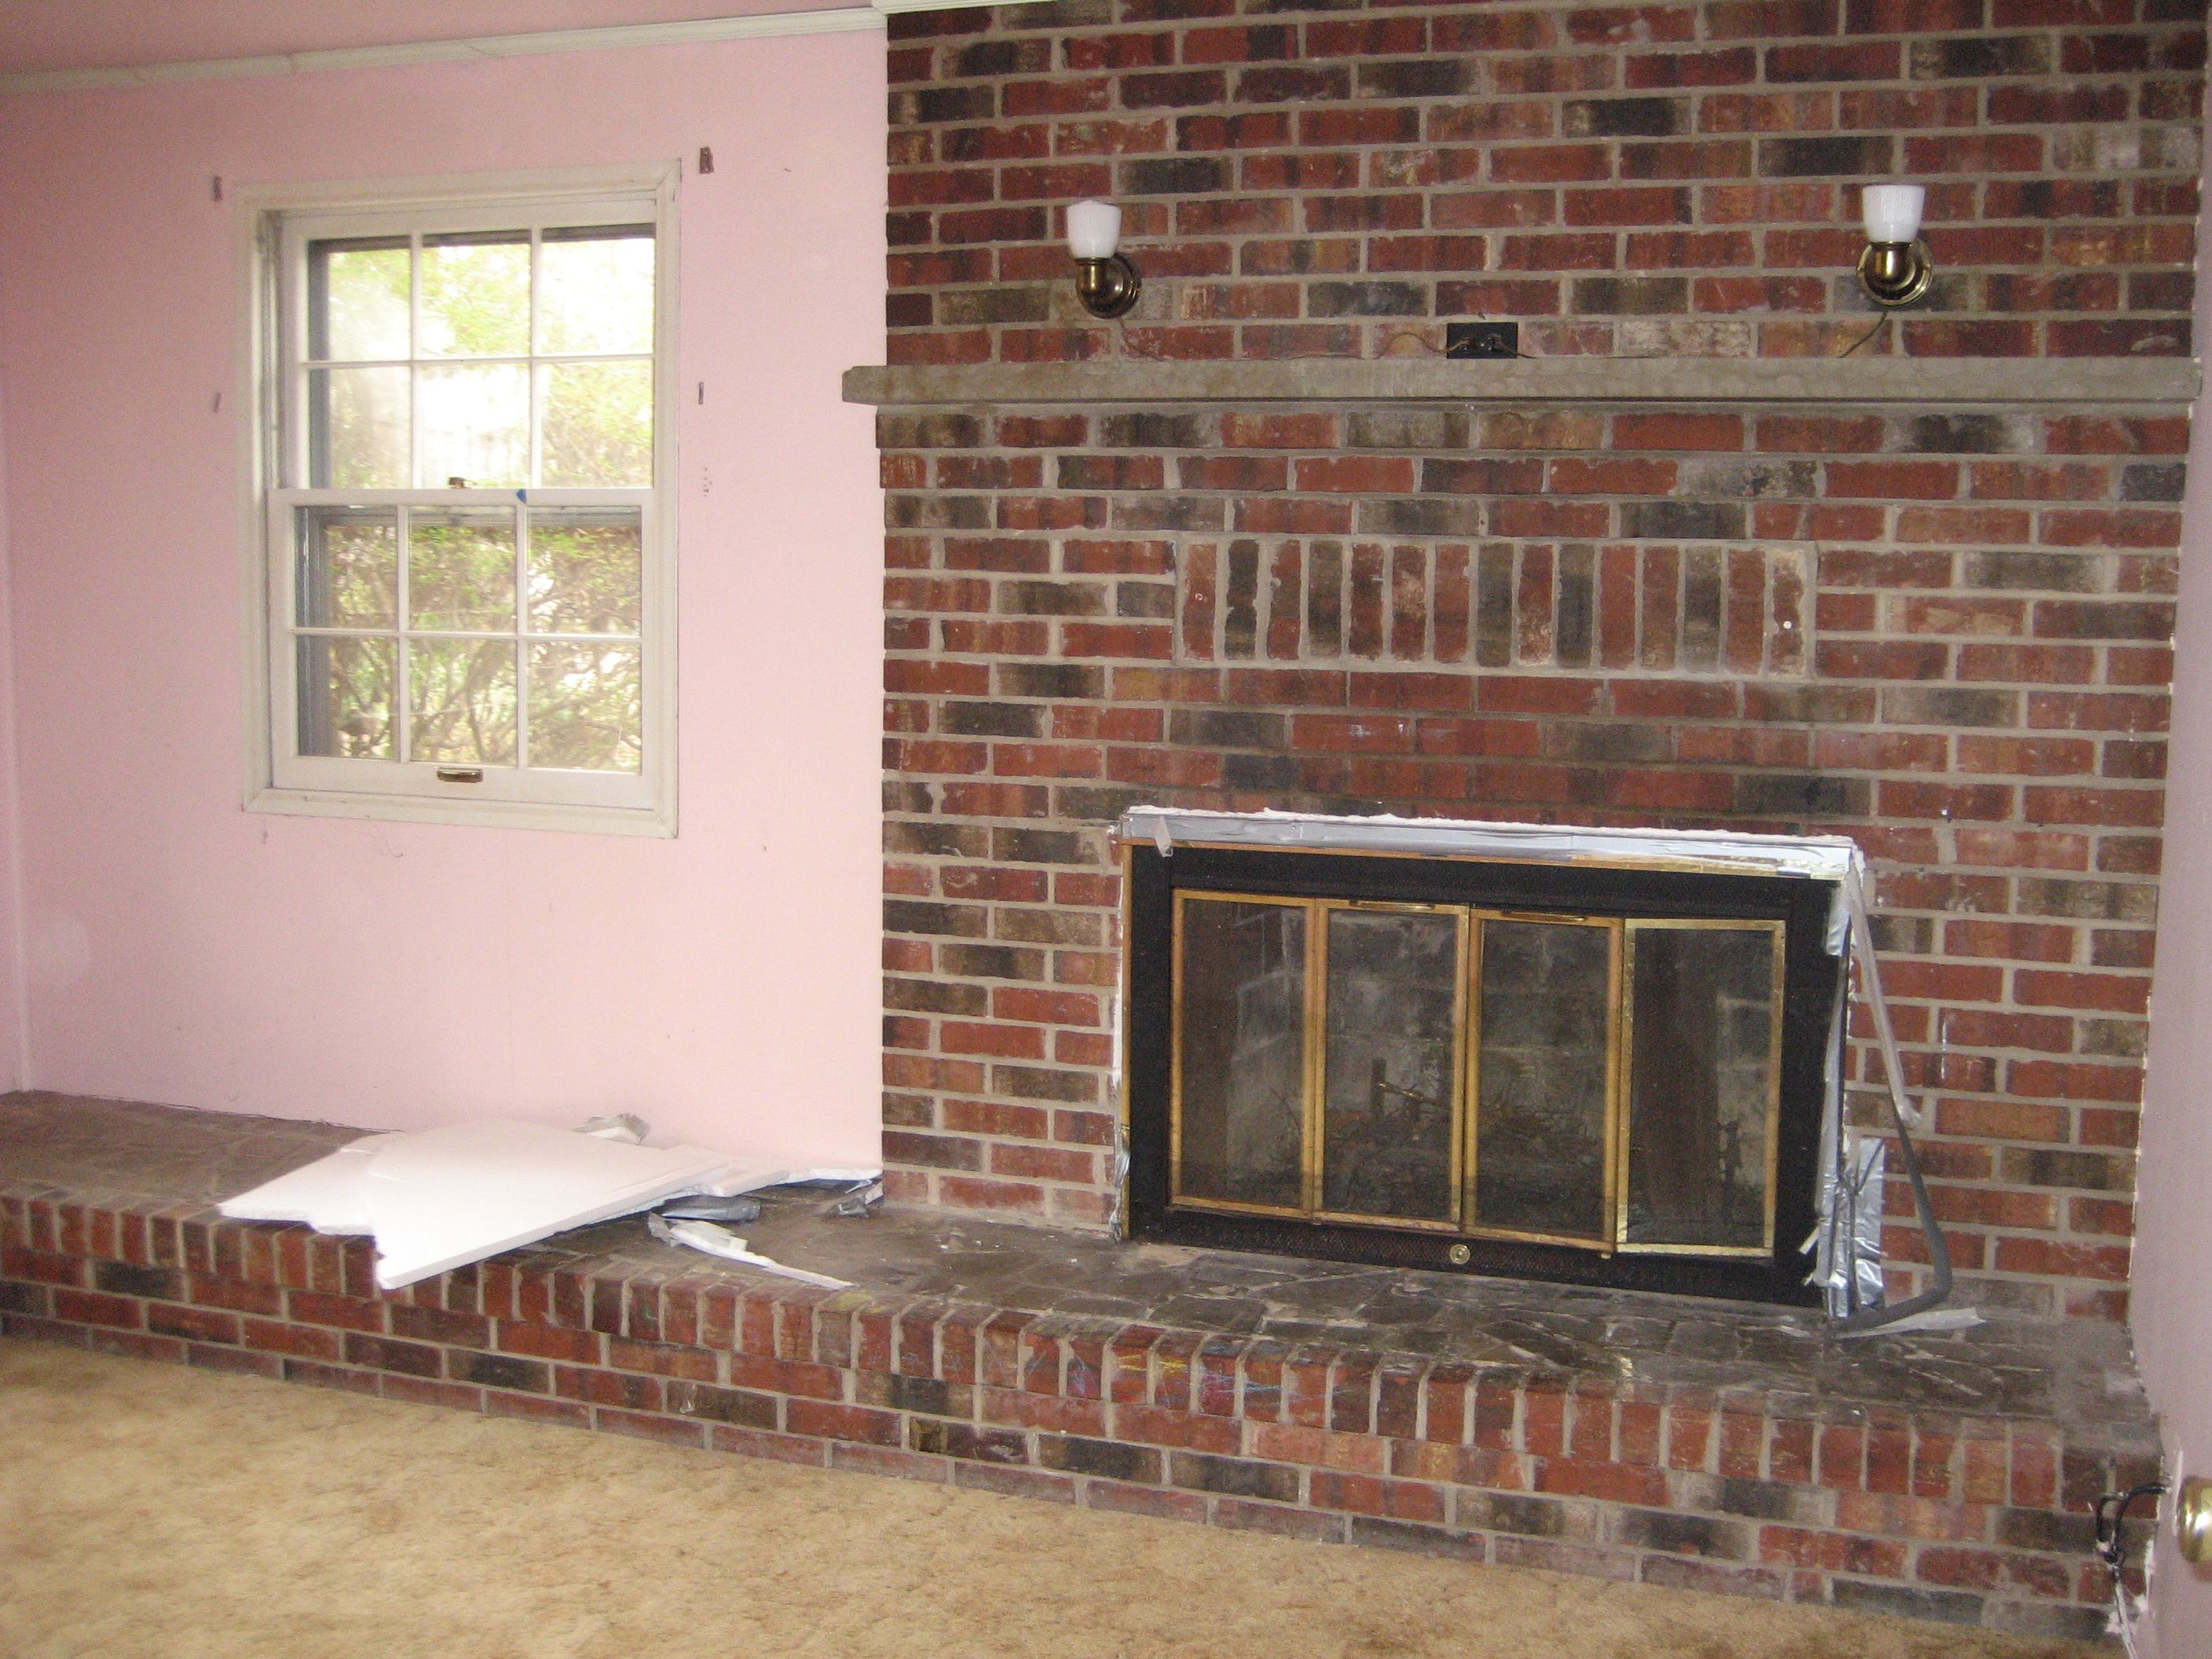
As mentioned in “The Before Tour” post, the previous owners of the house had put up temporary plywood walls (painted a horrible shade of pink) in the basement in an attempt to create more bedrooms. They were successful in creating more rooms while being equally successful in destroying what could have been an amazing basement. Hidden behind those pink walls was a real wood burning fireplace that had been neglected for years.

It was the very first thing you saw as you walked down to the basement and it had so much potential! It was for these reasons that we knew we had to make it as amazing as our budget would allow. After all, first impressions are very important!
As always the first thing to be done was demolition! We removed the portion of the brick hearth that extended all the way to the left wall, as well as the mantel and outdated sconce lights. Then the demolished side of the hearth was re-squared by pouring concrete. Next came some trim! Even though I appreciate the look of exposed brick this was absolutely not pretty, or well maintained, brick. We contemplated many ways to tackle the fireplace before finally settling on trim and paneling. For example, we were VERY close to just painting the brick, adding a new mantel and calling it a day. However, since the brick was in such poor shape we went the extra mile and chose trim and paneling as our means of sprucing it up.
First came the hearth:

Then came the paneled columns for the fireplace surround followed immediately by the new mantel. The new mantel was simply a wide piece of solid wood accented by a large piece of moulding that we purchased at the same salvage warehouse as the planks of wood for our kitchen table:

Finally came the paneling for the wall above the mantel. This was capped off with some crown moulding to add extra dimension and interest.

Once the trim was installed, caulked and primed we were ready to finish the remainder of the fireplace surround. For this I chose a slate colored (blueish-grey) 3/4″ X 3/4″ glass tile. It was laid around the entire fireplace opening as well as on the surface of the hearth. The tile was then grouted with a snow white grout to give us this:

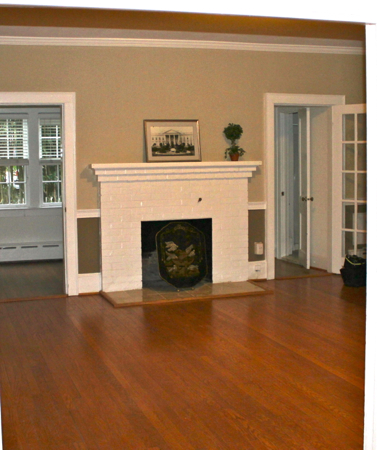
 The finishing touch for the whole fireplace was painting all the trim and paneling a semi-gloss white. The final product is so beautiful (at least we think so) and we cant help but admire it every time we go downstairs!

Gorgeous!!