The Basement’s Living Room Part II
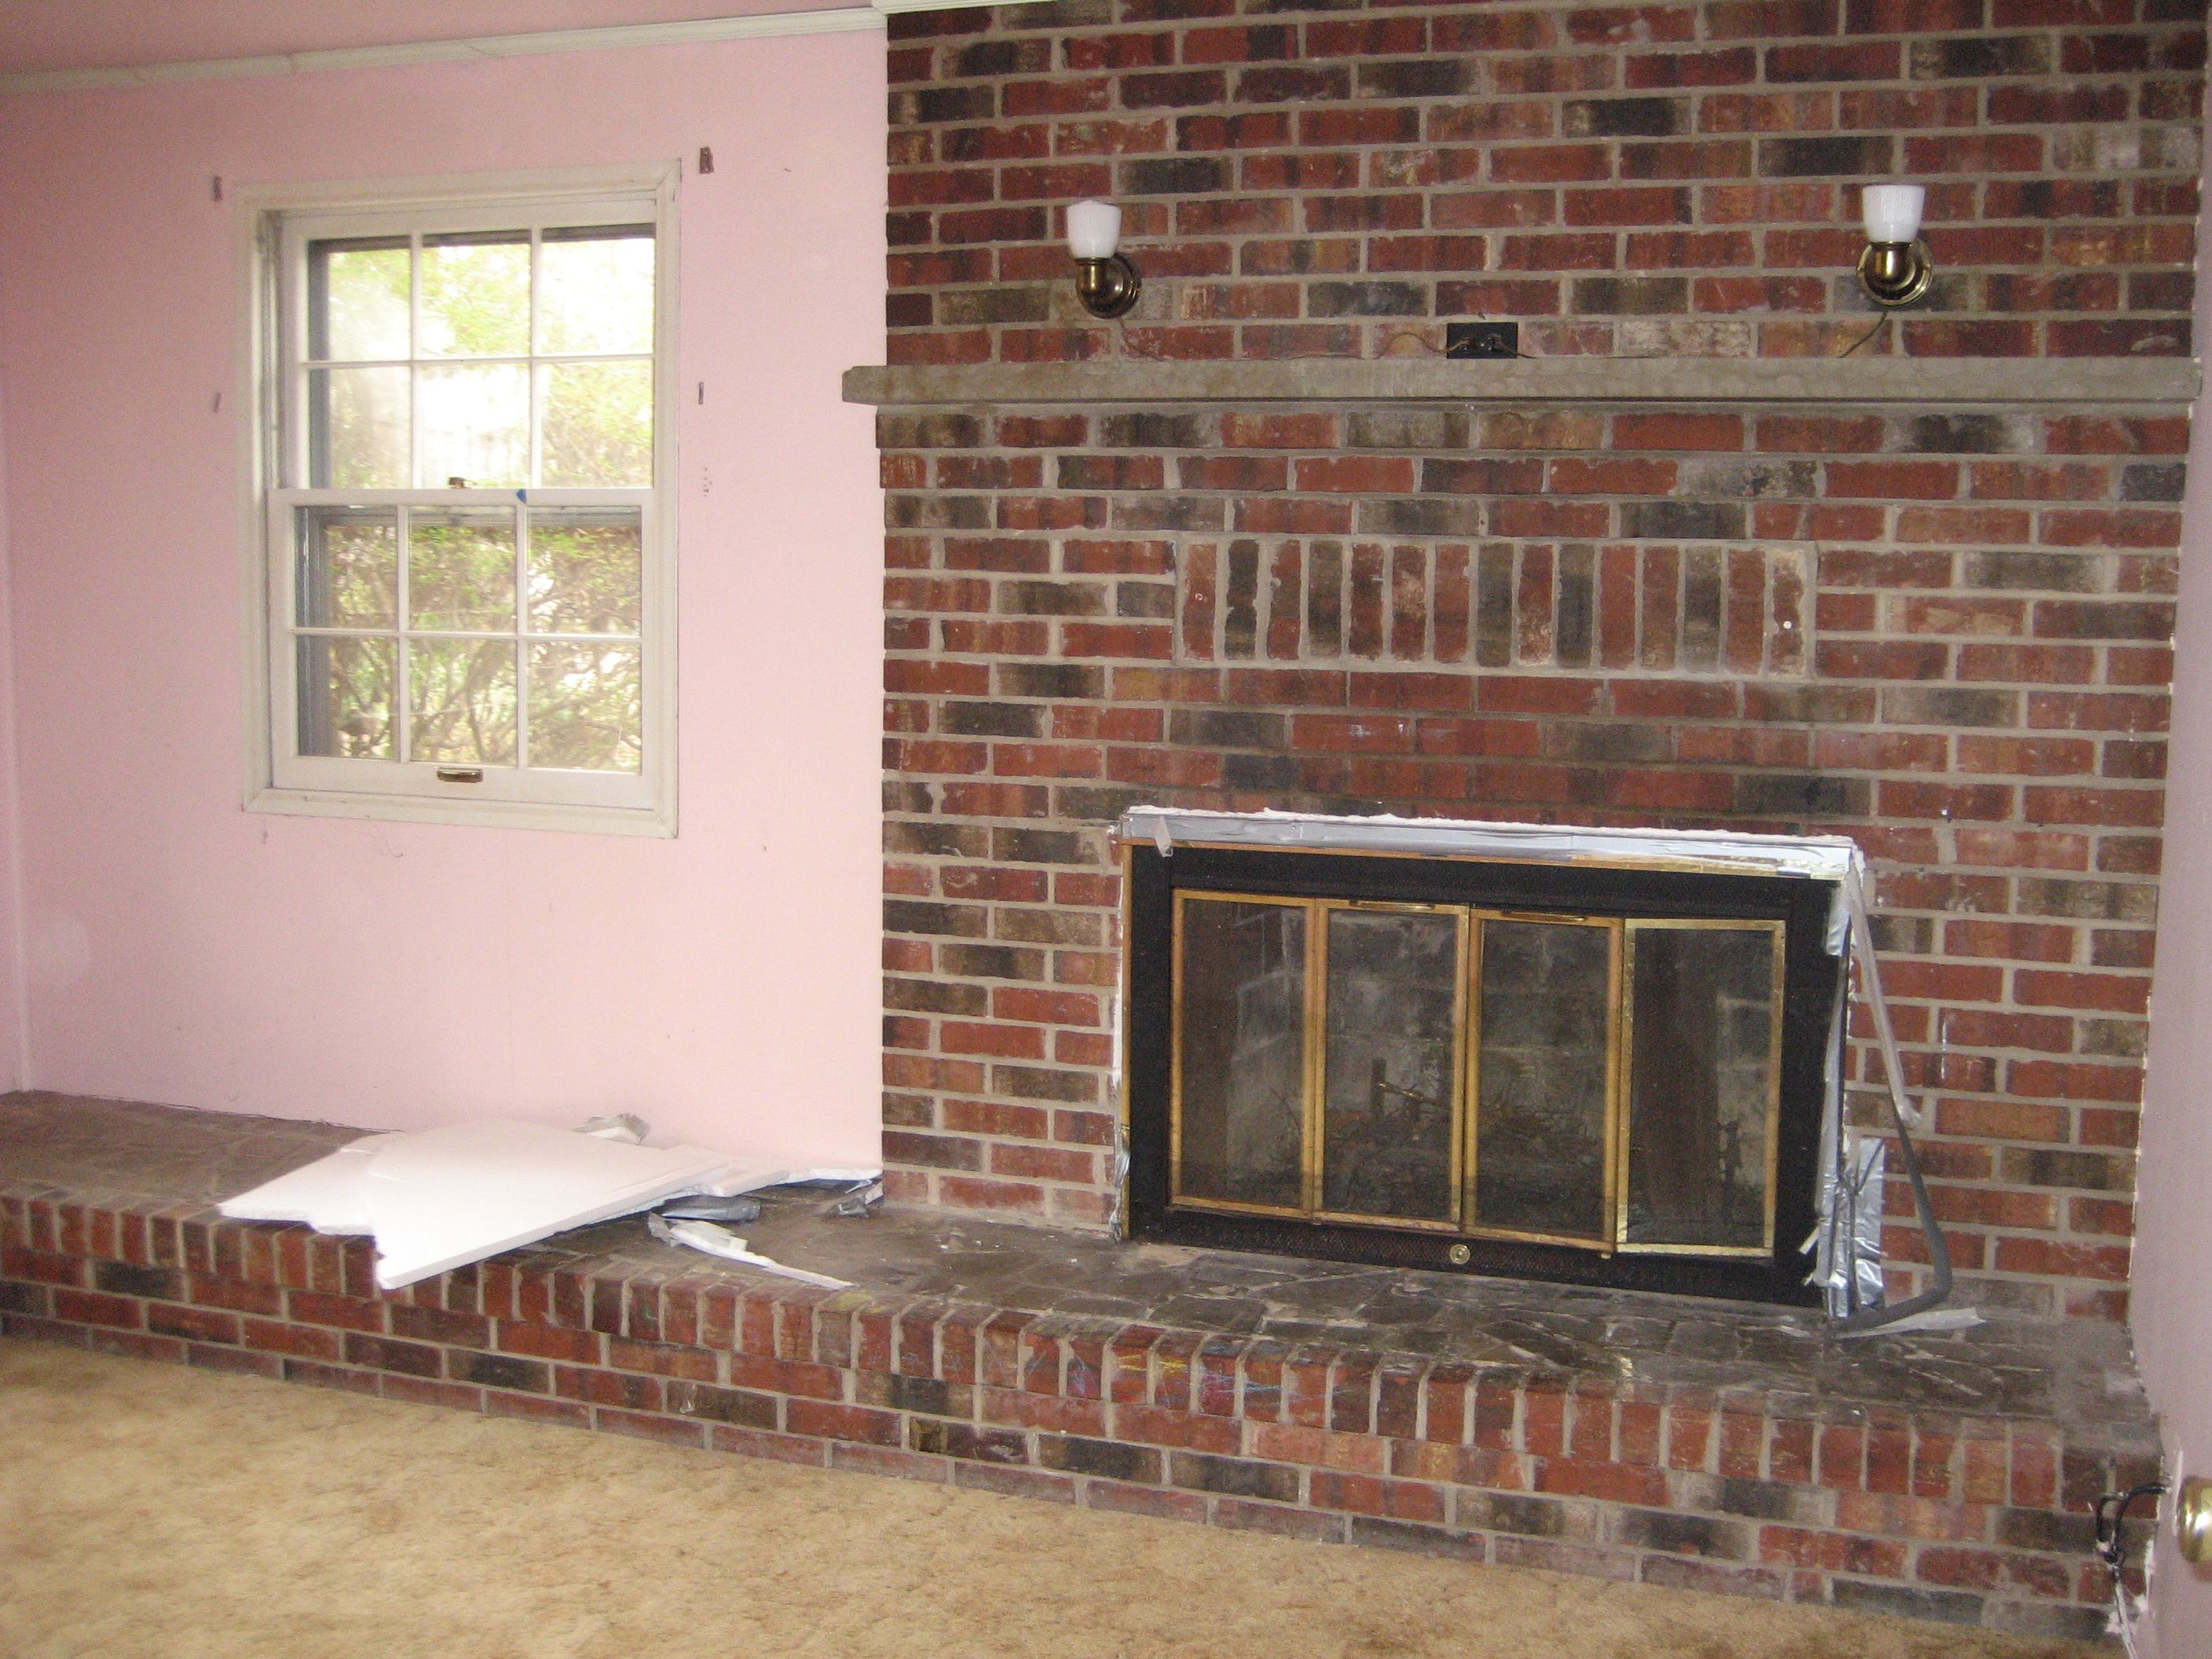
So, it’s been a while and I’m assuming you all want to know what the other half of the basement’s living area looks like. Am I right?
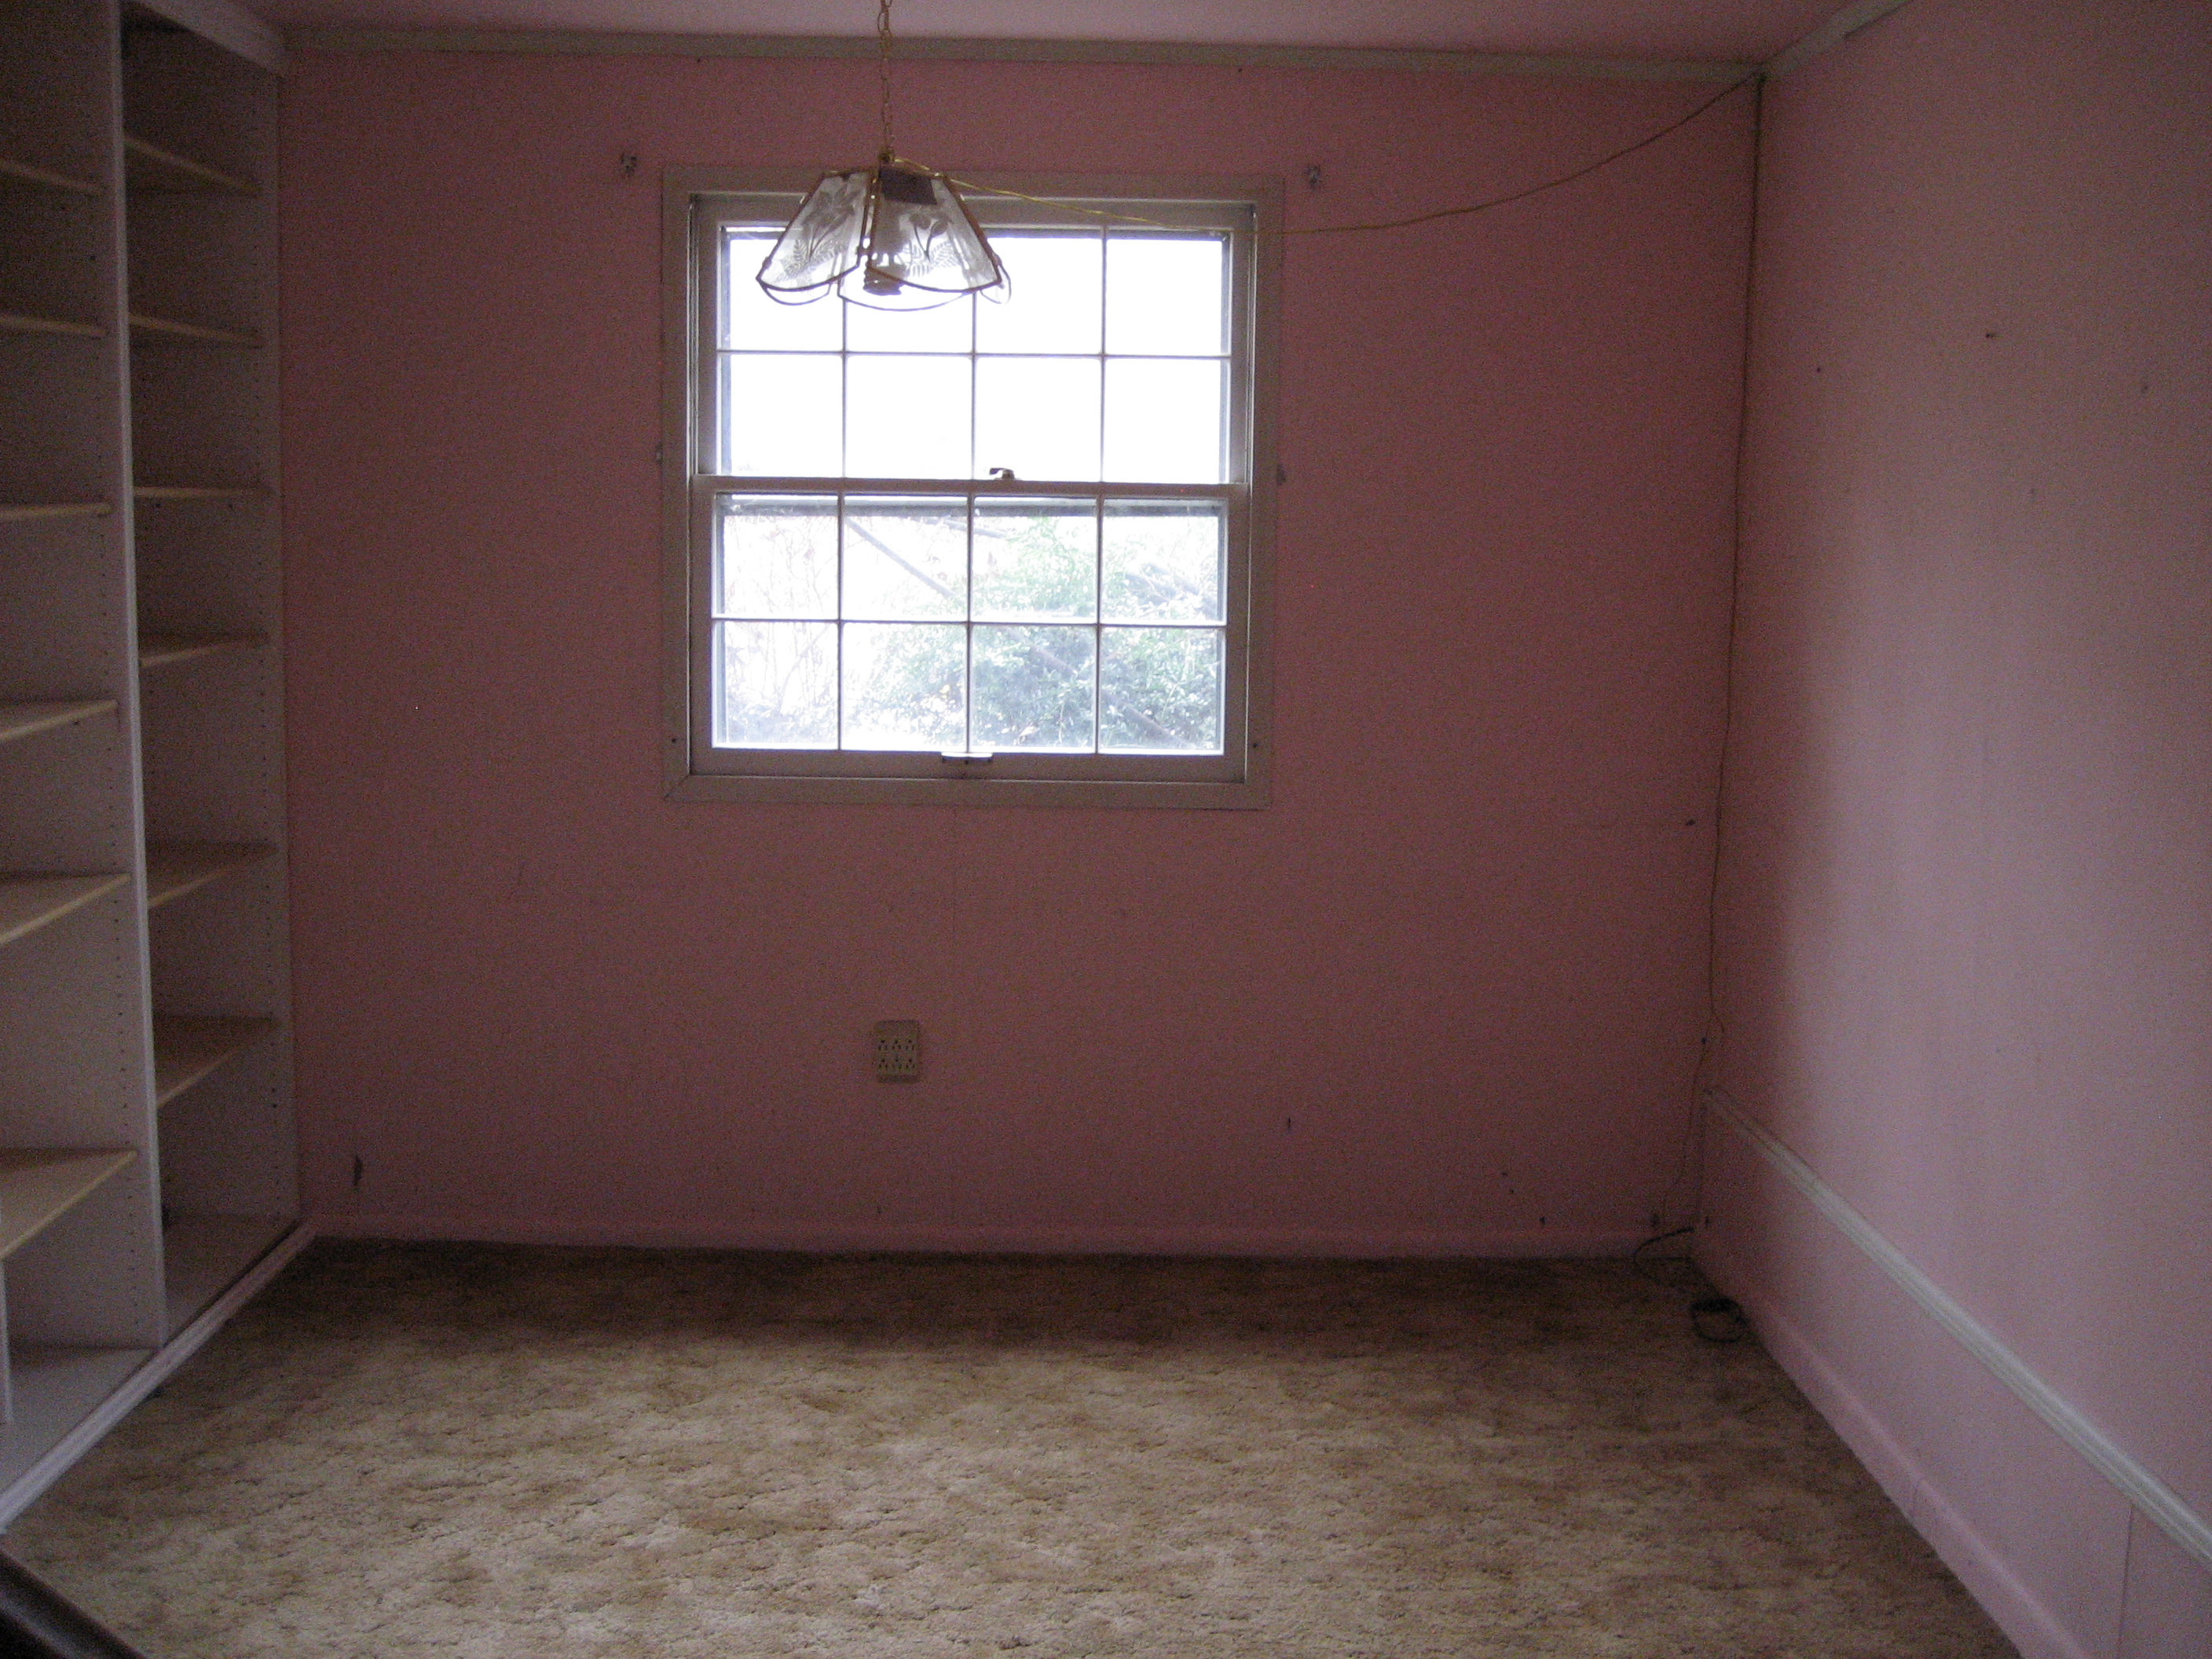
Well, in the last post you saw the changes made to what I called “the fireplace side” of the living area. In this post we’ll look at the opposite side, or “the shelving side” of the basement. At purchase, this side of the basement already had some makeshift shelving. From the shape it was in it was difficult to tell if the previous owners had installed it as quickly and inexpensively as possible, or if an owner even prior to the last had installed it and since then they simply hadn’t been maintained. Either way they were in poor shape and had to go. However, we can honestly say that when we saw the original shelving there we didn’t think it was such an awful idea, in fact, we really liked it! Not only did we think that built-in shelving would really add some detail to the room but it would also give us some needed storage…mostly for someone’s toys!

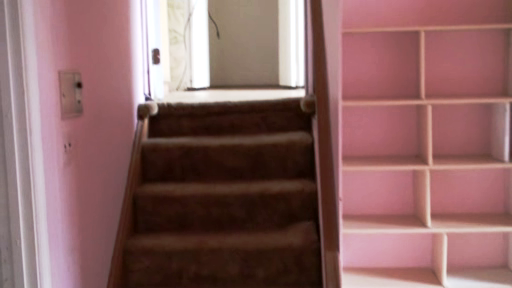
This is not just “the shelving side” of the room but also the side where the steps are located. At purchase they were carpeted and had an extremely flimsy railing. We’ll talk about those more later!

During the demolition phase the shelves, railing and carpet were all removed. The drywall was entirely replaced and from there new shelves and a new railing were built.
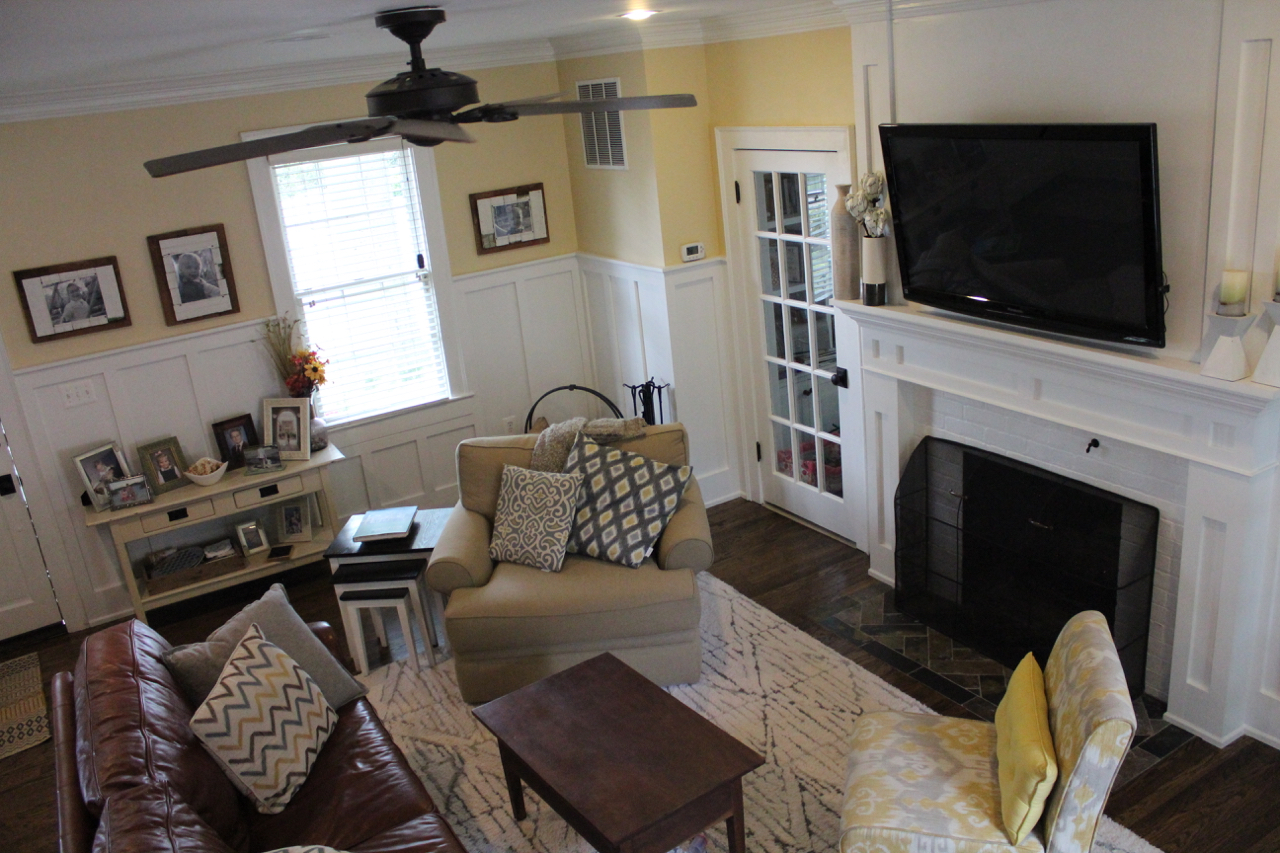
Our goal with the new shelves was to make them look more custom, as if they were always meant to be a part of the room. They were built and attached to the wall in three separate sections using plywood. Then, panels (similar to what was installed above the fireplace) were constructed and mounted to the sides of the book case. We did this because we were not building the shelves to span the entire wall, as they had previously, and because of that the sides were going to be exposed. These panels were going to give the finished shelves the more custom and built-in look we wanted.

Then, because plywood gives a very sturdy product but not necessarily the most beautiful product, a face frame made of 1.5″ poplar was installed. Pavlo even added a bead to all of the poplar in order to further achieve that custom (I know I’m being repetitive with that, I apologize) finish we envisioned.

In addition to the construction of some cabinet doors for the bottom center unit, the finishing touches were the usual of: caulking, priming and painting. While I had the pleasure of completing those tasks, Pavlo made the doors. Even though I would have loved to have his help, this cabinet was a must in order to hide at least a few of our less attractive possessions that needed a “home”. In our case it was mostly toys being shoved in there!

The final shelving unit looks like this! Just ignore the toys in the right hand corner!

Wow, I didn’t think our bookshelf could take up an entire post on its own! I guess it was a lot more work then I’m willing to remember! I’m going to wrap it up there for now and give the steps a post of their own. Check back soon!
Gorgeous. I’m looking for someone to renovate our guest bath. Do you all have any recommendations?