New Layout & Lighting Pattern
While demolition was underway I took on the task of planning out the kitchen’s new lighting system (remember from this post how much I loooooved this task?) With my due date growing closer I knew I had to stay ahead of the game with the kitchen. This meant having everything planned, purchased and hopefully even delivered for Pavlo just in case our daughter decided to arrive early like her big brother did! With every day that passed I just hoped and prayed I could hold on to the baby long enough to hand over a functional (yes, I was settling for functional) kitchen to my aunt and uncle. Four weeks is a tight schedule for renovating a kitchen not to mention renovating it while VERY pregnant!
Back to the new lighting pattern. Despite how pushy (and I mean that in the nicest way possible) my husband was about getting the lighting pattern for our kitchen set and perfected, I now appreciate that pushiness. Yes, Pavlo, I actually thankful that you just had to have me design and then redesign (several times) our lighting pattern because it made doing the one for this kitchen so much easier.
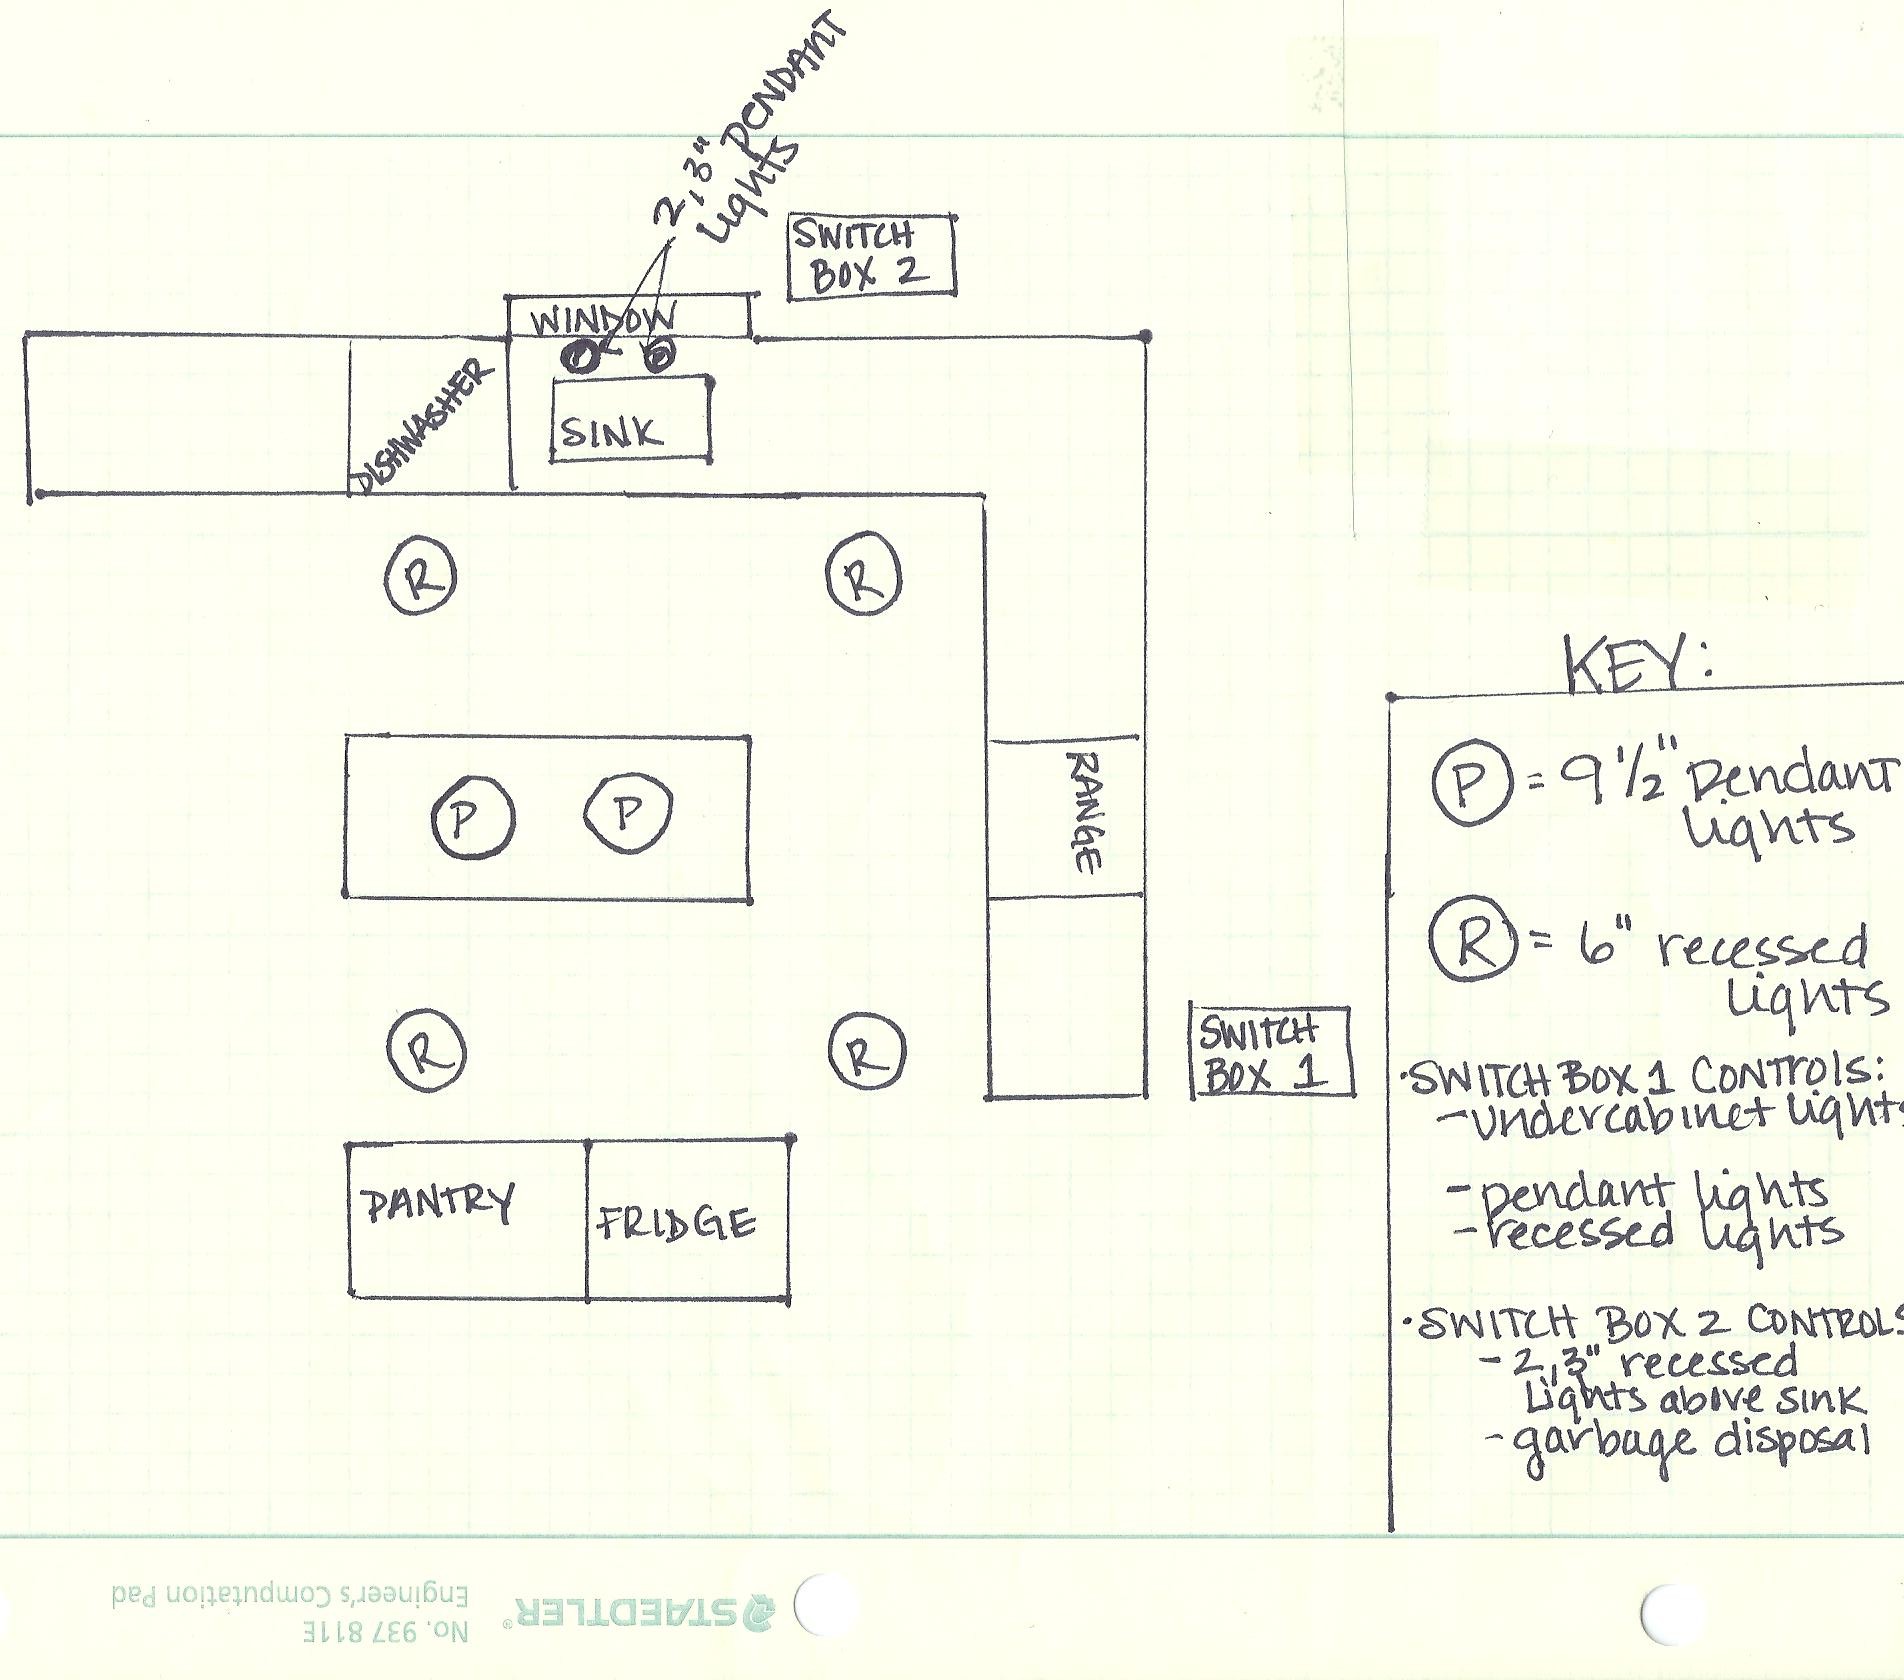
I created a (very) rough sketch of the kitchen’s new layout in order to figure out where lighting was most needed. This is generally determined by the location of the kitchen’s work stations. Doing it on paper first is not only the simplest way to describe it to all you readers but it really helps to prevent any errors in communication (and therefore lighting) between Pavlo and myself when the actual wiring is being done. To make things a little bit simpler for everyone I didn’t change the location of the original kitchen’s light switches. I did however add switches to these locations and changed which lights some of them controlled. Of course I didn’t actually do any of this it, Pavlo did it all based off of my little lighting schematic seen below:
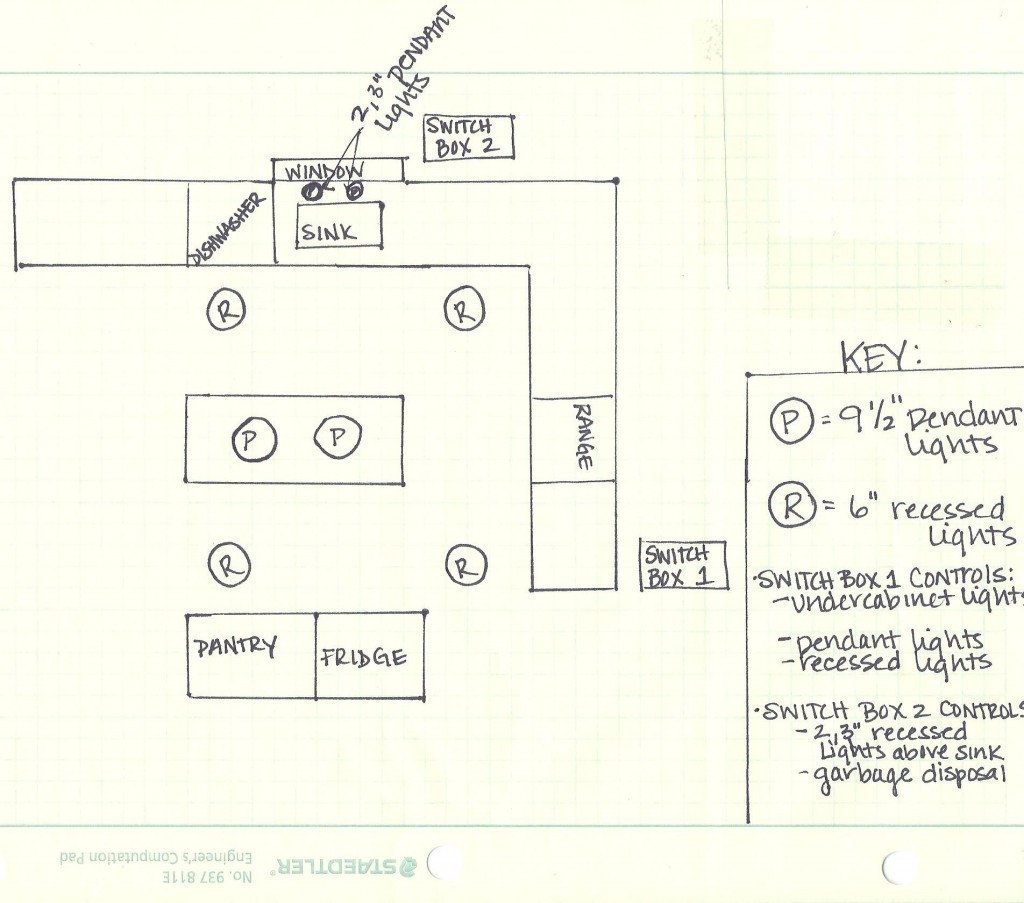
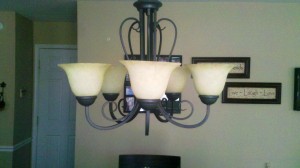
As you can see this kitchen is going to have A LOT of light. In addition to the chandelier already hanging over the kitchen table there are going to be recessed lights, pendant lights and undercabinet lights on each of the upper cabinets (not put in the sketch). My aunt had already replaced the kitchen chandelier not too long ago so from the beginning she told me that she preferred to keep it. I agreed it would have been an unnecessary change. So, we were immediately on a mission to find coordinating pendant lights. Here is the chandelier we were working with:
We got very lucky and on an afternoon of casual web searching for lights I came across these beautiful pendants:
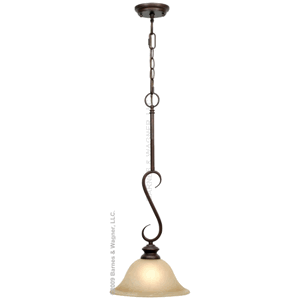
Since they were well within the budget and we were tight on time my aunt didn’t hesitate to order them. We figured that if they disappointed us upon arrival we would just return them and continue our search. To us it was a bigger risk not to at least order them and see how they compared when placed next to the other elements of the kitchen…especially the chandelier.
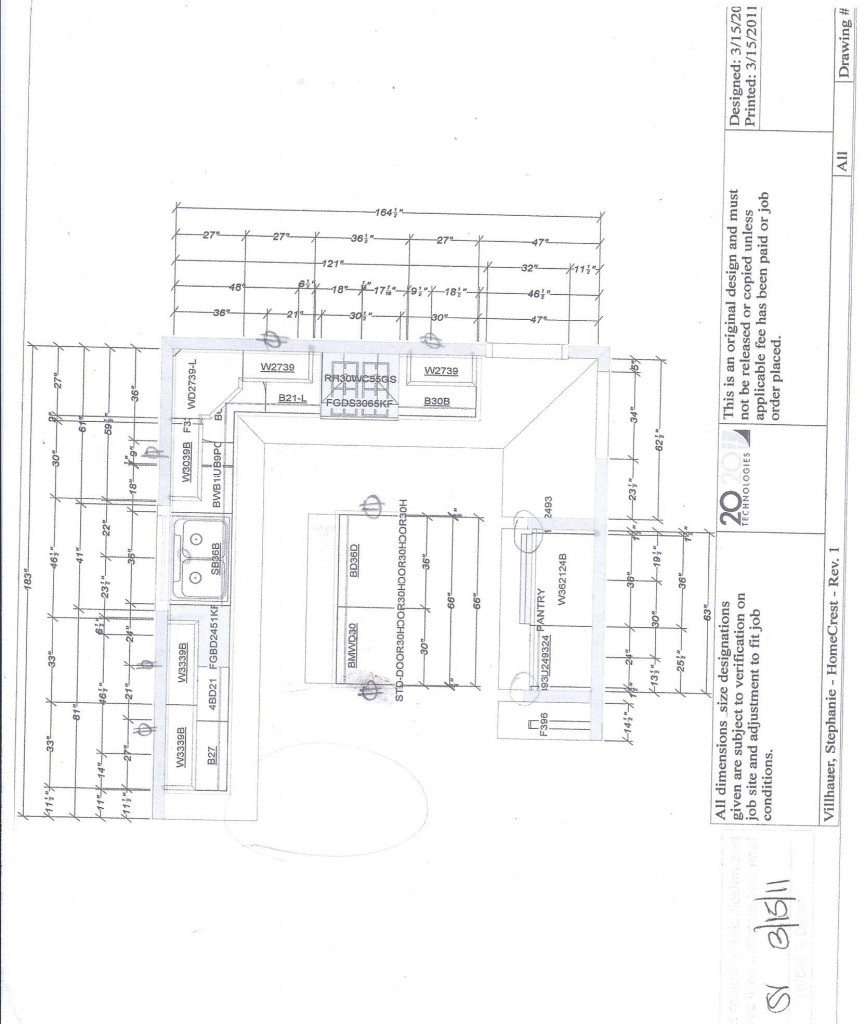
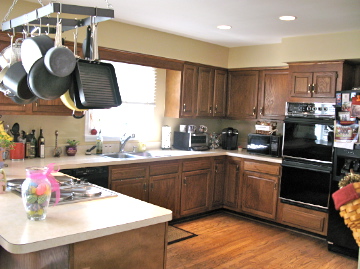
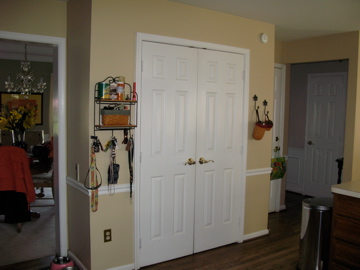
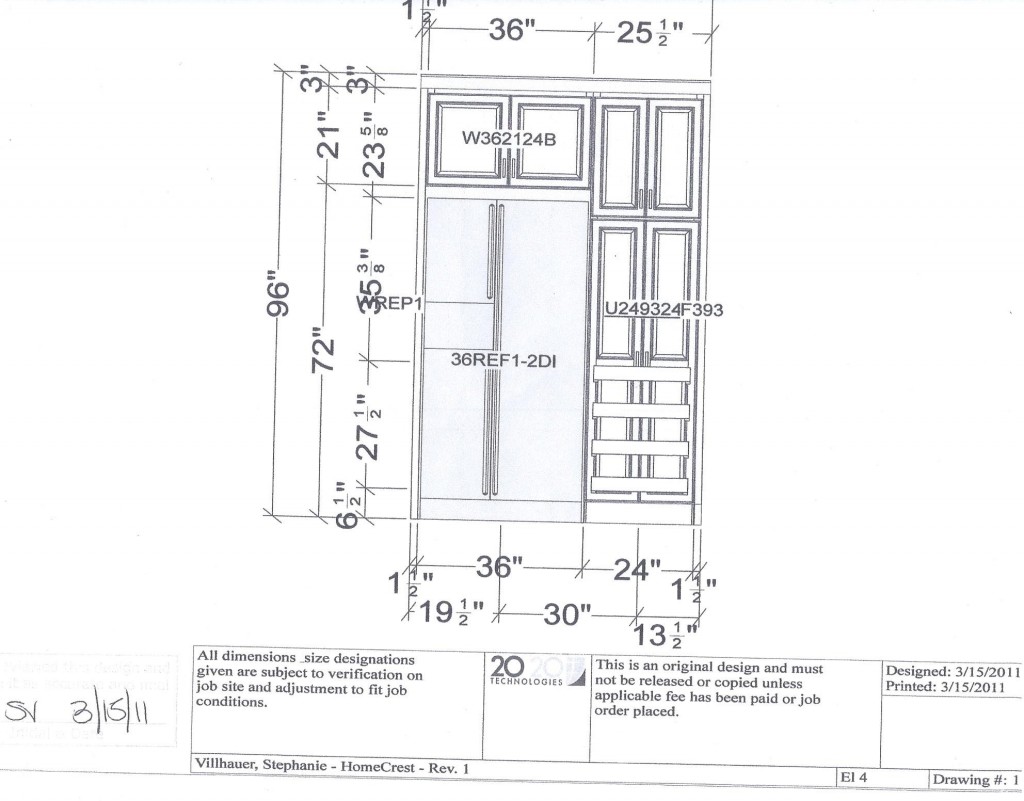
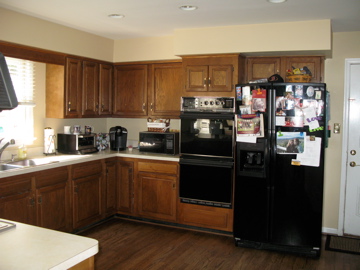
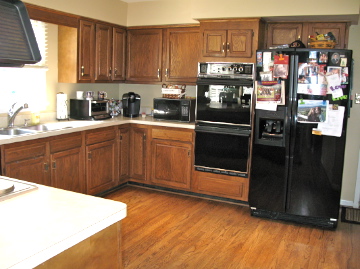
So I don’t leave you in too much suspense here are the final design plans for the kitchen along with their coordinating before pictures:
