Just A Little Trim
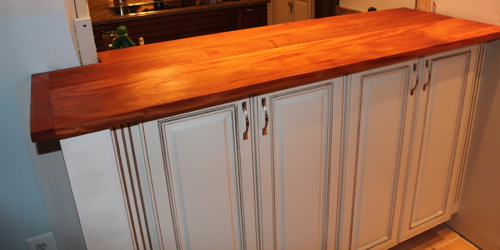
Before I jump into what progress has been made in the kitchen at our new house, I’ll stay on track (for once) and update you just a little more on my parent’s sunroom/kitchen expansion. In the last post I caught you up on the multiple crises we ran into while trying to get a countertop for the sunroom side of the new opening. In the end, granite didn’t work out (more on why here), so we went with a mahogany counter that turned out just beautifully:

I never motivated myself enough this weekend to actually prime. In fact, I was so unmotivated to prime the room that I chose to do pretty much everything else instead. I did a few dishes, some laundry, grocery shopping (which I hate), motivated myself to go running, even got off my bum to sort through some items we’ve been storing the garage. Yes, I preferred to dig around a garage in the heat and humidity rather than prime a room in the cool AC. What’s wrong with me?!
Despite my lack of motivation the hubs made some progress on both our house AND on my parent’s. Yes, I’m officially hanging my head in shame over my laziness. Anywho, let’s stop dwelling on my lack of productivity and focus on Pavlo’s accomplishments! I think that’s best for all of us!
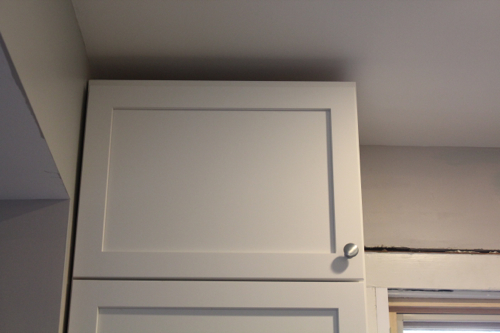
Now that the countertop was done, the trim around the opening could be installed. Fluted pieces were added to the inside of the opening.

These pieces tied into the fluted pieces that were part of the cabinetry.

Flat, non-decorative trim was added around the top and sides of the opening:

but then the top was dressed up a bit with a small decorative moulding:

This is what the trim on the sunroom side of the opening looks like all together:

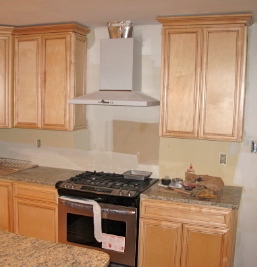
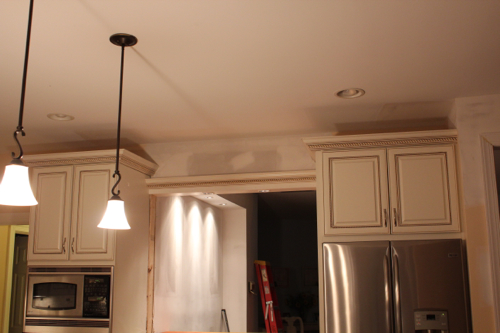
On the kitchen side we had already re-used the crown moulding that originally sat above the cabinets that were removed (now the base cabinets to our mahogany countertop). By doing this we not only stopped ourselves from wasting beautiful moulding, but it also gave a more cohesive and seamless (almost like it was always there) look to the opening and remaining upper cabinetry.

I’m going to match the color of the cabinetry and old crown moulding (an antique white) and paint the new trim that same color. Ugh, with the addition of this little bit of trim I just added more painted to my “to-do” list! I guess I better get to it already!