Gotta Case of The Windows
Buying an old, fixer-upper of a house meant we had to take into careful consideration all structural elements of the house when planning out a pre-purchase renovation budget. Yes, before closing on the house Pavlo and I sat down and wrote out a detailed renovation budget that took into consideration all the possible problems that could come with an older house and would absolutely have to be fixed. Many of these elements were most definitely worst case scenario elements, but we added them because we didn’t need anything too costly to catch us by surprise. We wanted to make sure that even if everything that could go wrong did go wrong, the house would still be worth the investment.
Windows were one of the elements added into this preliminary budget. The windows in the house are so old that some of them (all of the front windows) still have the charming wavy glass. During inspection we were pleased to find out that the majority of the windows actually could be salvaged. This included all of the front, wavy glass windows that we loved!
Despite getting lucky and being able to salvage most of the windows in the house, the kitchen windows were two that needed replacing; they no longer locked and the glass was cracked. I was sold on having to spend the money on replacing them as soon as Pavlo said they didn’t lock properly. Yup, that was more important to me than the cracked panel!
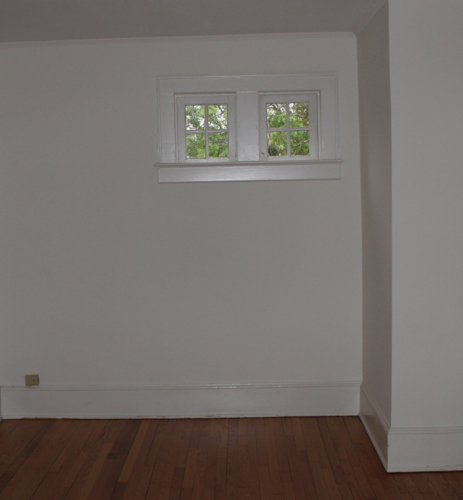
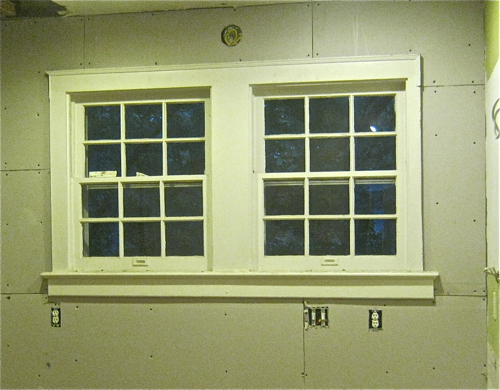
At any rate, after discovering that these windows were going to have to go, we quickly decided that casement windows would be the best style window to choose for above the sink. Both Pavlo and I found it awkward and difficult to open a large, double hung window that sat above a kitchen sink! Just to refresh your memory, here are a couple of pictures of the old windows.

The installation of these windows was actually pretty straightforward and simple since they were just replacement windows. I know, I know, easy for me to say, right? No, but in all seriousness replacement windows are much simpler to install because they fit perfectly into the old window’s framing. Basically all you do is remove the old sashes and switch them out for the new ones. Here are some pictures to show you the step-by-step of this process:
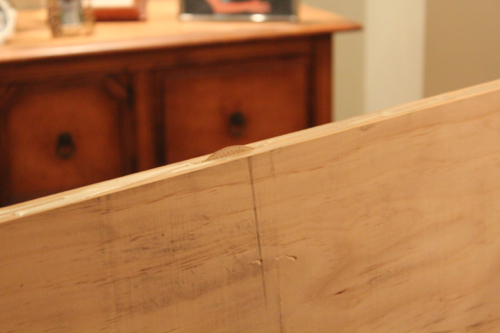
#1 Carefully remove the old sashes. Just incase you’re not sure what the window’s sashes are (because I admittedly didn’t), they are the parts of the window that have the glass panels. Basically, they are the parts that move. So, since in this case we are doing a replacement window, you remove these and leave the frame. (Once again I wasn’t at the house during this process and instead was off managing the kids, therefore we’re lacking a few of the more detailed pictures.)

#2) Since the old windows in our house were original to the house, and therefore were 70+ years old, that meant it had a weight cavity from where a weight helped hold the window open. I know, crazy how things have changed! Since we were replacing this window with a brand new one, the old weight cavity would no longer be needed and therefore had to be filled with insulation.

#3) Install the new window sashes. For the casement windows there is only one sash per window instead of two.


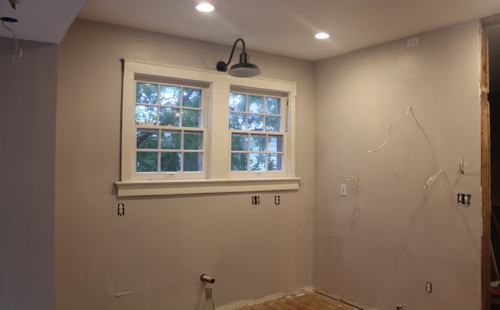
And just for fun here is a picture of the new casement window opened: