On The 4th,5th & 6th Days of Tiling
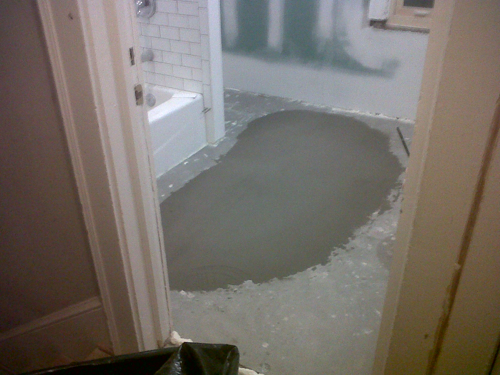
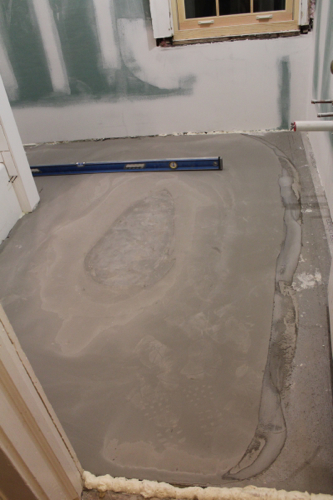
On both the 4th and 5th day of tiling Pavlo poured 2 bags of the self-leveling concrete mentioned in this post. This was done to help level out a dip between two joist in the floor so that the tile could be set evenly.

This picture was taken right after pouring the concrete and manually spreading it to help it along. After that it levels itself out and dries in approximately 4 hours.
Two bags of the concrete later (and 8 hours) that part was done and we were ready to tile!
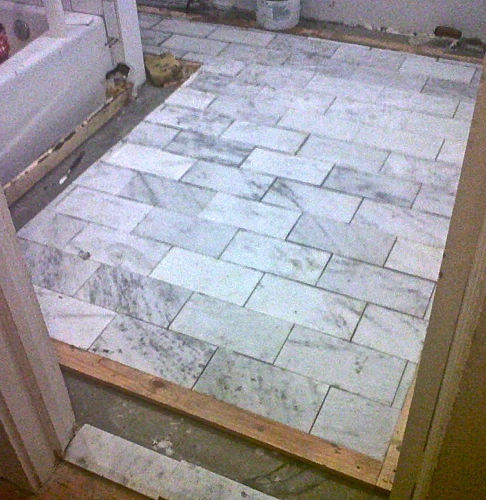
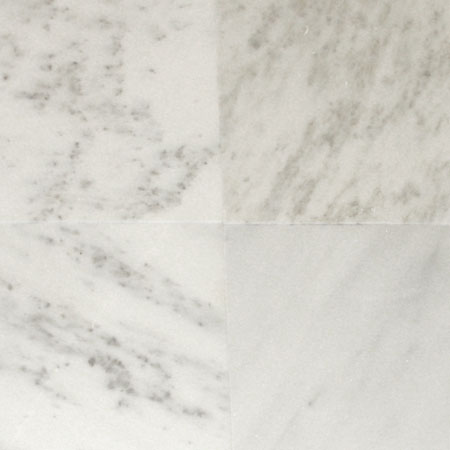
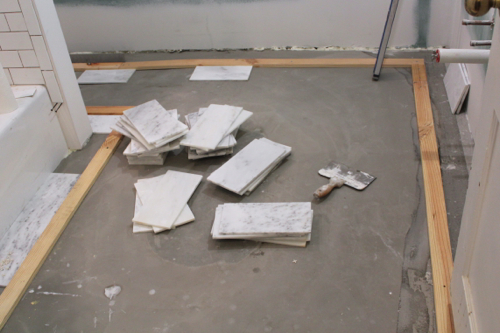
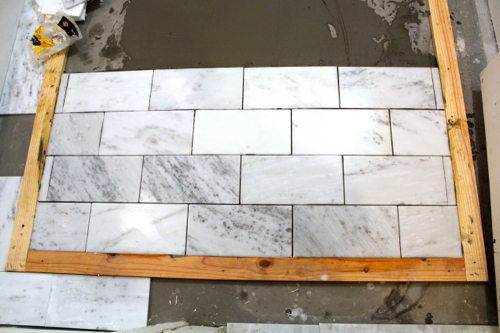
 I wish I could say we jumped right into it but admittedly we took a couple of days off to celebrate Christmas and enjoy some family time and relaxation. However, the day after Christmas we were back at it and spent a few hours that evening cutting tile and laying some of them out to determine the final design and pattern. Remember from the mood board we were using these brushed, 12″x12″ oriental marble tiles? (I cut them all in half so that we were actually using 6″x12″ tiles in our design)

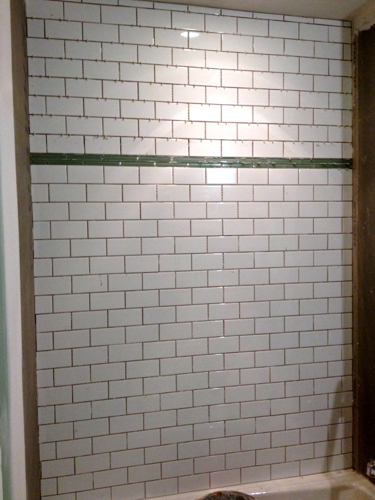
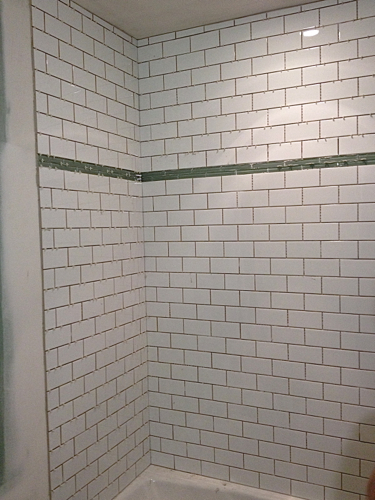
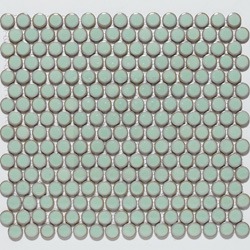
In addition to using these green penny tiles as an accent around the floor of the room:
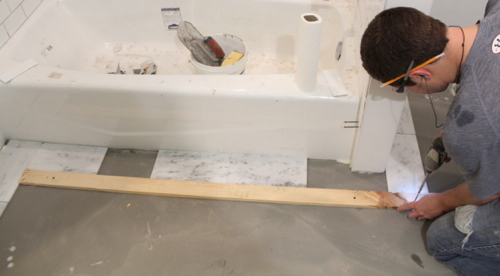
I decided on 3 rows of the penny tiles for the accent band so Pavlo measured out the width of 3 rows of the tiles and then cut long pieces of wood to that dimension. These pieces of wood were then screwed into the floor in the area around the bathroom where the accent tile would (eventually) be laid. We decided it would probably be easier to do the field tile first so these became our place holders. These “place holders” were set 6″ in from the walls by temporarily placing the 6″x12″ marble pieces as the border along the walls. This is how the marble will eventually be set…after the field tile.
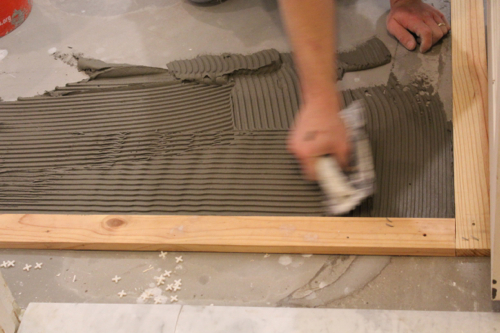
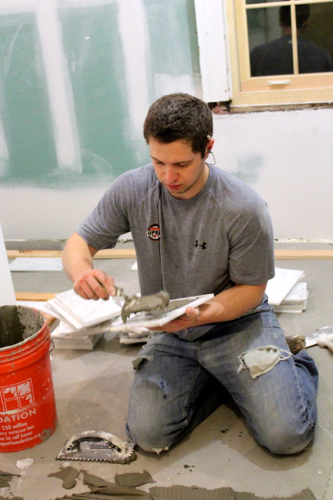
At this point we were finally ready to lay some tile. Thin set was mixed, poured and spread using a notched trowel.
The center of of the field tile area was marked as well as the center of the first tile.
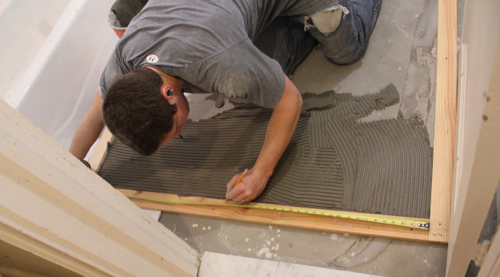
The two centers were aligned and down went the first tile…after being back buttered of course. Every floor tile has to be back buttered to eliminate voids which can lead to cracking if something is dropped on the floor. The fact that we’re working with a natural stone makes this step even more essential.
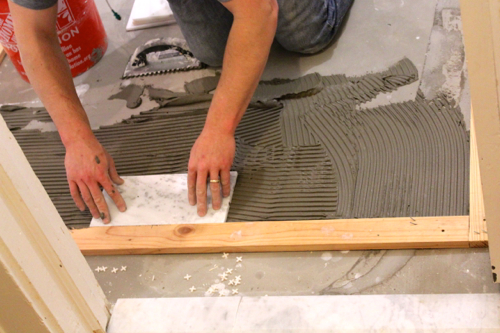
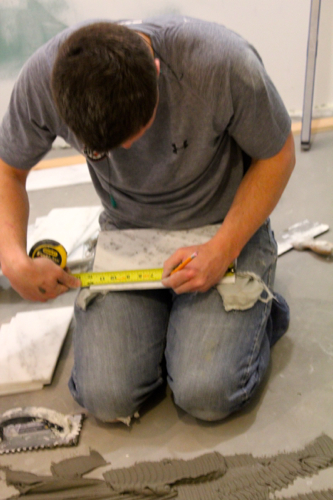
After a solid hour we had only gotten this far
Marble (and stone in general) is a really difficult tile to install. It has incredibly sharp corners and edges so it takes a great deal of time (and precision) to line the tiles up to each other perfectly. I found out the hard way that stone tile is even a little bit more difficult to cut compared to ceramic or porcelain tiles!
Be back soon with more updates on the tiling. Pavlo has gone back once since this day to work on it a little more but I haven’t been back to take decent pictures. I know, slacker!