Snaps for Pavlo!
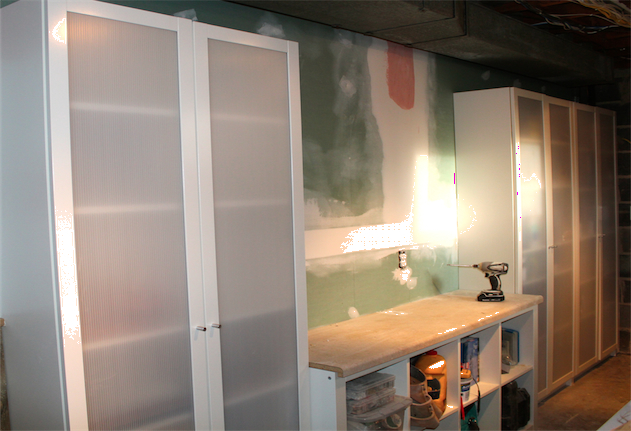
Yes, the title of this post was inspired than none other but Elle Woods. Now, on to why exactly Pavlo gets “snaps.” When we were planning out the renovation of our laundry room we knew that, unlike with a kitchen or a bathroom, we wouldn’t necessarily get back what we invest into it should we want to sell the house someday. However, because we put so much time and effort into the rest of the house we didn’t want this one room to be left a wreck and stand out like a sore thumb. We wanted it to look just as good but we were going to have to be even more clever with how we spent our money.
As you may have already read in the last few posts, we decided against saving the old cabinetry and purchased new ones from Ikea. These were narrower cabinets giving us a great deal more space to do laundry. They were also much taller (practically floor to ceiling) making up for (and then some) any loss of storage space that may have resulted from choosing narrower cabinets.

Since we had already started to sink some money into the laundry room, when it came to finishing touches (like trim) in this space, we were hesitant to invest too much, if anything at all. We did buy some very basic trim for the door and window
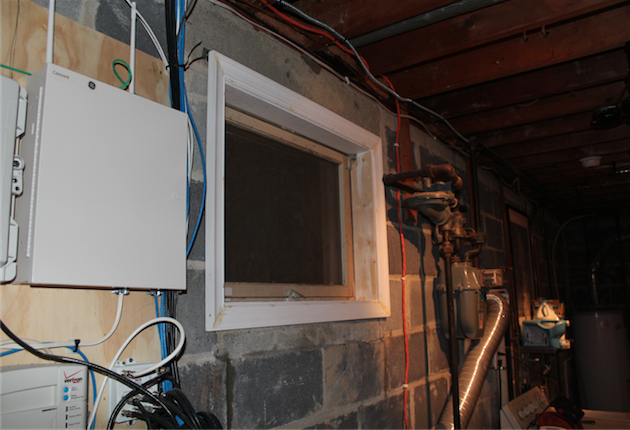
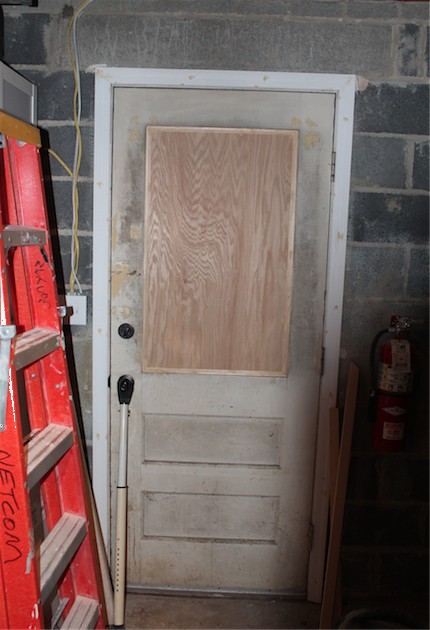
but chose not to buy anything else despite knowing that trim would give the room the more finished and comfortable look we wanted. Then, just when we had settled for the idea of throwing some paint on the walls and hoping it warmed up the space, Pavlo had a revelation.
As I may have mentioned before, Pavlo runs construction sites as his full-time job. On site he comes across several of these crates (a.k.a pallets)

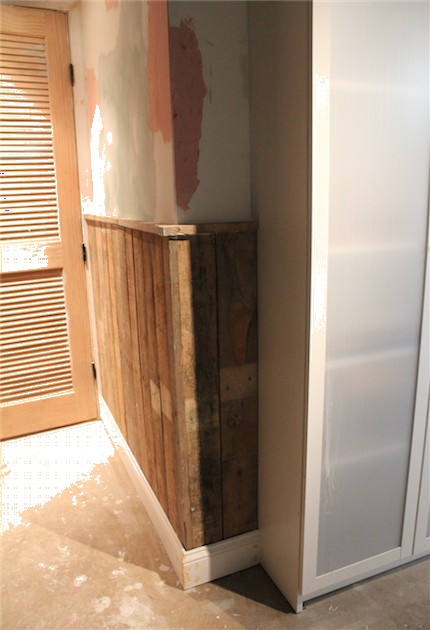
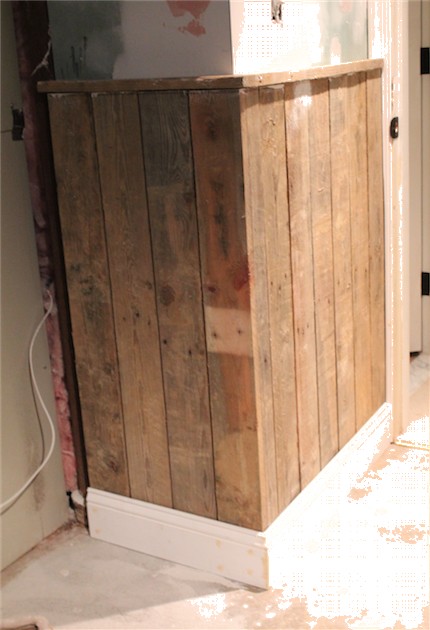
After supplies are unloaded these crates are just thrown away. Pavlo decided he would try and reuse a few of them for a wainscoting style trim around the laundry room. Yes, I know, impressively creative, right?! Yup, yup, snaps for Pavlo! He cut the boards to equal lengths, nailed them to the wall and then capped them off with another piece of wood. The end result looked like this
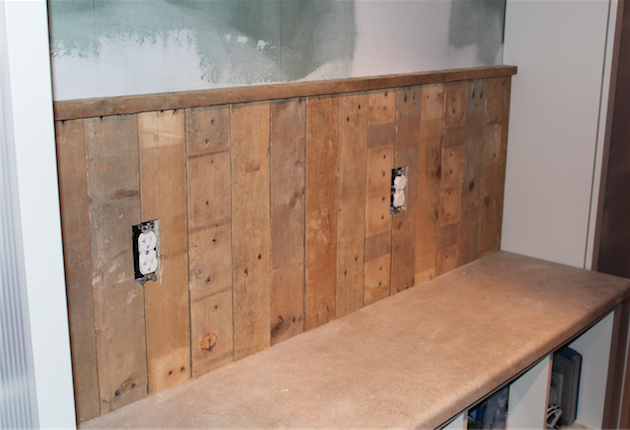
Amazing, right? It’s already a big improvement and best of all it was F-R-E-E! It desperately needs some paint so that’s what we’re off to do next!

This is EXACTLY what I ask my husband to do in our kitchen. Right now we have some very “lovely” 1974 paneling as wainscoting, we made some baby gates from pallet wood, I thought this might look great to replace the old paneling. I was RIGHT!! This is AWESOME!! Thank you for sharing your pictures. I would love to see some pictures of the finished product too.
<3 <3 <3
Thanks,
Heather
Thanks! Here’s a link to the painted laundry room: http://onehomemade.com/2012/02/21/painting-the-laundry-room/
and here is a link to the room completed: http://onehomemade.com/2012/04/04/remodeled-laundry-room/
Good luck with your project!
What does the wainscotting in the laundry room look like finished? Did it get painted, stained, or poly? Thanks.
Hi Adrianna! It was painted a white semi-gloss just like the rest of the trim in the house. You can see pictures of it here: http://onehomemade.com/2012/02/21/painting-the-laundry-room/
Thanks for reading! 🙂
-Stephanie
So creative!
I know! He really surprised me with that idea! I mean he’s definitely had his creative moments before but this was his most creative moment of the whole renovation, hands down!