Upstairs Bathroom Reno: Finishing Touches

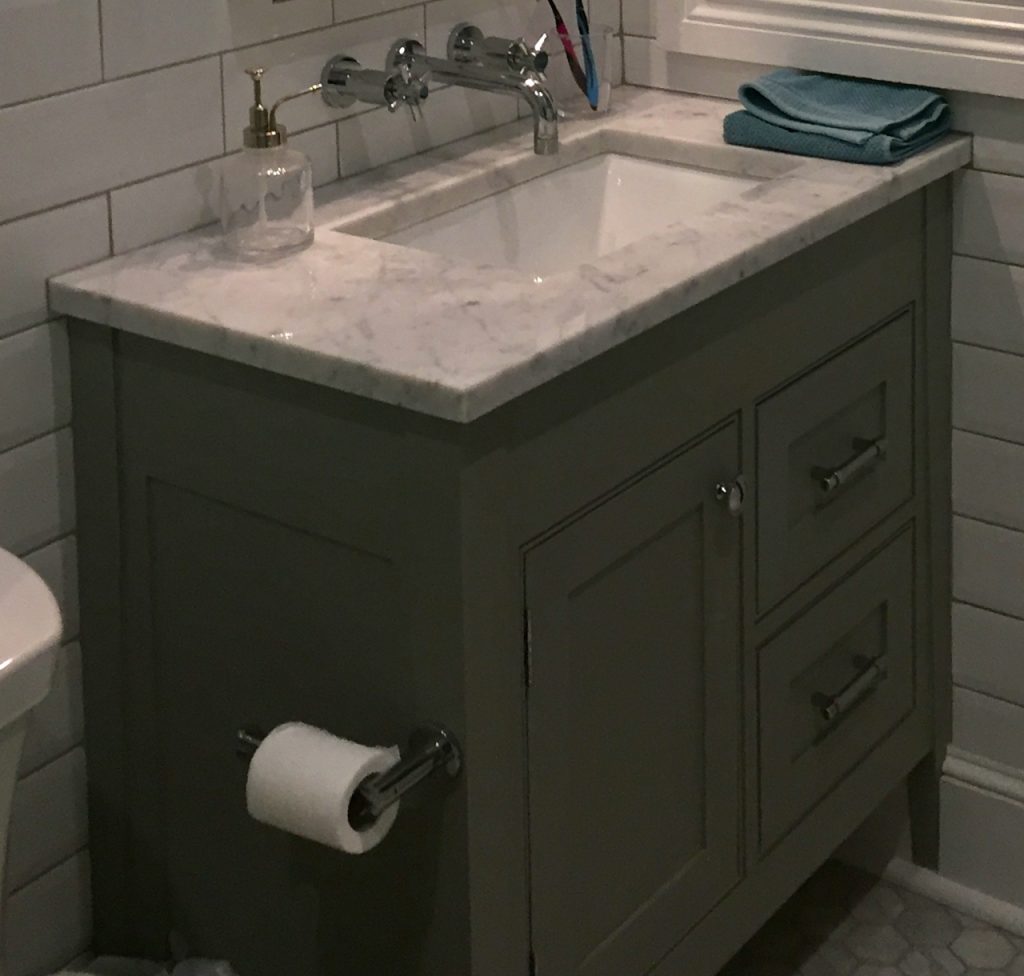
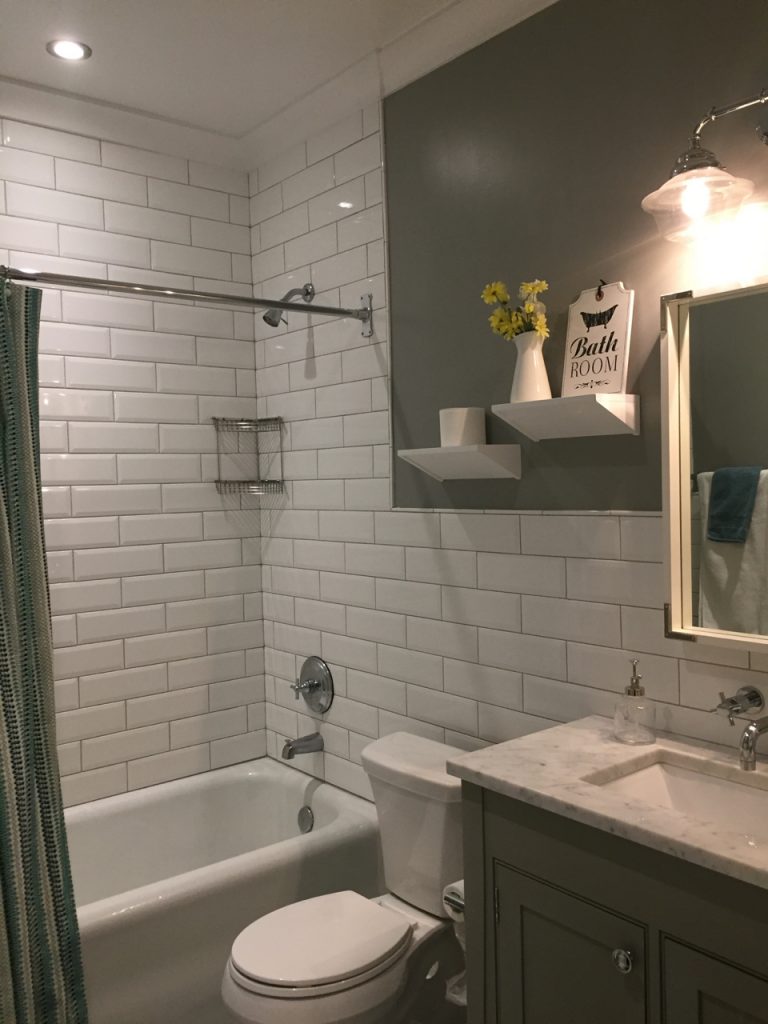
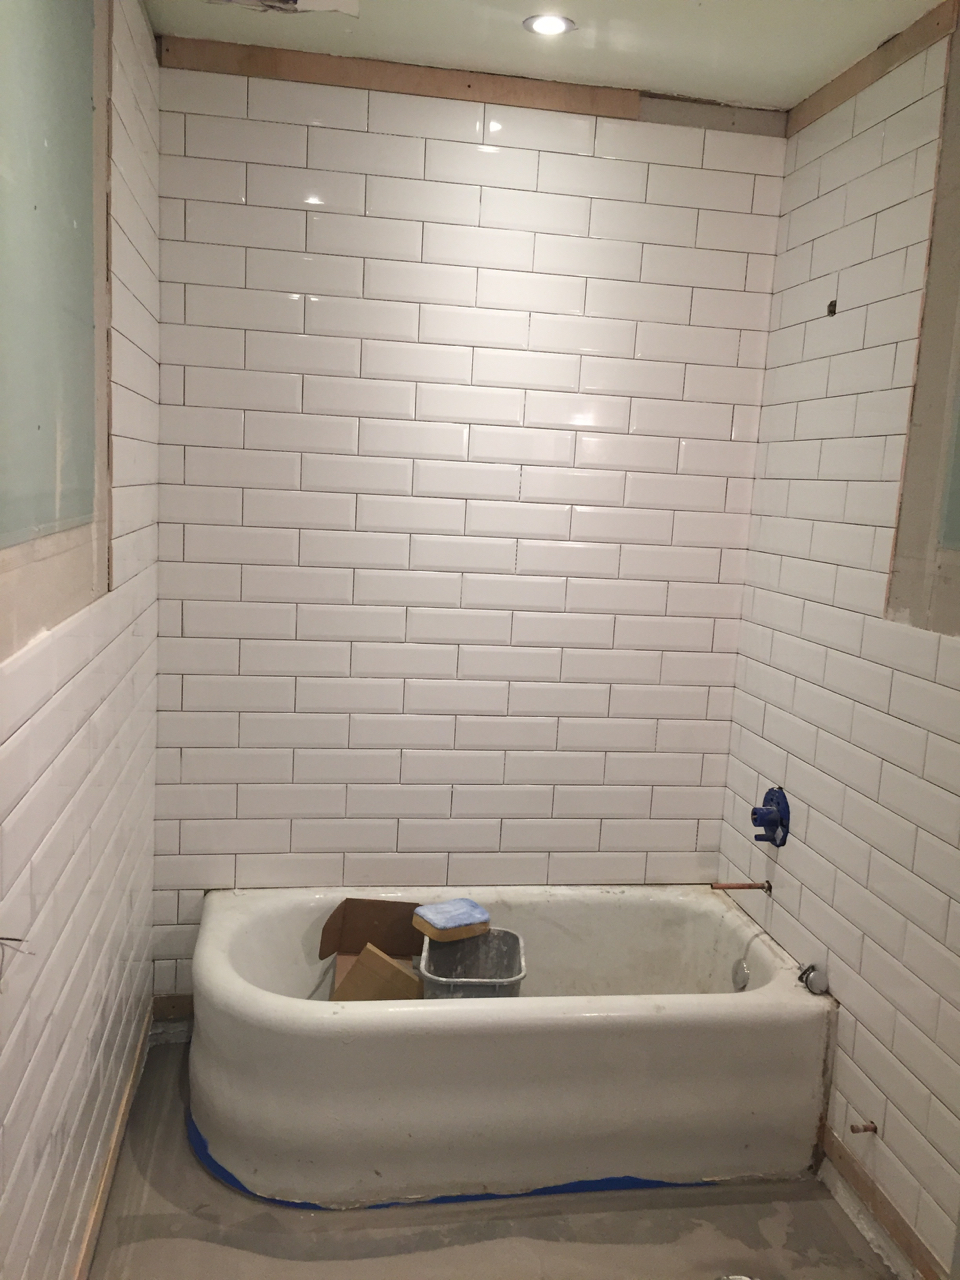
With the tile set and grouted Pavlo was able to move onto the finishes. The shower fixtures and toilet were installed and the vanity set into place. The vanity was not a simple click and purchase item. In order for the new layout of the bathroom to work we had to have a custom sized vanity, one that is not quite as deep as a standard vanity that can easily be purchased in store or online. This specific depth was necessary not only because we wanted to make the bathroom feel as large as possible, but also because with the sink’s new location (to the right as you walked in) it could encroach on the doorway if not sized perfectly.
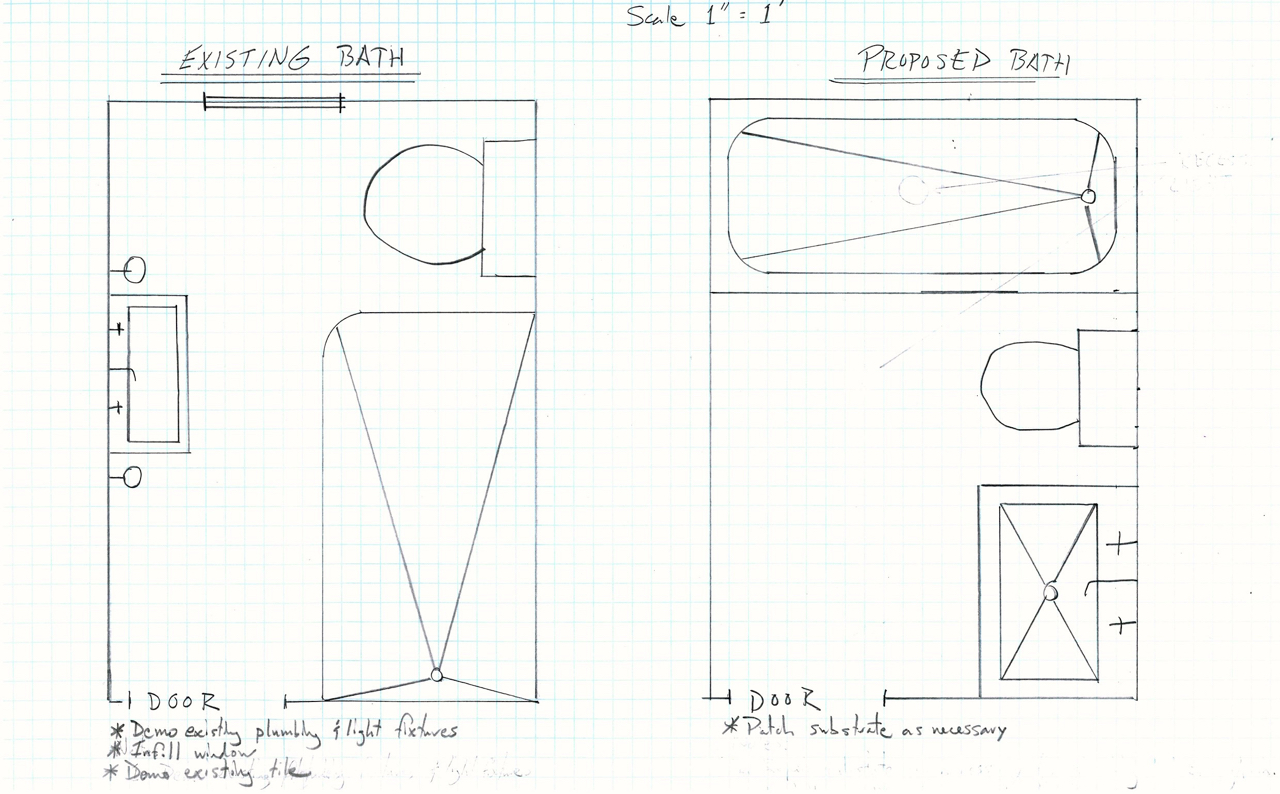
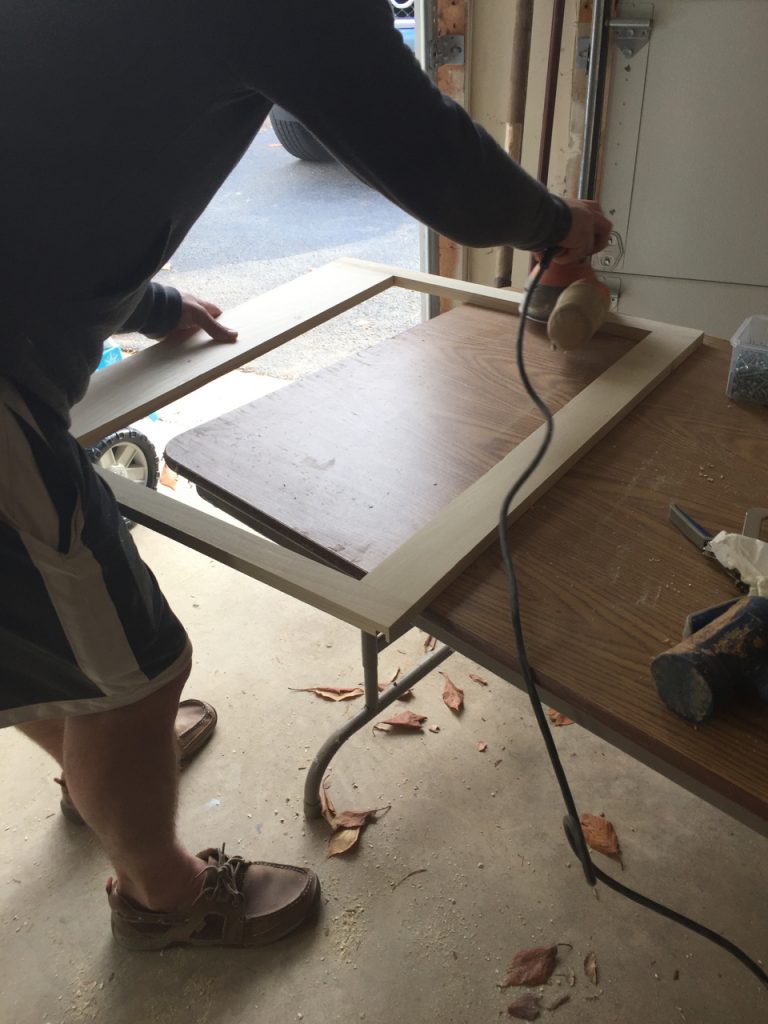
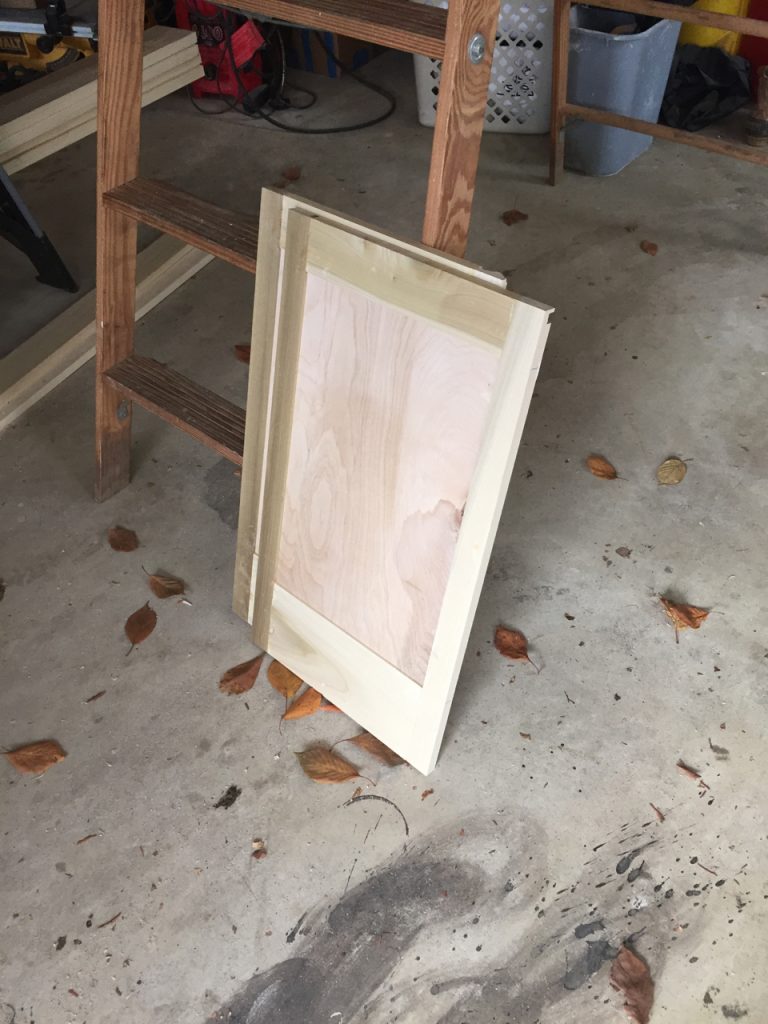
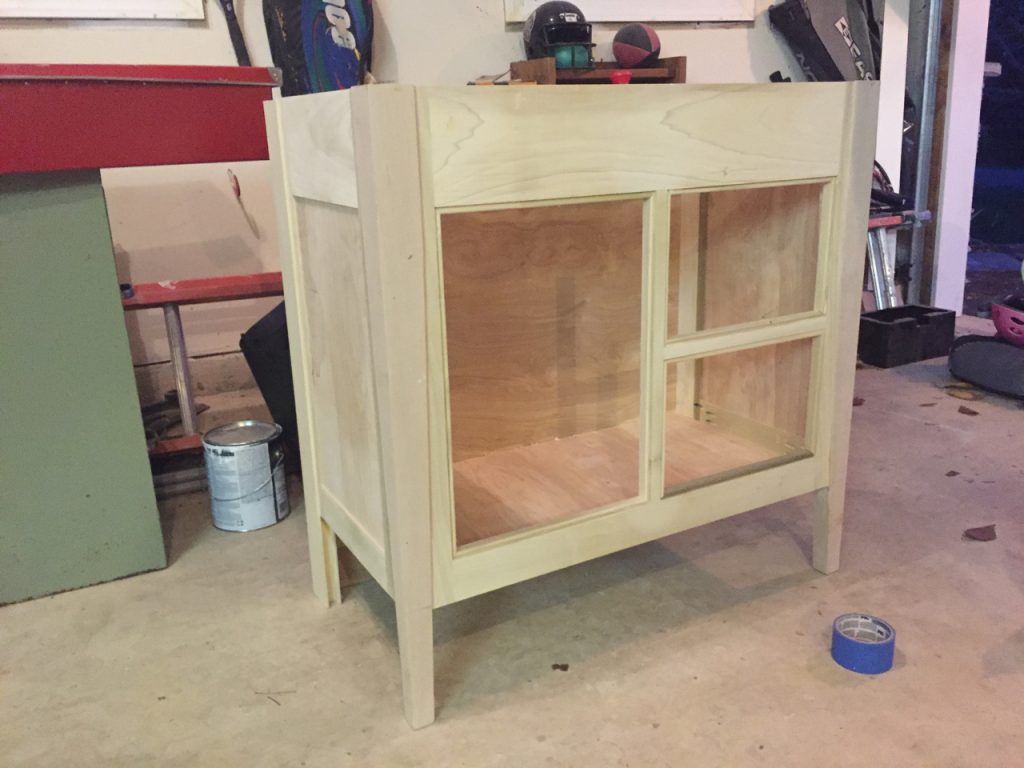
I searched high and low for a more shallow vanity. The end result was that I either spent a mint through a custom build cabinetry company or I sacrificed width (which in turn severely limited counter space), neither of which I wanted. I showed Pavlo multiple pictures and described what I was hoping to find and he said it would clearly just be easier for him to build – and it definitely was! He ordered the doors and drawers to expedite the process but he built the frame and sprayed out the final piece in Ellie Gray by Sherwin Williams.
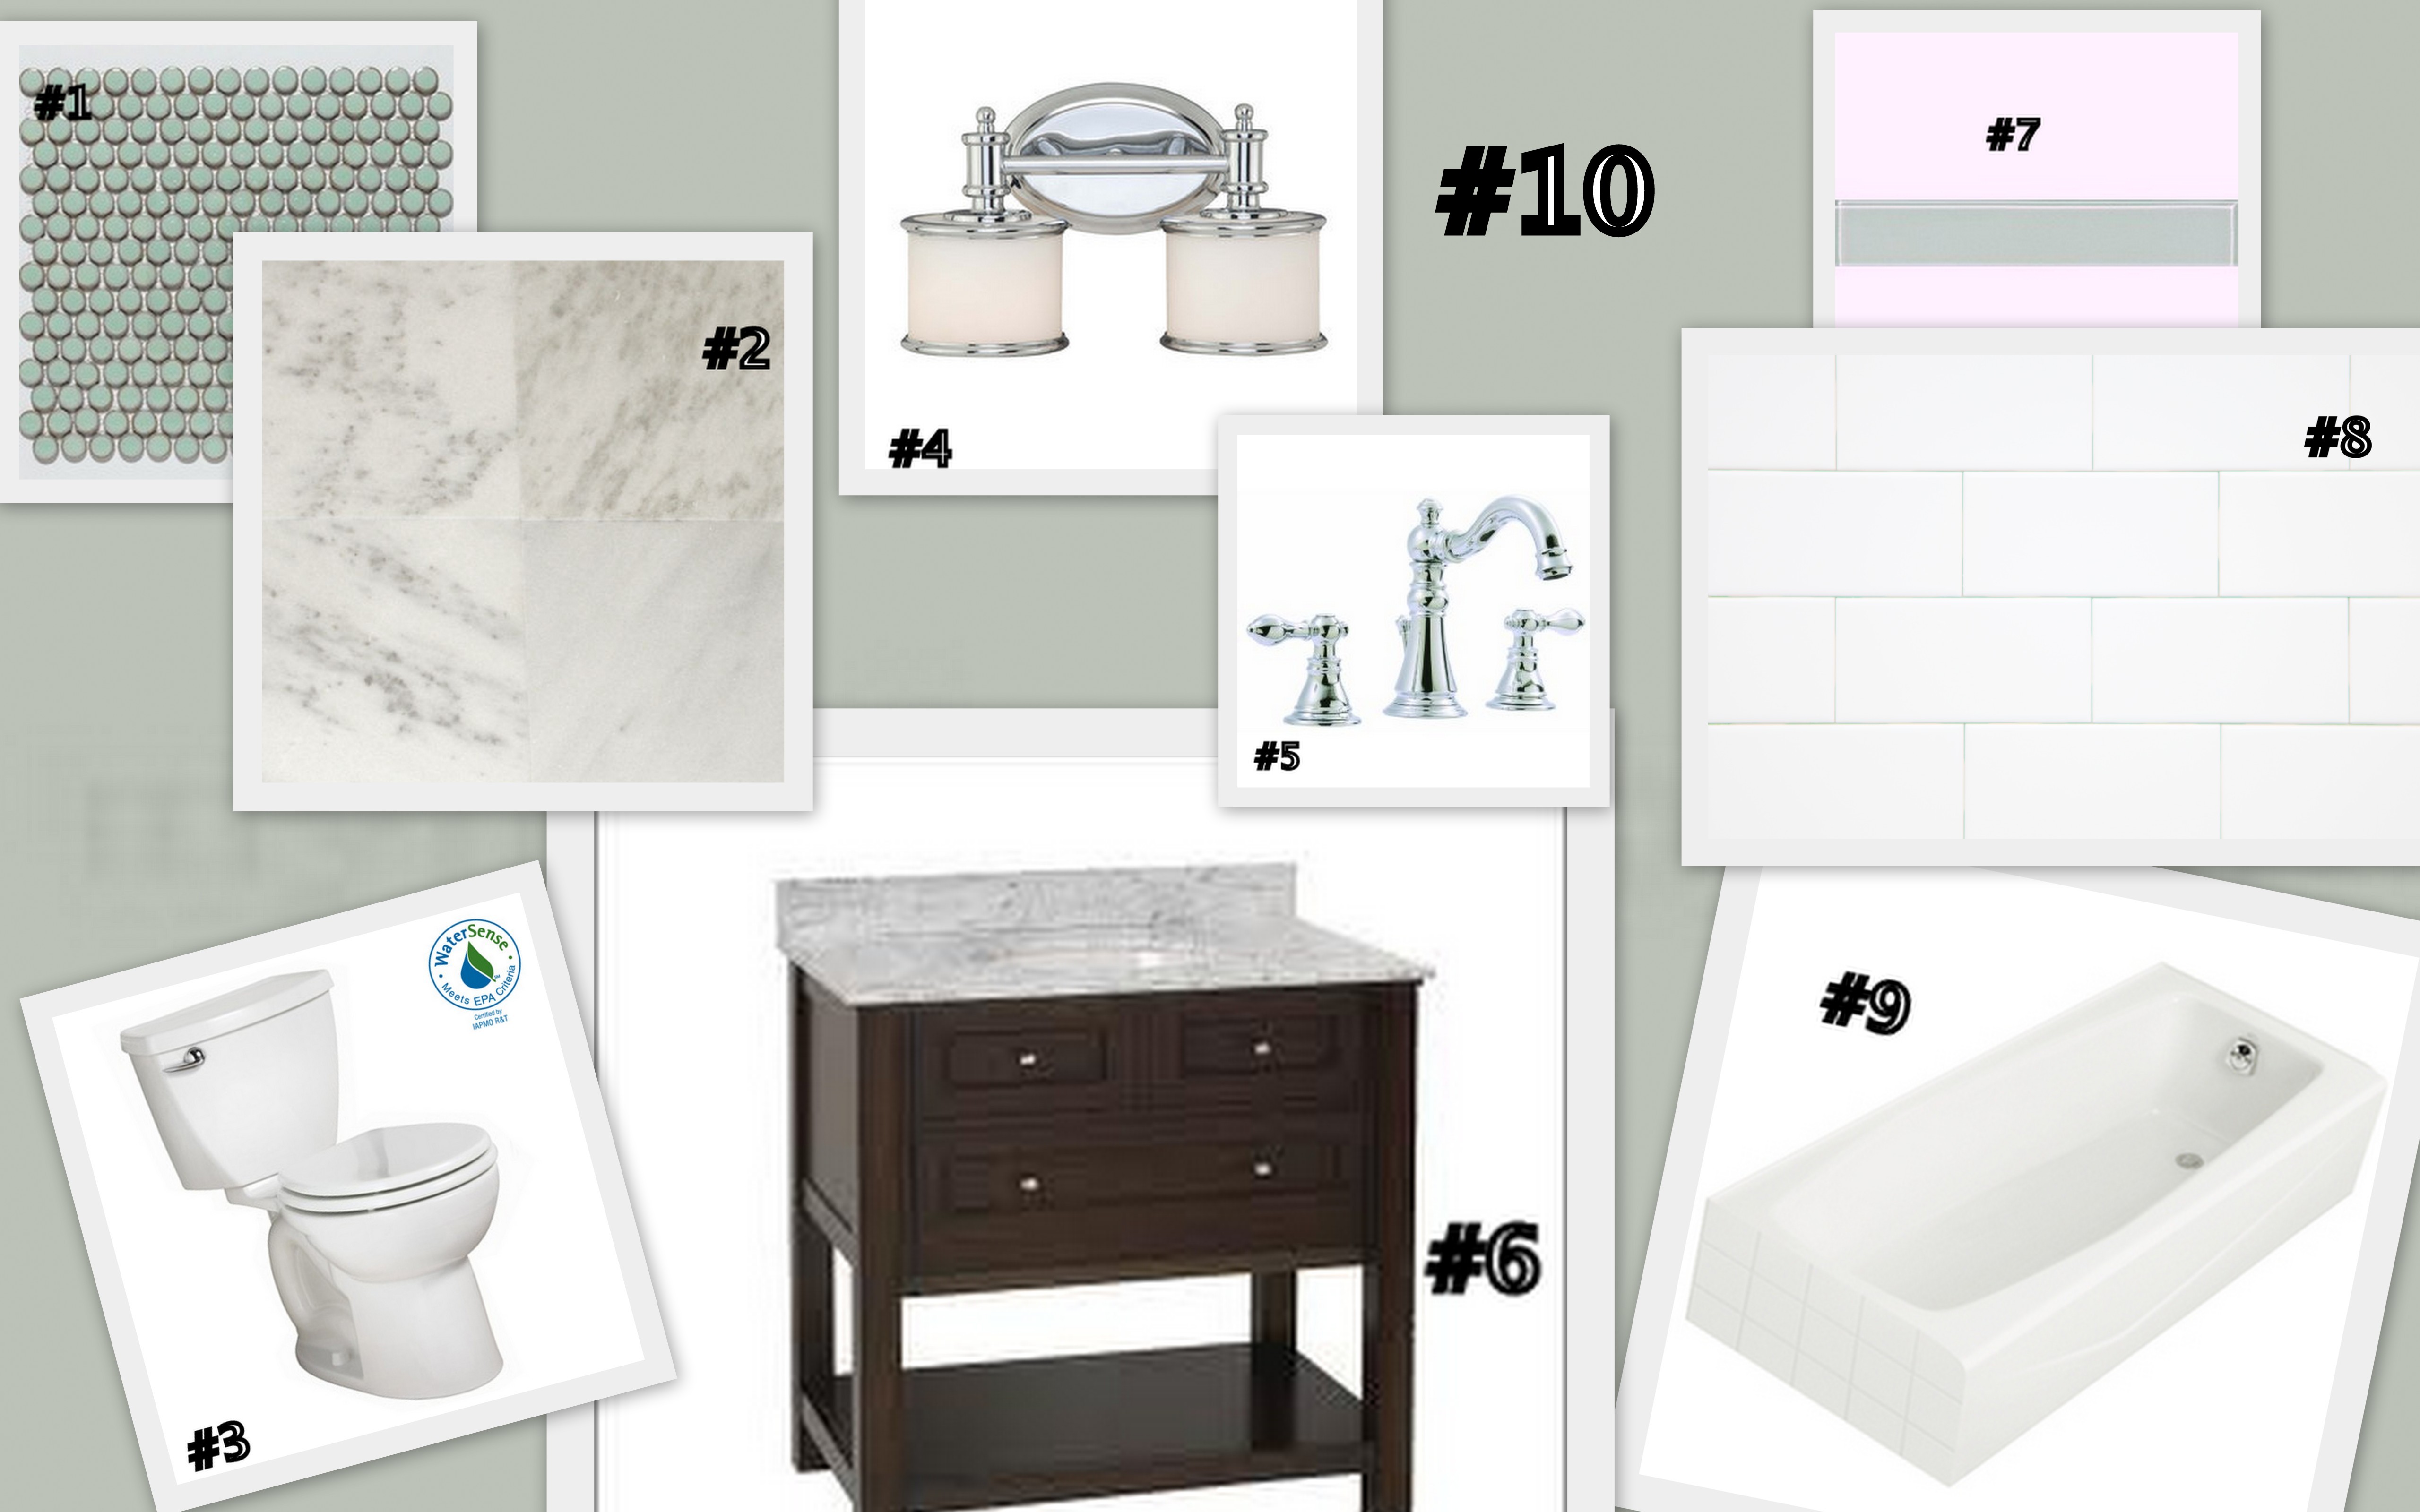
A custom vanity meant a custom countertop so that was easily done with a trip to a granite yard. I already knew I was going with a Carrera marble counter (to coordinate with the floors) so it meant simply picking a slab and handing over the dimensions and rectangular sink that I had already purchased. They needed the sink not only to cut the proper sized hole for it, but also to mount it to the marble since it is an undermount sink. Normally I would have also had to give them the template for the faucet but in this case it’s a wall mounted faucet so it wasn’t necessary. The wall mounted faucet helped maximize the already limited counter top space.
Once the vanity top was ready to be picked up (they were going to charge a significant amount more for delivery of such a small piece) it was set and installed quickly.
In order to compensate for slightly less countertop we decided to use some “dead space” in the wall next to the sink for some extra storage. Behind this wall was one of the new HVAC shafts but there was empty space around it that allowed us to put in a shallow, recessed shelf. It’s perfect for those basic necessities that might otherwise eat up counter space. Right now all five of us share this bathroom so it goes to good use hiding toothpaste, lotions and all of Pavlo’s hair products and accessories. Kidding, his hair doesn’t even require a brush.
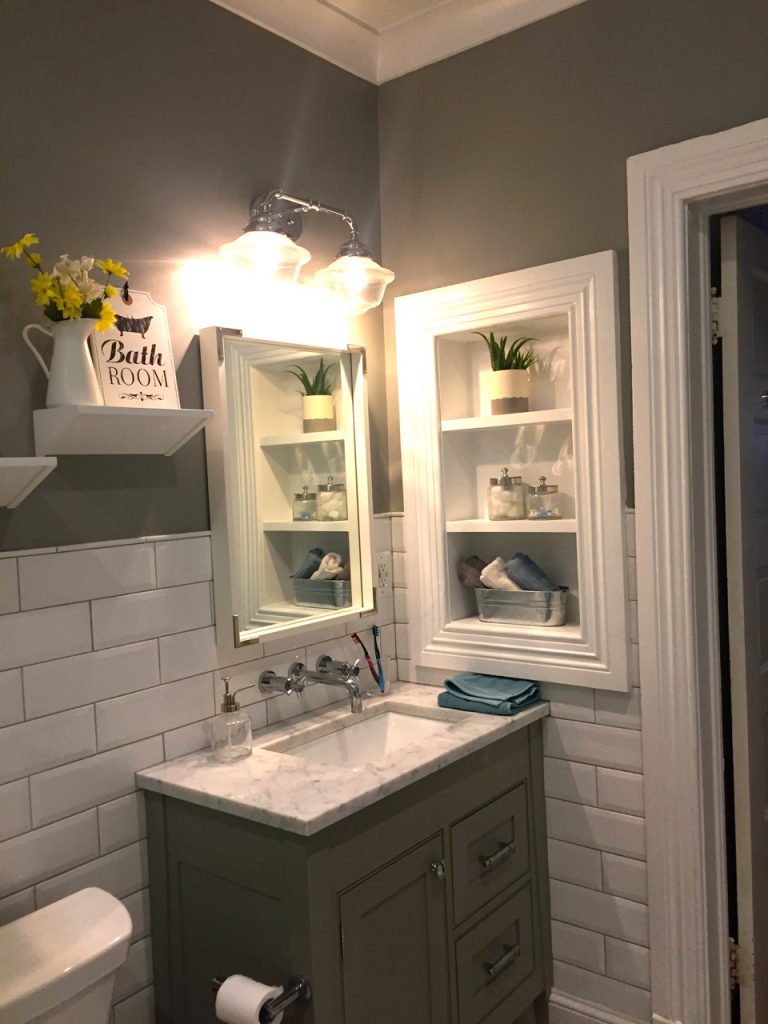
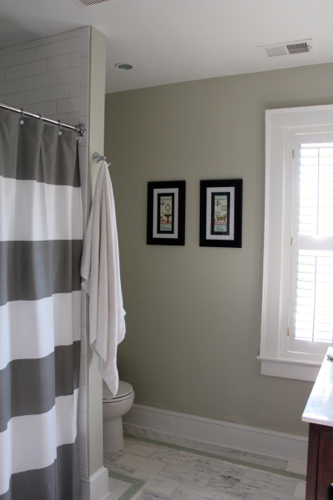
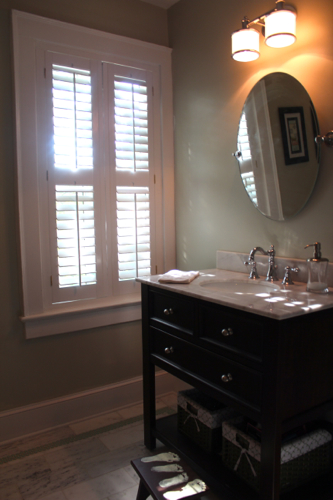
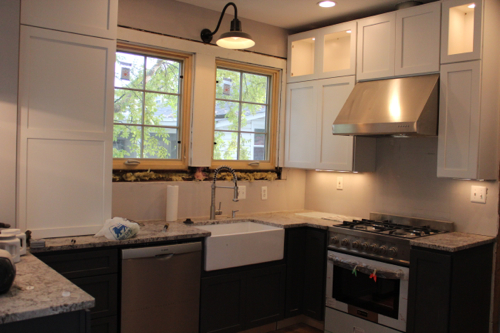
While waiting for the final piece to the vanity, which was the counter and sink, the walls were prepped for paint. Trim was installed, nail holes filled and everything was caulked. We were then able to paint the walls for which I chose the same color as the vanity, Ellie Grey by Sherwin Williams. I know, sounds boring, but I really wanted color to come through in a new shower curtain, art (which I’m still on the hunt for) and other decorative pieces. In the upstairs (guest/kids) bathroom of our last house I actually did the opposite and put a light green on the walls with more neutral decor. You can read more about that here if you need a refresher, if not here’s a little flashback picture:
Whelp that’s it for this bathroom, except of course for that darn “perfect” piece of art I can’t find! Done and done!

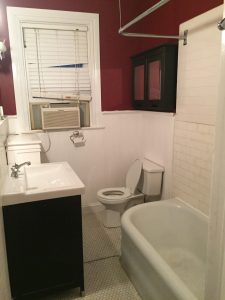
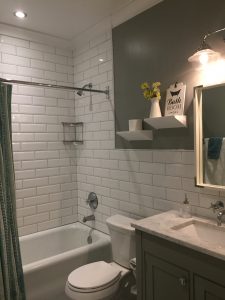
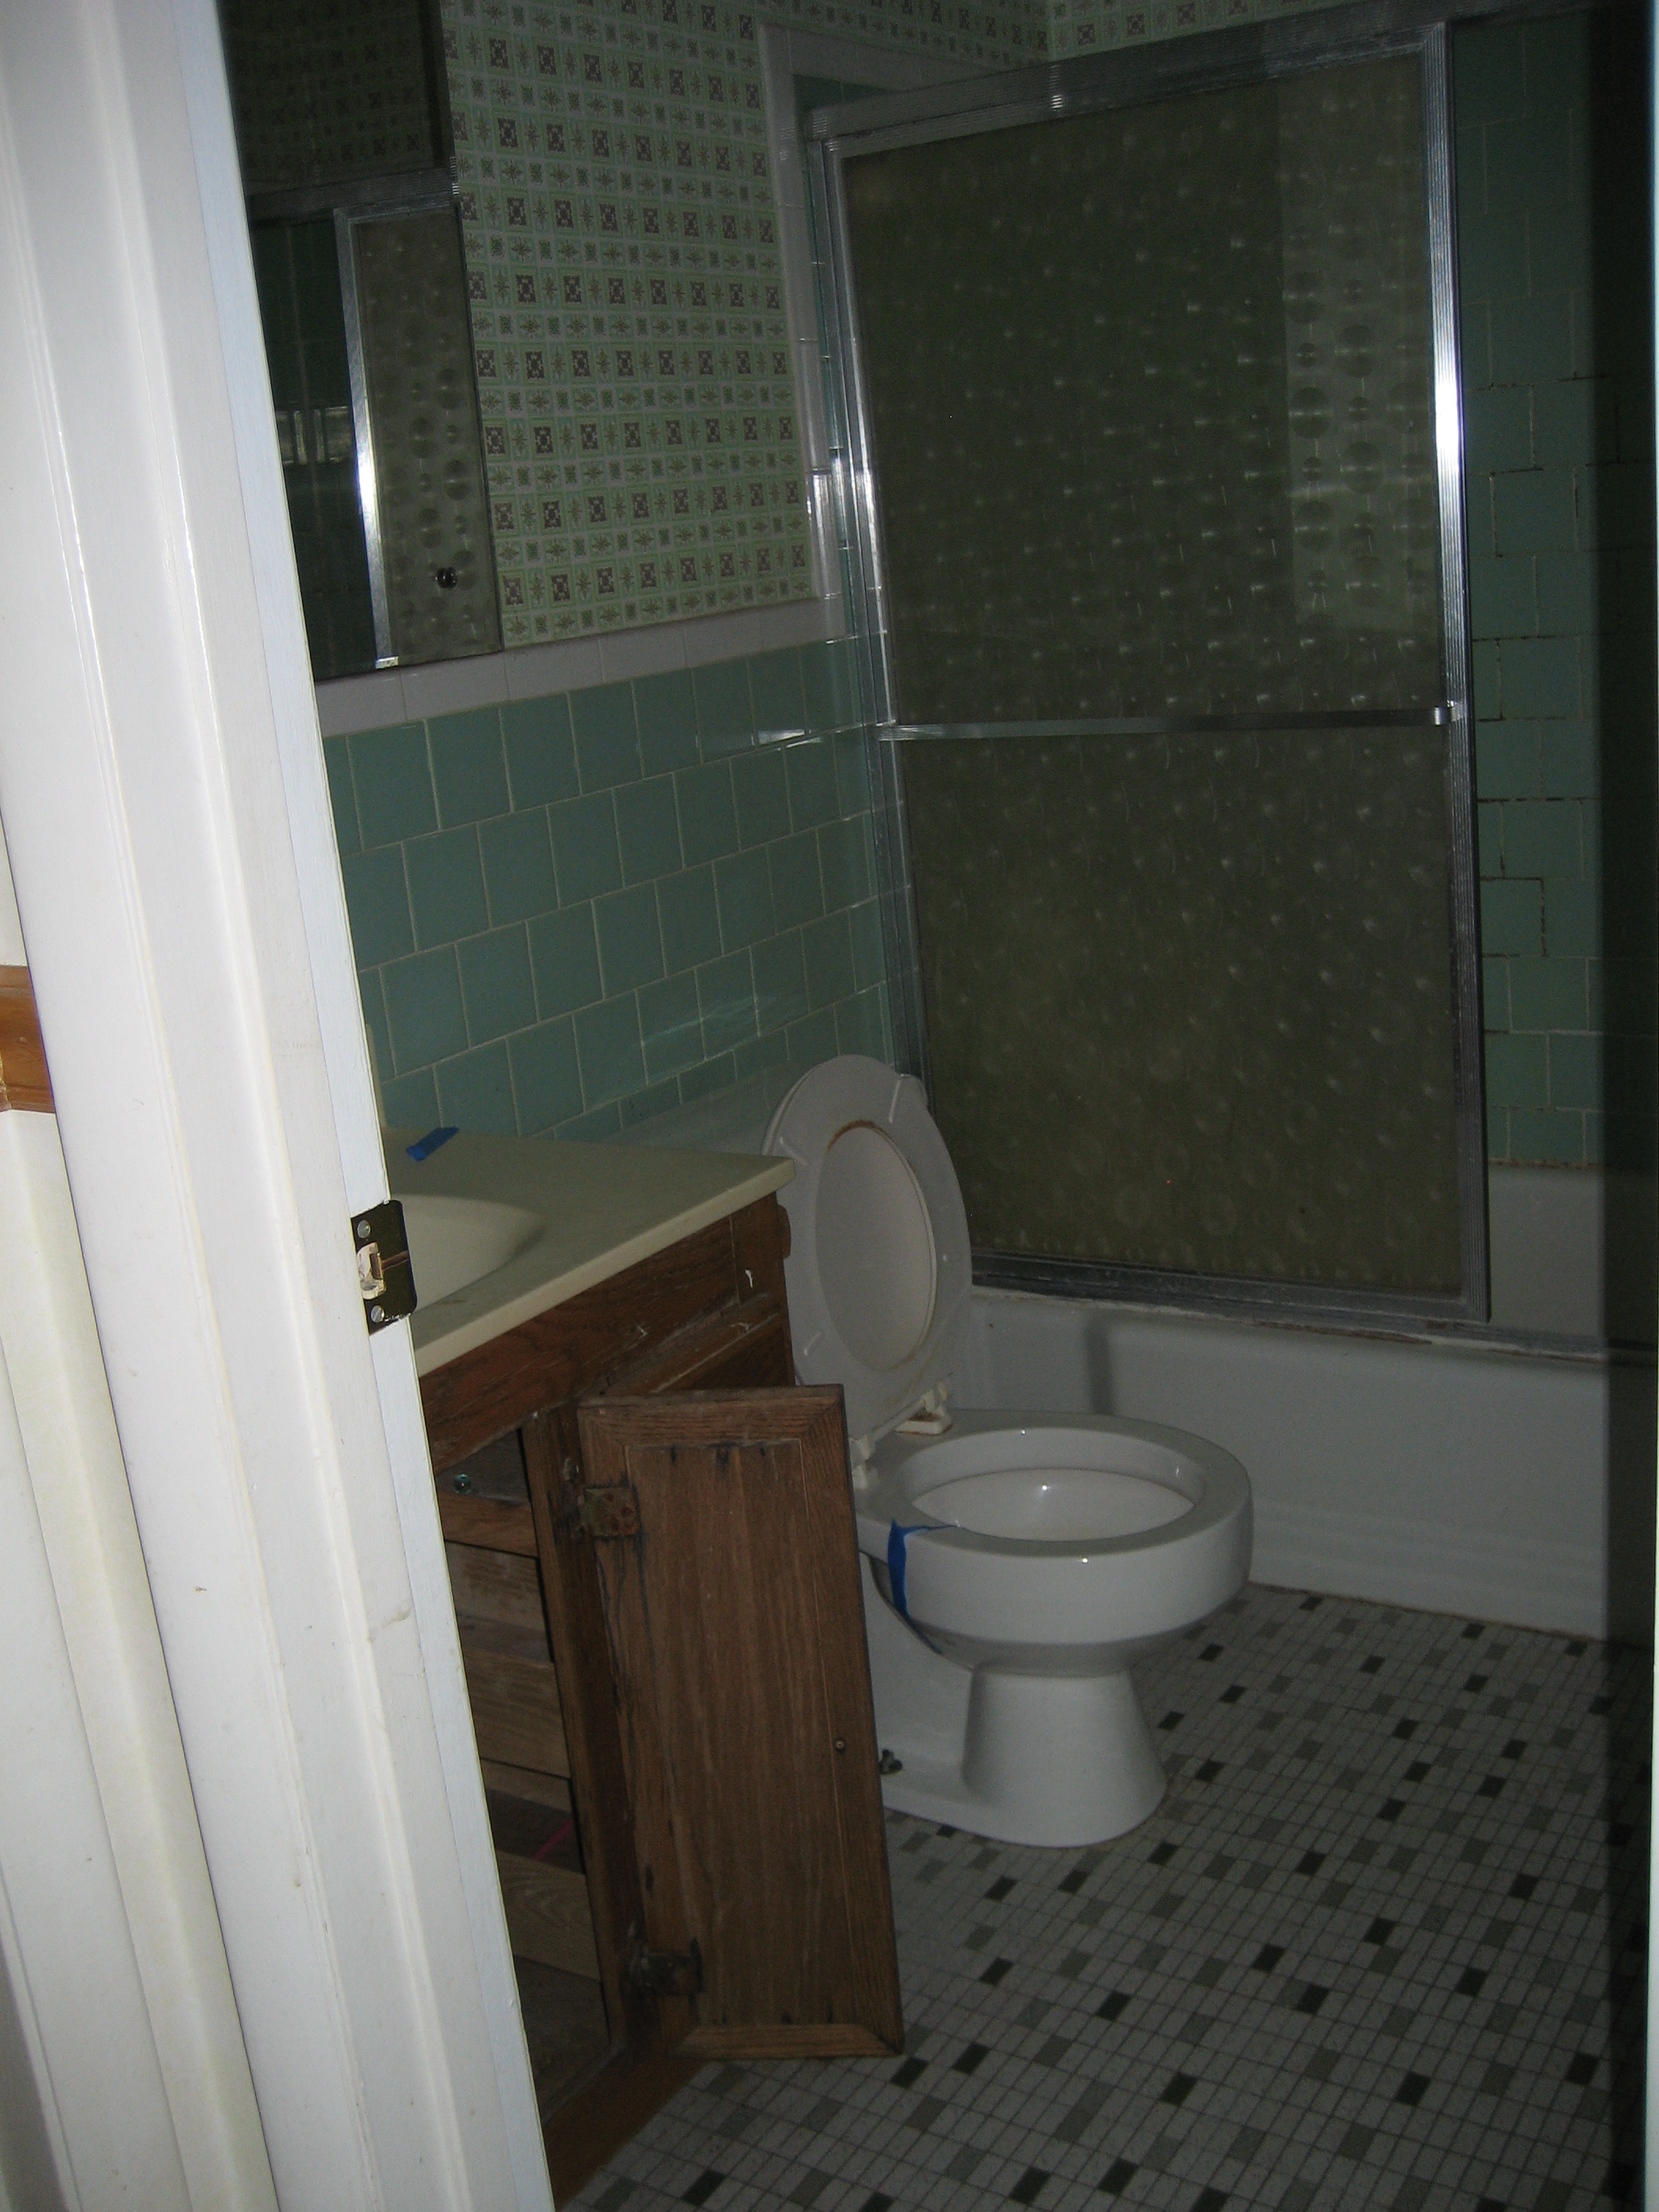
As I read through this post one more time after I posted it, I felt strongly that I needed a before/after comparison here at the end.
Here are some links in case you want to shop for some of this look:
Mirror: West Elm
Light: Lamps Plus
Angled/wedge Shelves: Hayneedle.com I had actually seen a shelf like these at West Elm and loved it. Unfortunately their version was too long so I searched for others and came across this set of 3 (only 2 were needed in the bathroom) and not only were they a perfect size but they were less expensive as well!
That vanity turned out great! Lovely bathroom 🙂