Our Not-So-Grand Foyer!
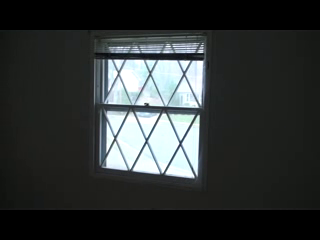
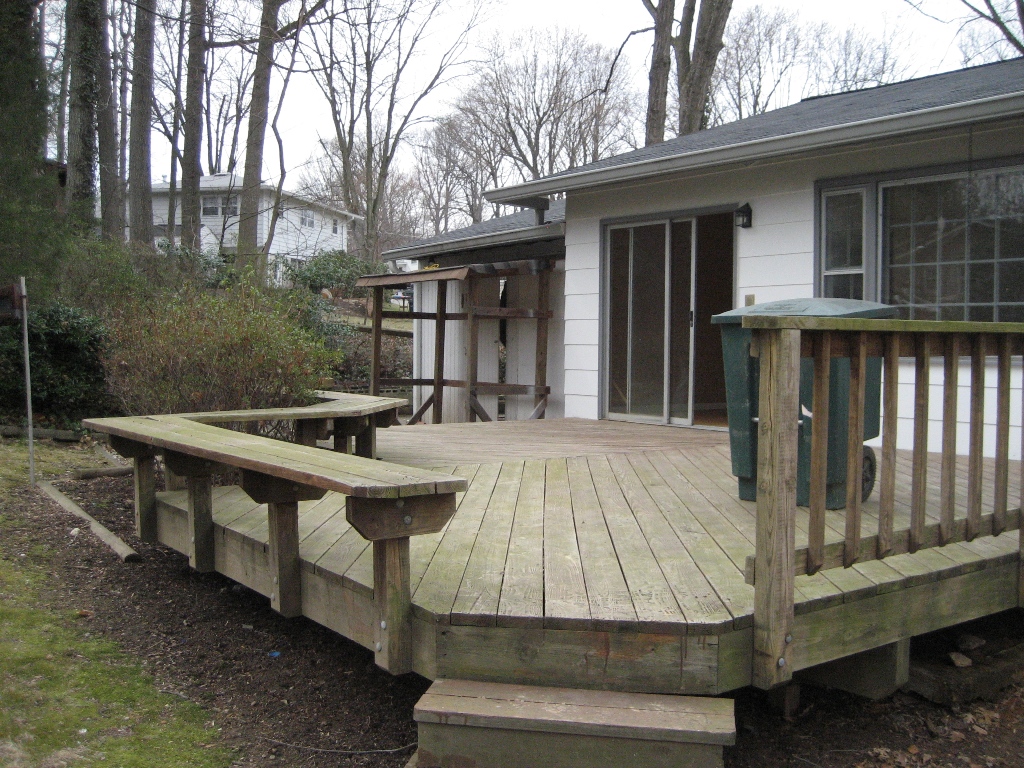
As the title of this blog states, our foyer was never exactly what one would call grand. However, since the size of it wasn’t something we could change, we had to work with, and improve upon, what we were given. Let’s begin with the front door itself and work our way in. The original front door followed the same faux, or imitation, Tudor style that the whole exterior of the house did at purchase. It’s difficult to see in the before image of the house (seen in this post) but the upstairs windows had the same lattice pattern as the original front door’s window. Here’s another image of the windows, only from the inside.

I call this faux Tudor style because during the Tudor time period this style developed because of the expense of making large pieces of glass (glass was rarely used in homes up until this point) and traditionally the lattice was made of lead to hold small panels of glass in place. The lattice was definitely NOT wood meant to act solely as decoration, like it was in our house. Now, I have to say that if we were working on an actual, historically accurate Tudor style home with the traditional windows Pavlo would have NEVER let me replace the windows…nor would I have wanted to because it adds so much amazing character! However, we weren’t in that situation and therefore these windows and the front door absolutely had to go! Alright, enough with the history lesson, back to the front door.

This blue door was replaced with a new, solid wood (douglas fir) front door that we stained a “Cherrywood” colored stain.

After adding new oil-rubbed bronze hardware and a fresh coat of white paint to the trim and door jam, the new door was installed making the entrance look more welcoming already!

Unfortunately that warm feeling went away quickly when the door was opened. The original flooring was the same dated linoleum that was in the kitchen and the walls were covered in a wall paper that was already peeling off (we think it wanted to go just as badly as we wanted it to). To top it all off this was all highlighted by light coming from the 1960s globe fixture hanging from above.


To be quick about it, the flooring, wall paper and light fixture were all removed. The paint and the tile from the kitchen were continued into the foyer where Pavlo created this much smoother transition to the hardwood flooring of the living room. As you’ll notice in the image below there is no longer a threshold but now the two different floors are flush.

A new light fixture that coordinated with the rest of those on the main level was installed leaving us with this new entrance to be welcomed by each day.
WAIT, that’s not it! If you look closely at the before pictures you’ll notice that there is a coat closet to the right as you walk in. It was actually one of two closets. The other one is IMMEDIATELY to the right as you enter so you can’t even see it in the image. Because we would have plenty of closest space with a single closet, we removed the other to make room for the kitchen’s pantry cabinet. Now we not only have a coat closet but a wonderful pantry too!