Home Office: Refinishing an Antique Desk & Chair
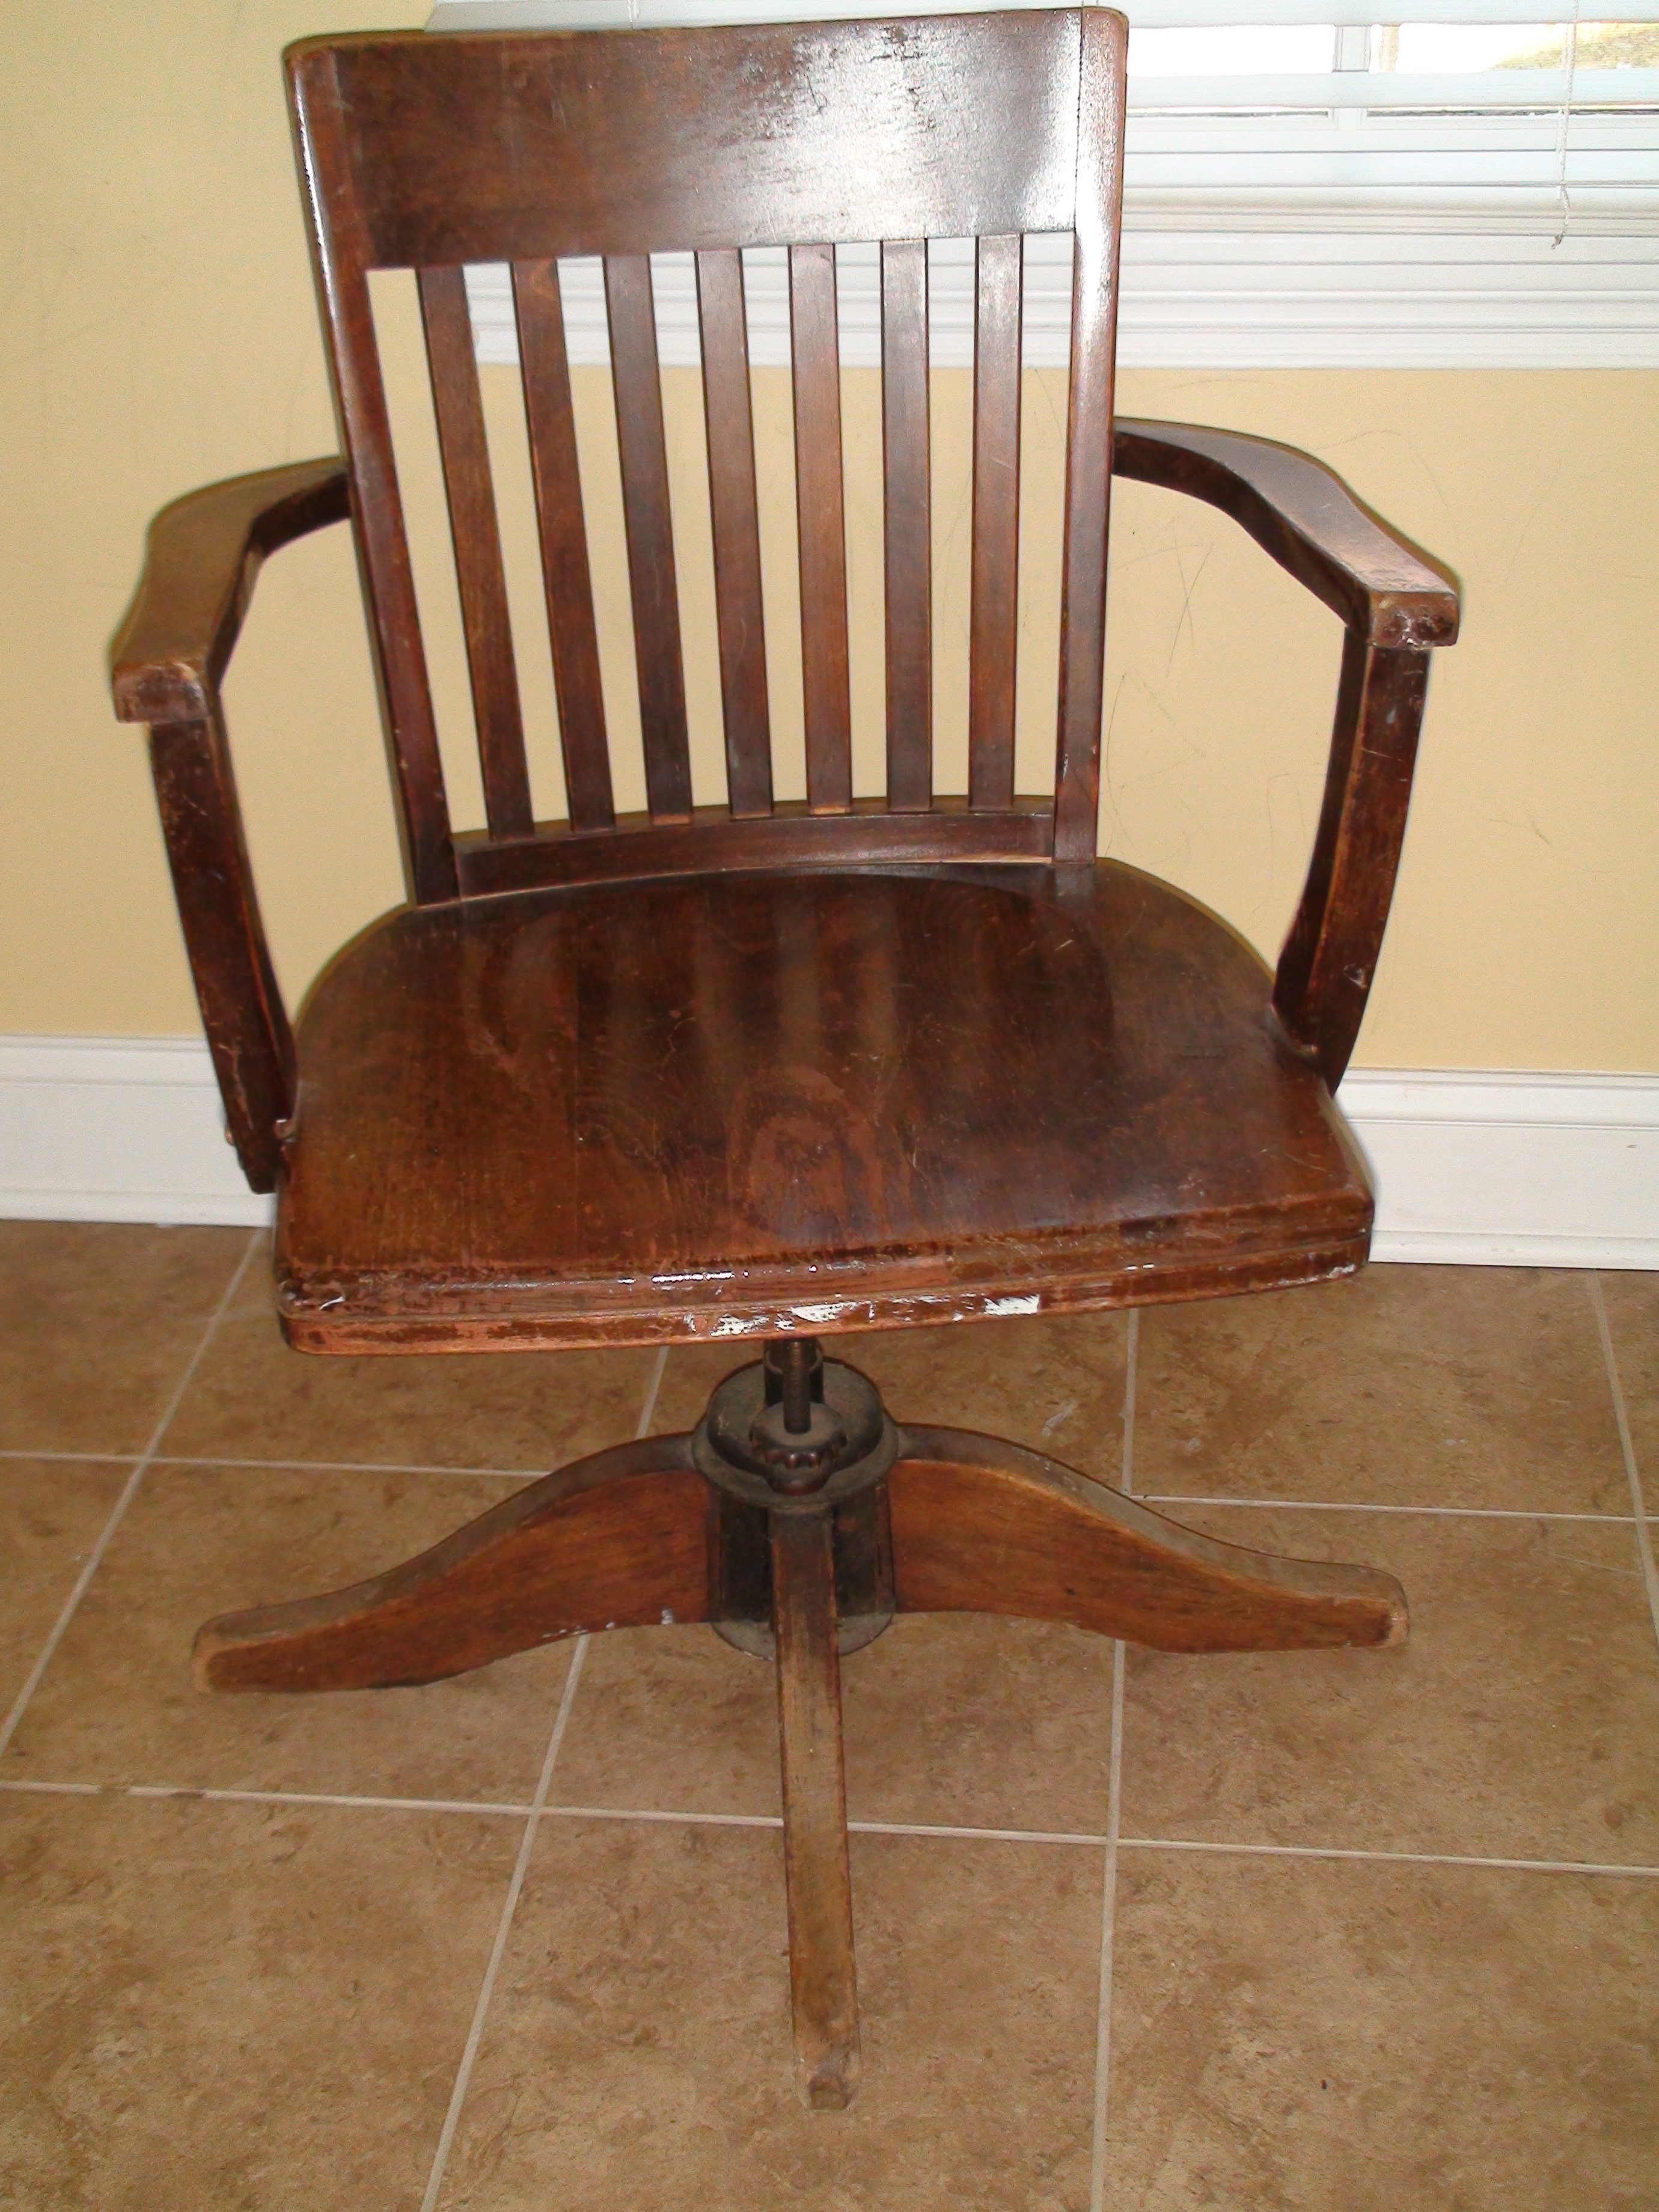
Remember this Craigslist chair?

We bought it to go with an old desk that Pavlo owned prior to us getting married. It was the perfect size for the space we were going to use as a home office, but as you can see it desperately needed some TLC.

We completed the refinishing of these items so I thought I’d reveal our final products. I’ll start with the chair first. Based on some very basic research we’re estimating that the chair is from the early 1900’s. It still has the metal label stating it was made by a Philadelphia based company called the “Jos. L Shoemaker Company”. I didn’t do very extensive research on this company but a simple internet search reveals little more than that the company was established in 1884. If any of you readers have more knowledge about antiques than please give me your input, I honestly chose this chair based on the style more than anything else! You see, much like the “Pen and Ink Chair Cover Pillows” from Pottery Barn that I mentioned in the previous post, I fell in love with these chairs from Pottery Barn. Problem was they cost $399…not quite in our budget! From there I hit Craigslist almost daily for months before coming up with the listing for what is now our chair.
Despite being quite old the chair was still in remarkably good shape. It was missing all four of it’s casters (wheels) and definitely needed a new paint or stain job, but other then that we were really happy with our $40 purchase! Yup, you read right, only $40!
Pavlo immediately hit the internet for some metal hooded casters with rubber wheels. Basically, we wanted to maintain the antique look of the chair by getting casters that were made of metal (versus plastic) and that had rubber wheels so they wouldn’t destroy our hardwood floors. Here’s what we found:

So much better for this antique chair than the standard caster (seen below), don’t you think?

While Pavlo purchased those I decided on a color. I had to keep in mind that whichever color I chose for the chair would have to coordinate with the color we refinished the desk. I decided painting the chair the “Antique White” milk paint by General Finishes would work best with both the desk and the colors of the room in general. Given that we have a little one in the house and that I’m pregnant with #2, we tend to work a lot with low-VOC paints and water based stains. Our favorite paint for refinishing furniture is milk paint because it is low-VOC and gives such an incredibly smooth finish.

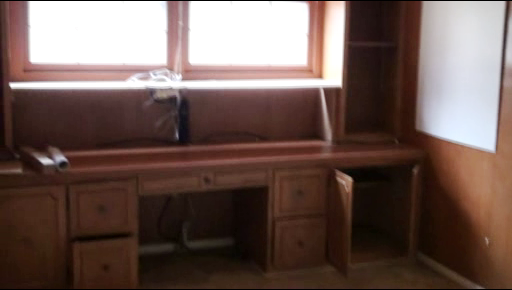
With the decision on color made, the sanding and painting began. However, before I reveal what our chair looks like now I’ll tell you what we did to Pavlo’s old desk. We removed all of the hardware, repaired a few damaged areas and sanded it in preparation for paint or stain.

For this piece I was going to stain the top and paint the base but after seeing the top sanded down I decided to leave the top its natural wood color. Pavlo only put a wax coating on it as a means of protecting the wood. The base, however, was still painted and in the same “Antique White” as the chair. The old hardware was not salvageable so I purchased new ones. These are the new, 3″ chrome cap pulls made by Liberty that I selected.

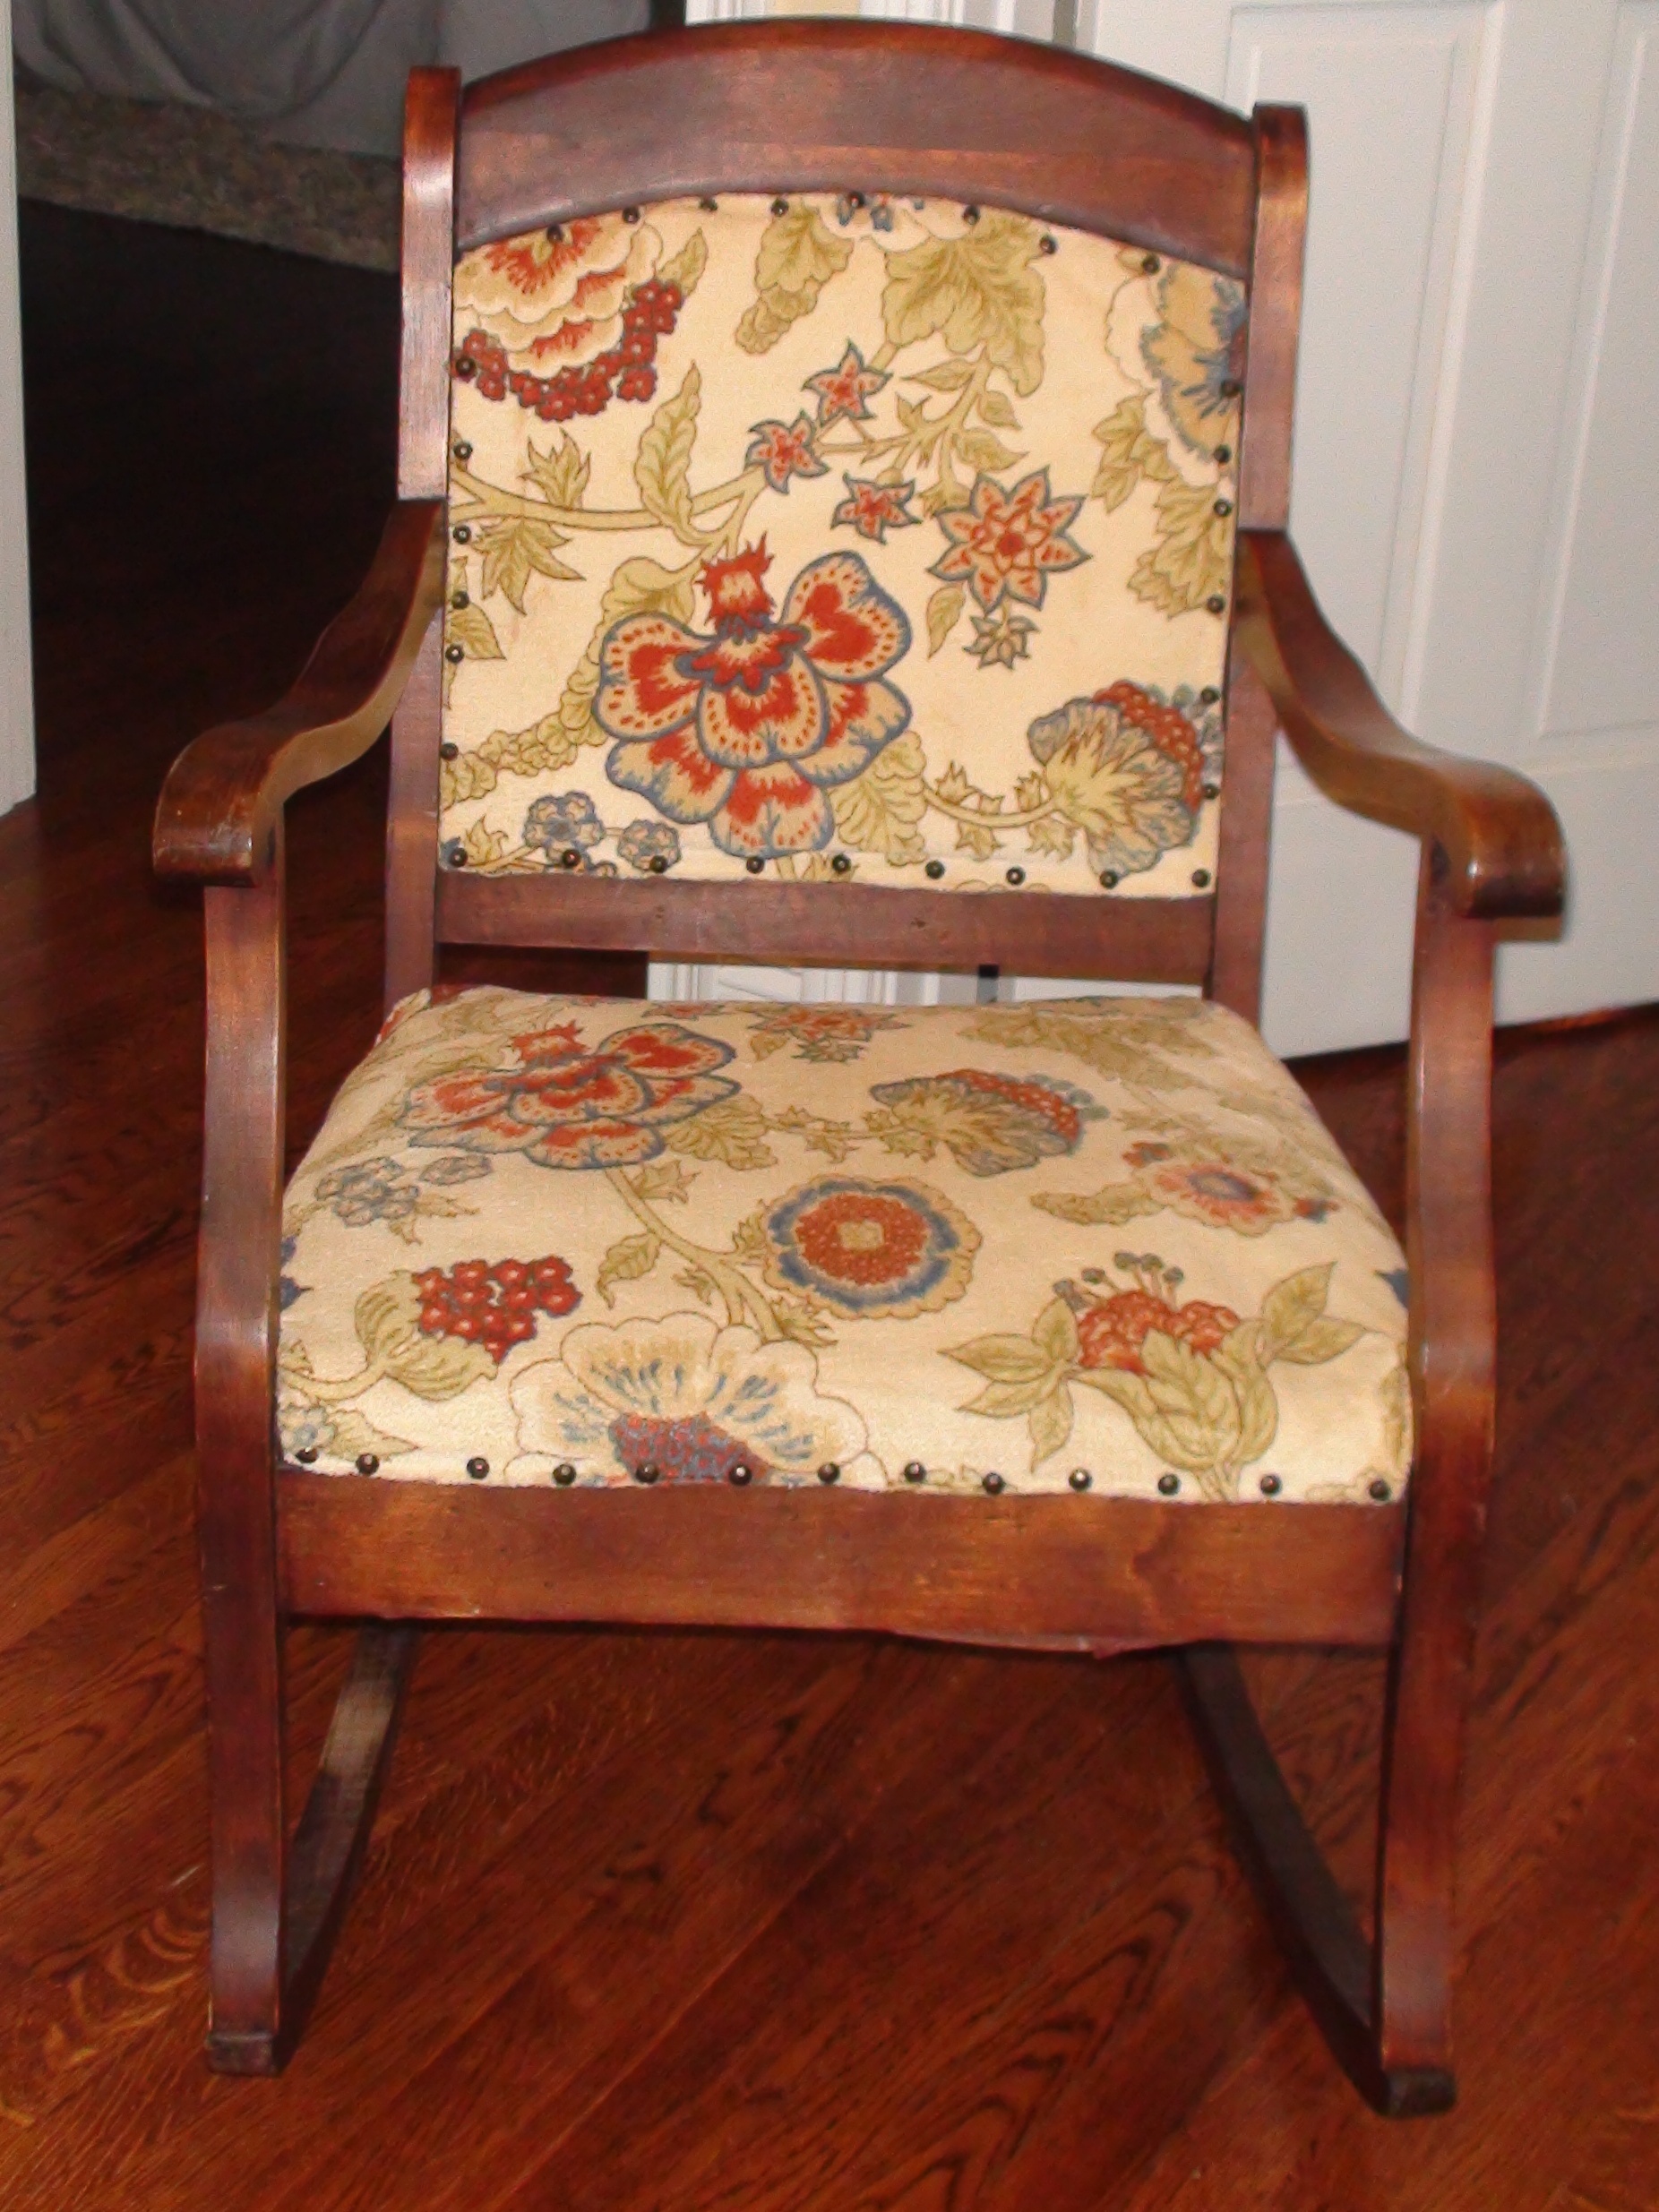
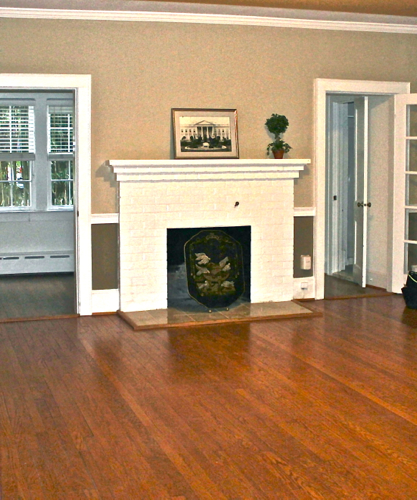
Alright, enough delaying, here is what the desk and chair look like now.

And the desk:

Both together:

In case you’re wondering about our final cost to refinish here is a break down for each.
The chair:
-chair=$40
-casters=$20
-“Antique White” milk paint by General Finishes=$11.95
Total for the chair=approximately $72 (no where near the $399 Pottery Barn chair I wanted!)
The desk:
-desk=$0 (it was given to Pavlo)
-repairs=$0 (they were done with tools and products we already owned. For example, wood glue & wood filler)
-paint=$0 (same paint as we purchased and used on the chair)
-new pulls= 4@4.85= $20.37 (including tax)
Total for refinishing desk=$20.37
Grand total for both=just over $92!

Jos. L Shoemaker, was my grand father. He died in 1933.
There is quite a history re: this company. Grandfather was also one of the founders of Manufacturers Country Club.
If you like please contact me.
very cool. still love the chair!
I know this is an old post but I just bought a chair very similar in hopes of doing the same. Question? Did you remove the hardware? How did you finish it (hardware)?
Hey Bekki,
Which hardware are you referring to? Aside from the metal casters (which we purchased separately and new) and the metal base (from which the wooden legs come off of), the only hardware that is on our desk chair is the original manufacturer label/plate that is on the back of the chair. This plate states the name of the manufacturer and the year the chair was made so we thought it was cool and decided to keep it! This plate was removed before refinishing the chair and the only thing it required was a little cleaning. The metal base and this label were in really good shape and after cleaning them they really are a nice aged bronze finish. I hope this helps!
-Stephanie
Nice job on both!