Our Home Office
As shown in this post on the basement’s guest bedroom, at purchase our house technically had a home office. However, as mentioned in that post we really didn’t like the thought of having what would be our main guest room (because it’s the only one with its own full bath) having to be shared with an office space.

Instead we chose to make the basement bedroom solely a guest room and the upstairs guest bedroom would be half office space and half guest room. This post will wrap up the home office side of the upstairs guest room that we began to show you in the previous post.
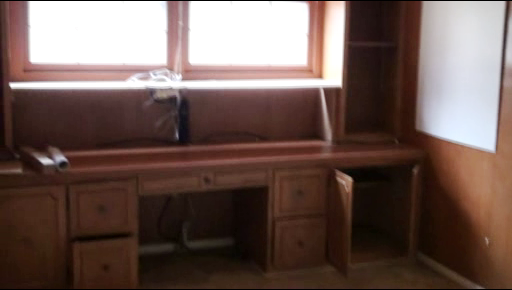
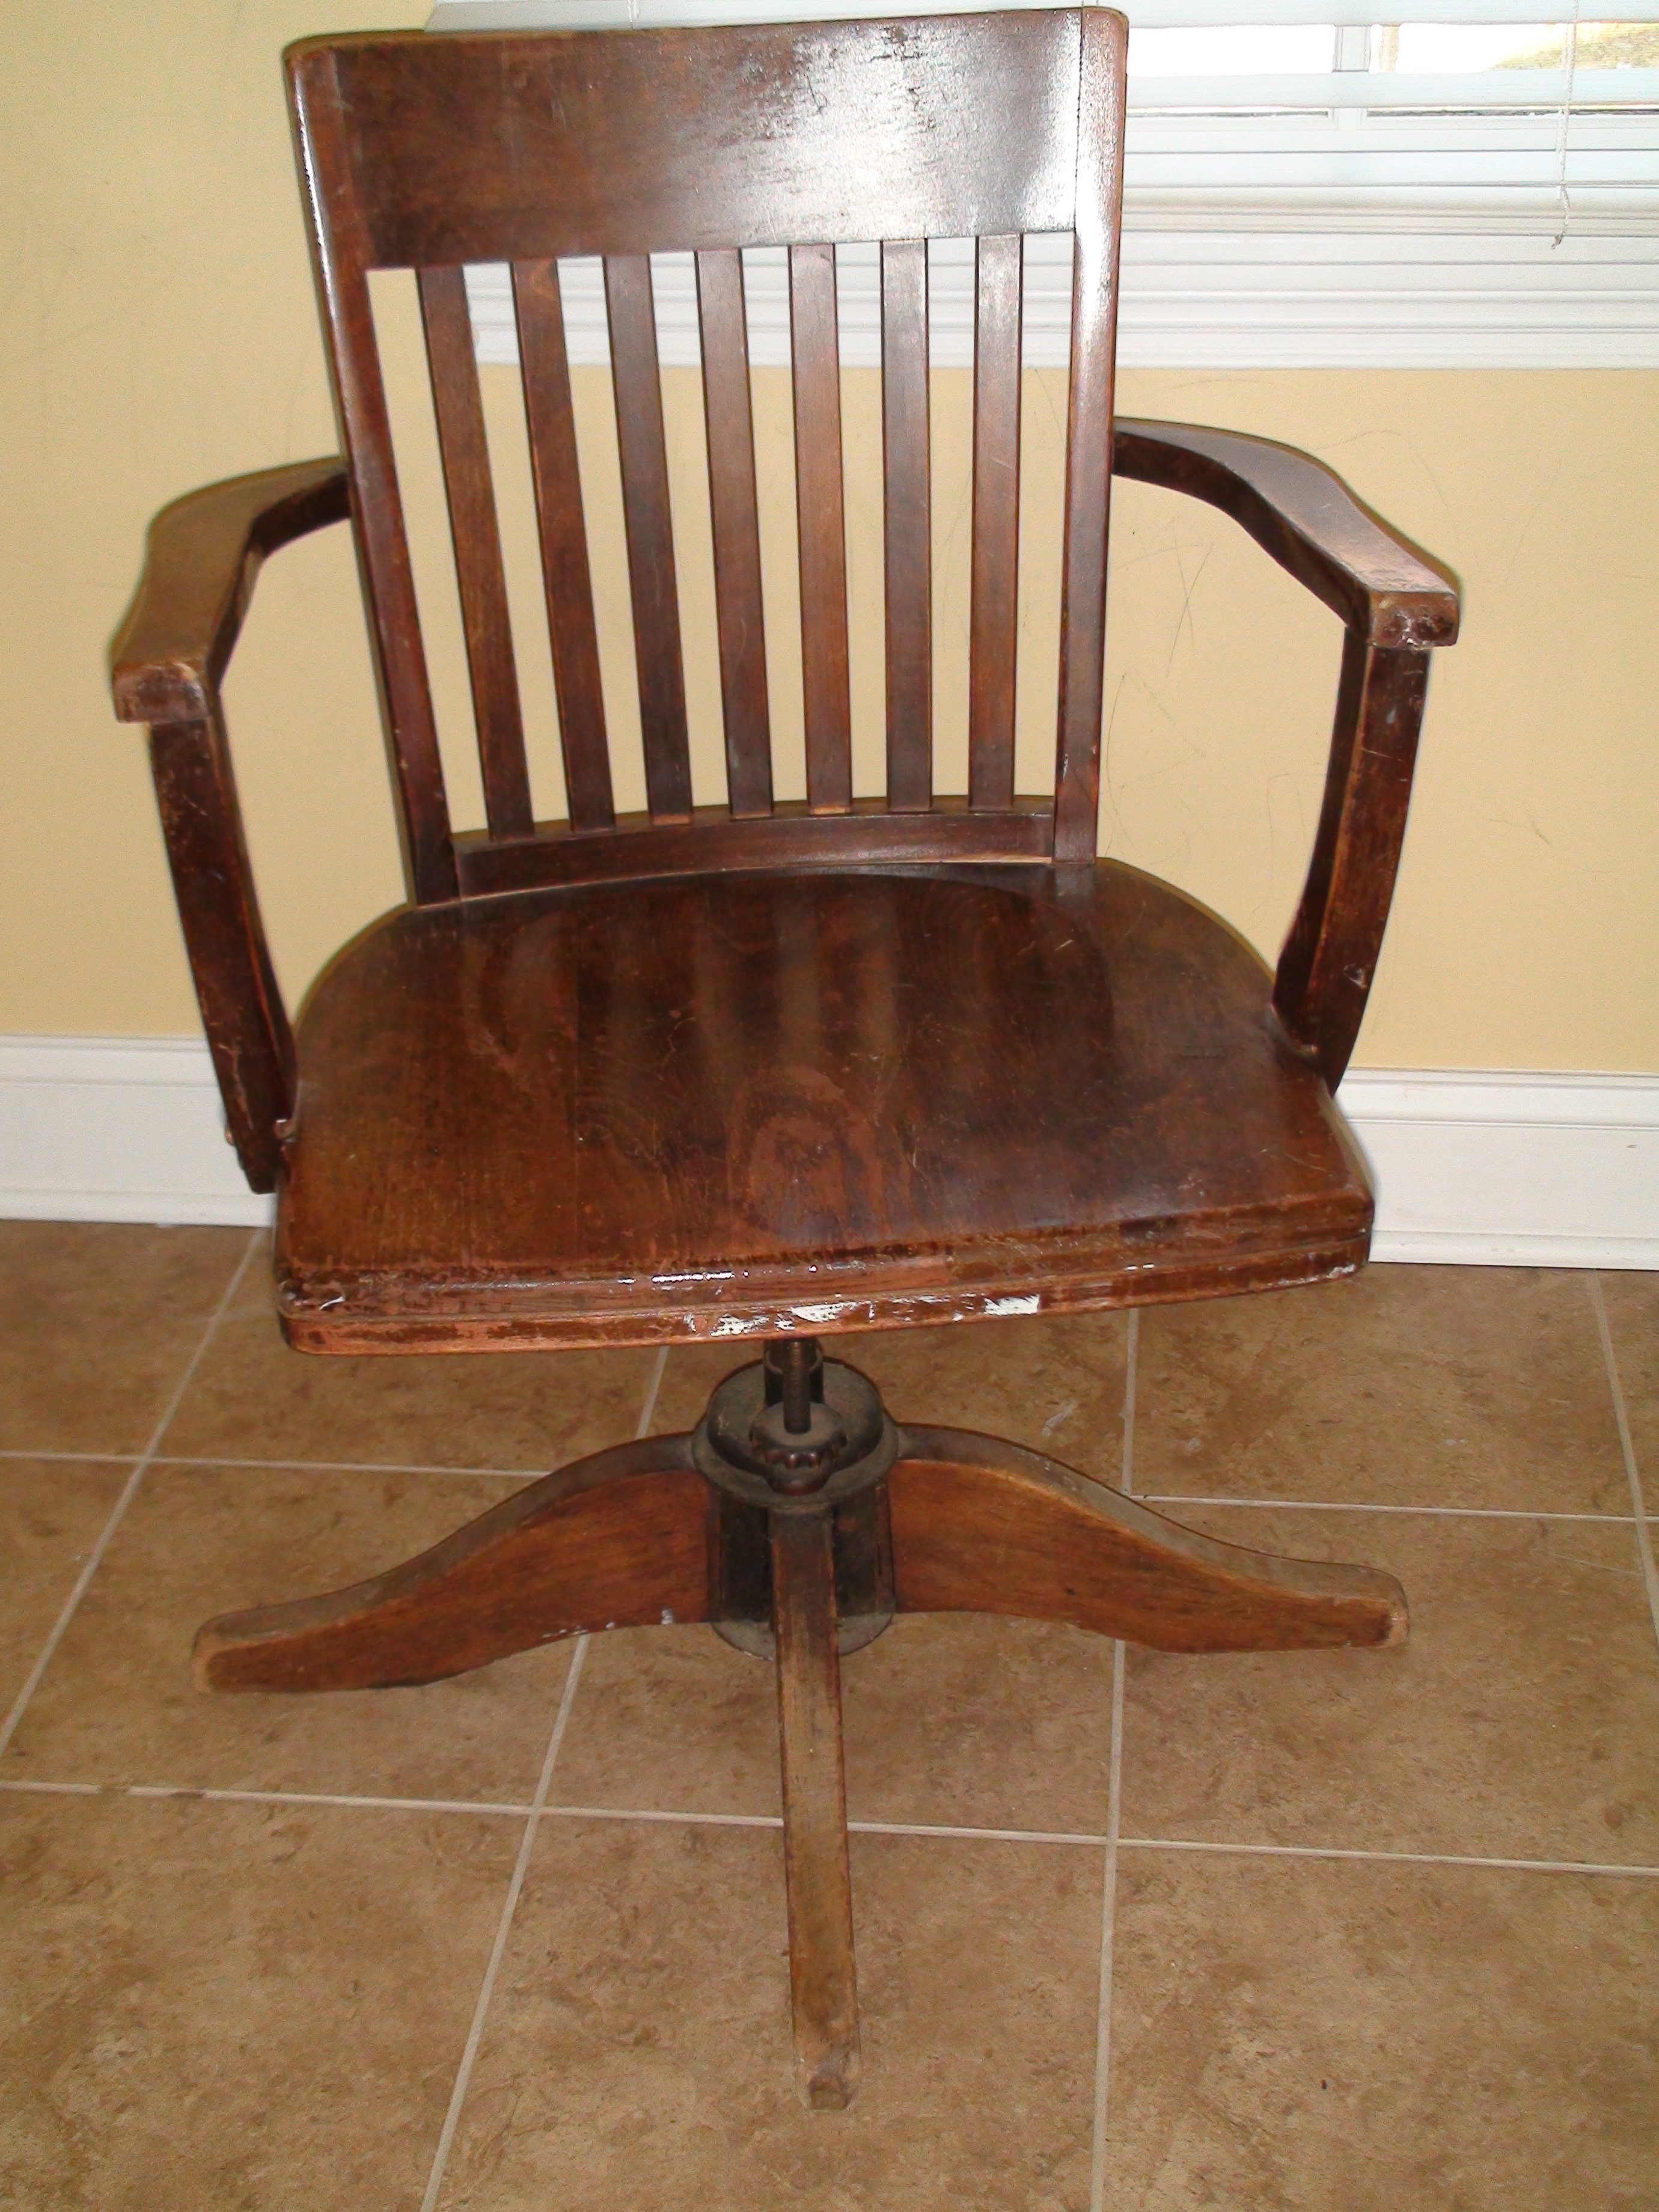
Prior to its “conversion” into a home office space, this side of the room was nothing more than our old desk up against a blank wall. I didn’t even take a picture of it because I figured it was just that easy to visualize! Aside from refinishing our desk and purchasing (and ultimately refinishing) a desk chair, I knew our office space needed shelving, methods of of organizing paperwork, and of course some art (as if paying bills wasn’t boring enough I didn’t want to have to do it with blank walls)!
First things first, shelving! After looking at many shelving units and TONS of pictures of smaller home offices, I ruled out purchasing a large bookshelf to house our office needs. Even though our desk was rather small and the room a decent size, I felt that a towering bookshelf would just be too much after the furniture for the “guest room” side of this room was brought in. One aspect of a tall bookshelf that I loved (besides the added storage) was that it consumed otherwise blank wall space. So, after brainstorming with Pavlo and looking at a few dozen more pictures, we decided on floating shelves. Floating shelves would provide us with some storage space we wanted while still maintaining a very clean, modern look.
Floating shelves can easily be purchased. In fact Ikea sells these (seen below) for around $30.

I had just one problem with these shelves, they weren’t as deep as I wanted the shelves in our room to be. Yes, I know that one of them is 11″ deep but I wanted the shelves at least 12″ for some filing containers I already had. I was completely willing to settle on these Ikea shelves and adjust my filing ideas until, once again, Pavlo said he would just build them with some extra wood from the basement’s built-ins. Ah, my knight in shining armor! Not only was I going to get my 12″ deep shelves but they were going to be solid wood too!
To build these yourself isn’t too difficult, it’s really harder to describe then to actually do. At any rate here’s a quick “how-to” guide.
1st: Pavlo built the frame of the shelf from plywood and poplar. The plywood was used as the main shelving surface (duh!) while the poplar was used for the face frame, or the edge of the shelf. This gave us something that looked like this sketch:

2nd: Pavlo then notched a slot on the back of the bottom of the shelf. This would be used as our means of mounting it to the wall without using brackets.

3rd: A cleat, just slightly larger then the notch made in the shelf, was then attached to the wall and checked many times to ensure it was level. In case you’re confused a cleat is nothing more than a strip of wood (or metal can also be used for certain projects) that is used to support and strengthen the surface that it’s attached to, in our case a shelf. Also, the notch in the shelf was made smaller then than the depth of the cleat in order to prevent any sagging of the shelf.

4th: The shelf’s notch was fitted into the cleat and, from the top down, the shelf was screwed into the cleat.

Prior to mounting the shelves, I caulked, primed and then painted them a semi-gloss white (high gloss could also be used depending on how much wear and tear the surface will be getting) and then, once mounted, they were caulked to the wall to give a clean finish.

We now had our added storage space for a few books, desk organizers for paperwork and supplies, and some pictures. To finish off the desk space we added some hooks to the underside of the lower shelf and from twine we hung a large picture of Pavlo and I’s “happy place.” The place where we both studied (appropriate for the home office, huh?) and where we first met, the greatest place on earth, THE University of Virginia!

That’s the completed “home office” side of the upstairs bedroom. Well, actually as you can see in the picture below, even though the shelves perfectly filled up some blank wall space, we still had the wall(s) to the right of the desk to deal with. That has since been resolved but you’ll have to wait until next time to see what project we tackled to fill the void in that corner of the room! I know, I know the suspense is just killing you!
![]()
Wow! What a great posting. Wish I had visited this site sooner. Keep up the great work. Shall check again in a few days, Looking forward to more updates.