Functional Wall Art
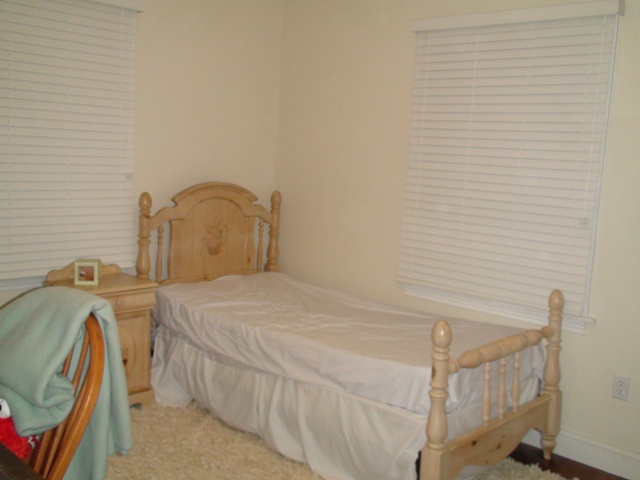
Remember this picture from the previous post?
–![]() Well, that corner to the right is no longer empty. I debated long and hard on what to hang there considering the room was both a home office and a guest room. I wanted something that was both visually appealing (for the guests) and functional (for the office). One thing I considered was framing Pavlo and I’s UVA diplomas (which I’ve been meaning to have done anyways) but then I realized how incredibly expensive those frames were and I decided to hold off on making that splurge. Besides, although it ties in with the whole “home office theme” of that side of the room it wasn’t exactly functional! Someday, when I have my dream home office, those diplomas will be framed and hung. Until that day arrives they are staying rolled up in the closet and something MUCH less expensive and MUCH more practical for our small home office was going to have to do.
Well, that corner to the right is no longer empty. I debated long and hard on what to hang there considering the room was both a home office and a guest room. I wanted something that was both visually appealing (for the guests) and functional (for the office). One thing I considered was framing Pavlo and I’s UVA diplomas (which I’ve been meaning to have done anyways) but then I realized how incredibly expensive those frames were and I decided to hold off on making that splurge. Besides, although it ties in with the whole “home office theme” of that side of the room it wasn’t exactly functional! Someday, when I have my dream home office, those diplomas will be framed and hung. Until that day arrives they are staying rolled up in the closet and something MUCH less expensive and MUCH more practical for our small home office was going to have to do.
As strange as it may seem, it wasn’t until I came across this quilt (seen below) that I had an idea! This quilt (along with another one in red) was made in the early 1900s and was a wedding gift to us from my godmother. I hated the thought of these priceless beauties being used as throws for when were lounging around watching a movie so I decided to choose one and make it the inspiration for all color choices in the upstairs guest room/home office (in case you’re wondering the other one would be tucked away safely in a cedar hope chest…also a gift from my godmother. I have pretty amazing godparents by the way)!

After finding this quilt I immediately went to my stash of old belongings from college just hoping I had kept at least one of the many bulletin boards I had at one point. As luck would have it, I did!
I know, it looks pretty sad at this point but all it needed was a little fabric, stuffing and wider trim and we would have the functional wall art I was searching for. We already had some extra trim lying around and one simple and inexpensive trip to Joann Fabrics got me the rest. I picked up some cotton stuffing, hot glue and this blue striped fabric.

I removed the bulletin board’s existing frame and placed the stuffing in a thin, even layer over the cork. Then, I placed the fabric over the stuffing giving it enough excess fabric on the edges to be able to fold it over and hot glue it to the back of the cork board. Since I was working with stripes (and this holds true for most prints) I had to make sure the fabric was very straight before gluing. Once the fabric was on Pavlo added the new, much larger trim for me and the result was this:

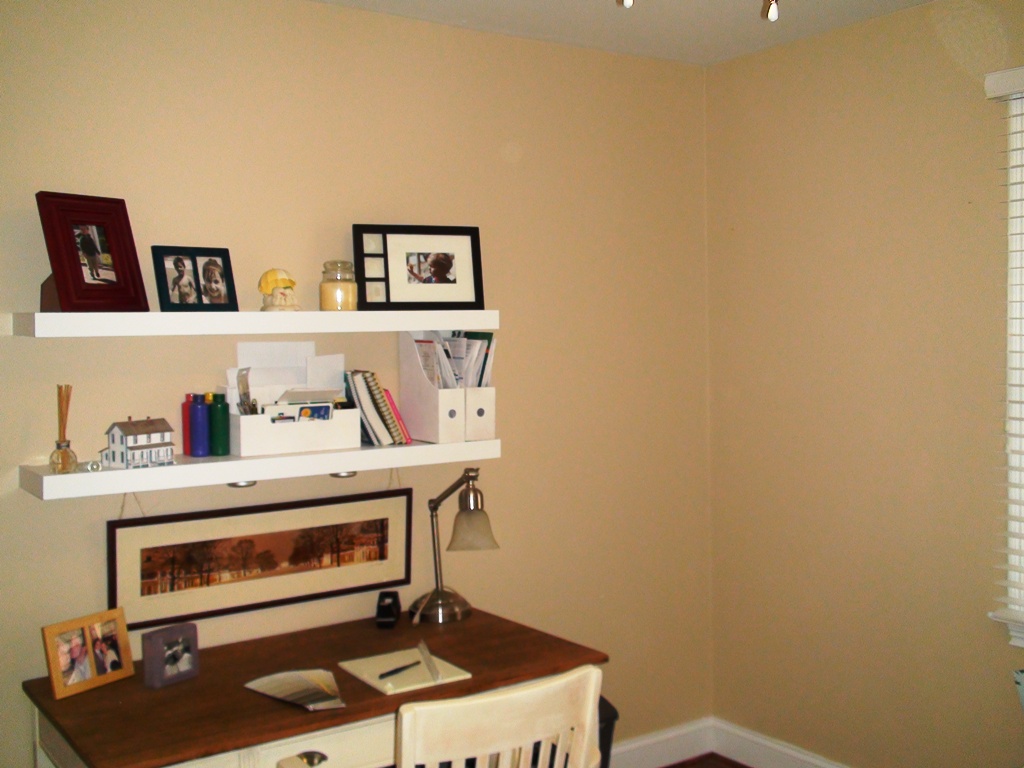
The frame was then caulked, primed and painted a semi-gloss white to match the shelves and trim in the room. We now had wall art that not only filled the bland corner of the room but also served as a place in our office for a calendar, Christmas cards, wedding invites, you name it!