Update on Master Suite II: The Bathroom
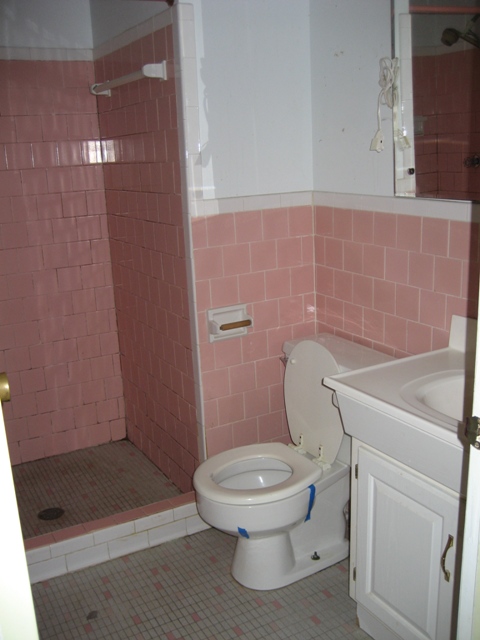
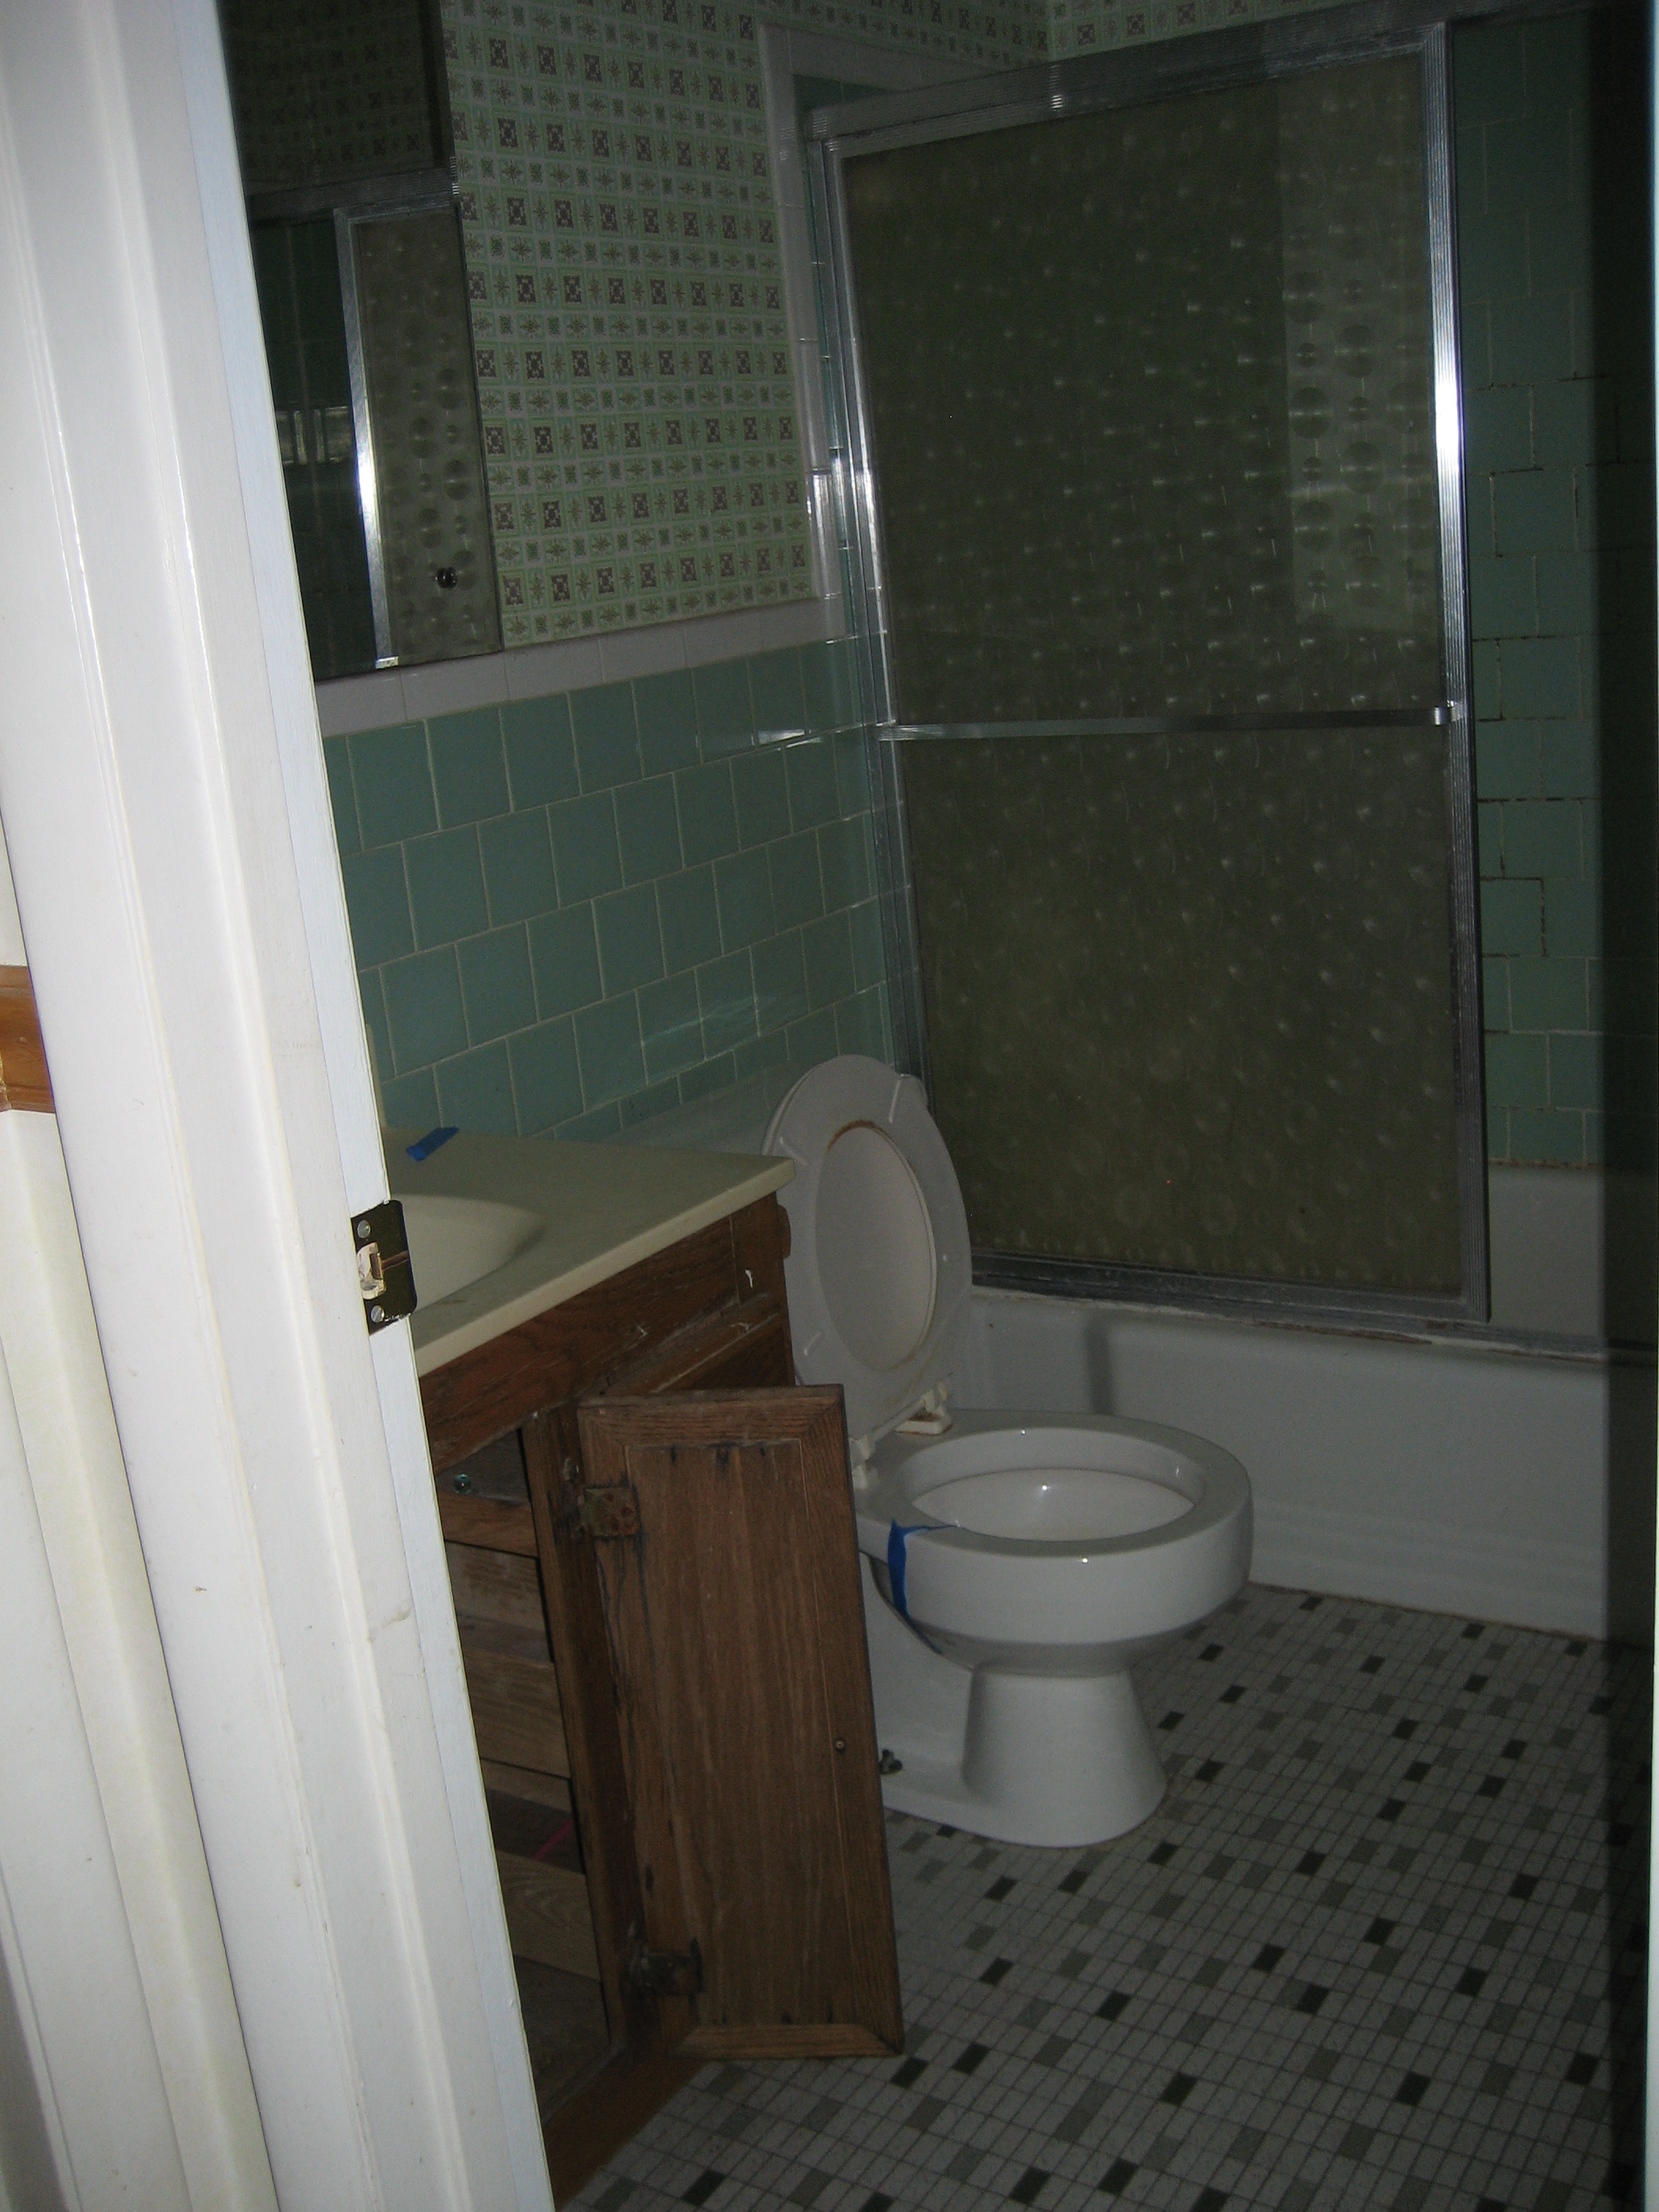
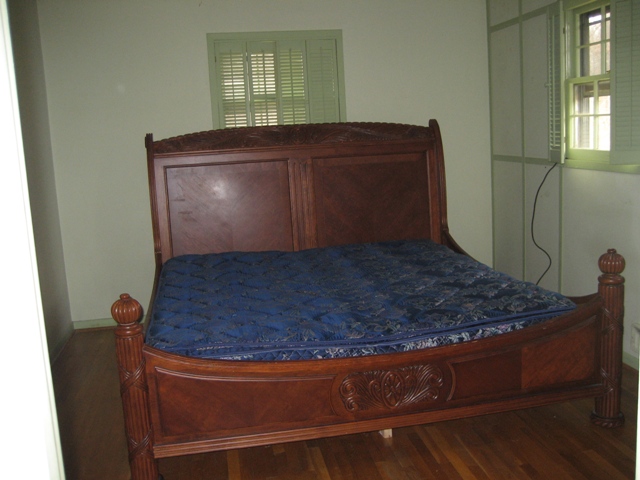
We tiled late into the night last night so our new master bathroom is well on its way to being done! In previous posts you have seen what this “master” bathroom looked like when we bought the house.

Well, after a little (ok a lot) of demolition and some re-framing our new layout was complete and it looks a little something like this sketch:

Here are some pictures of it amidst construction.


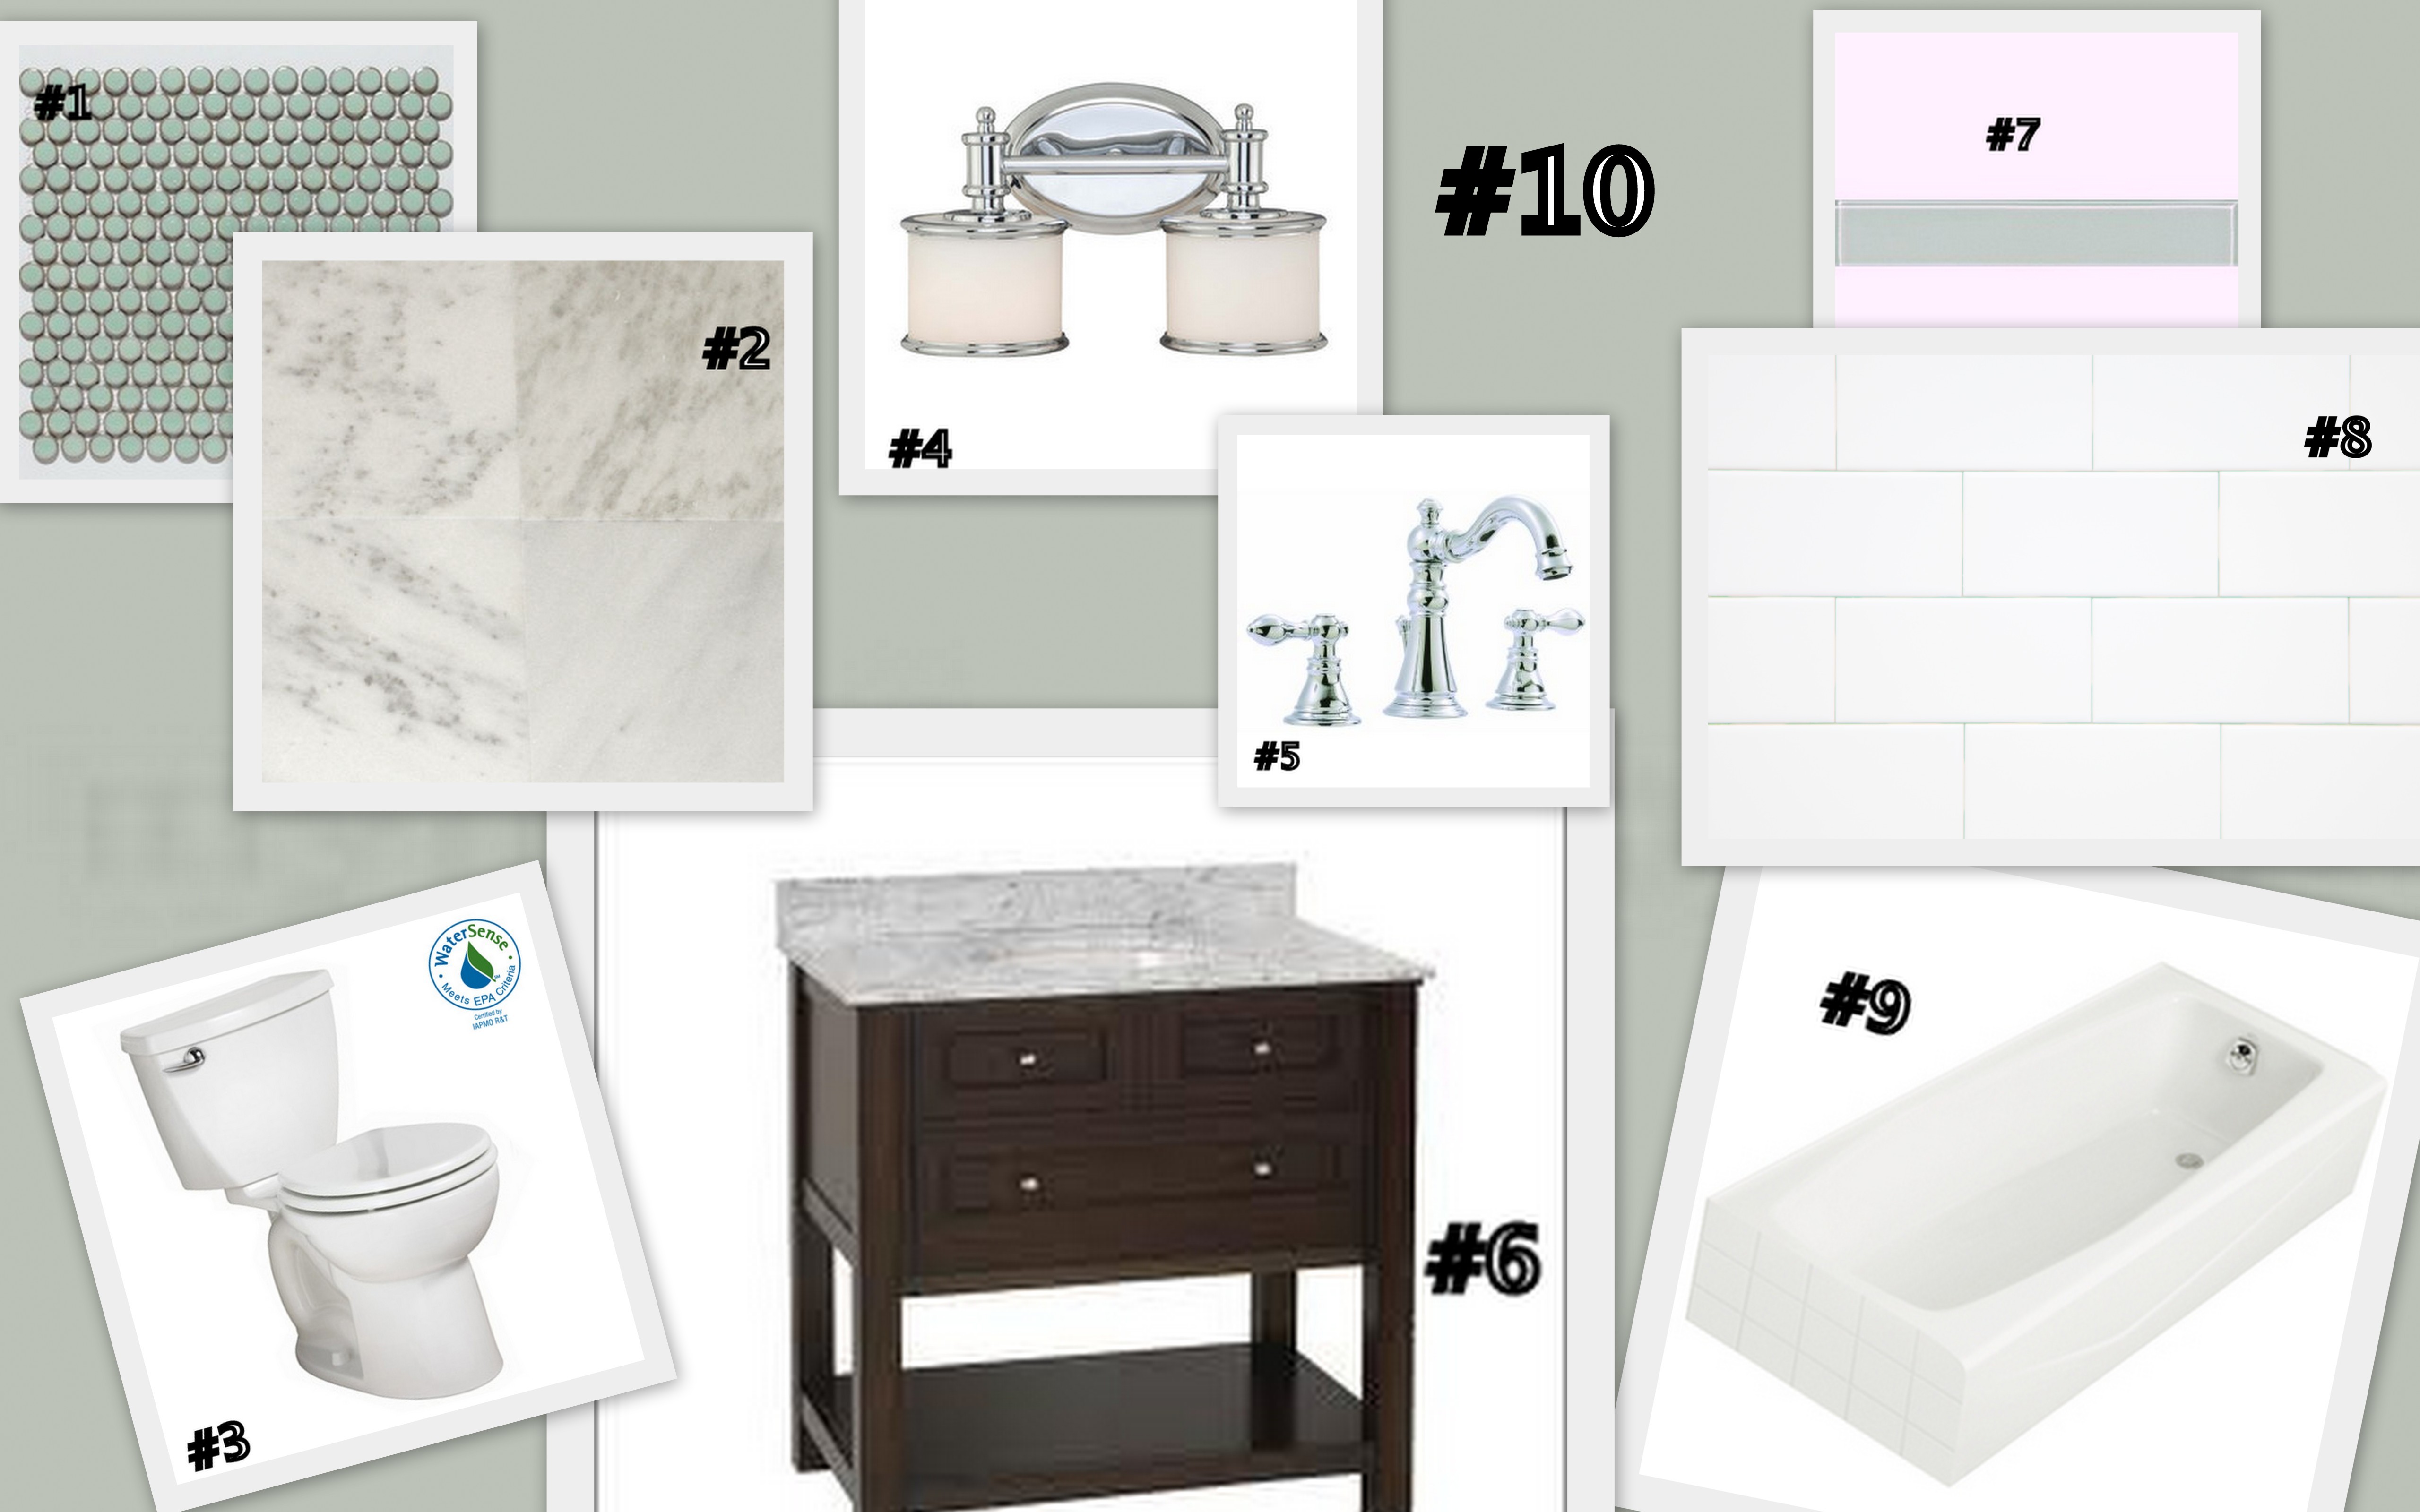
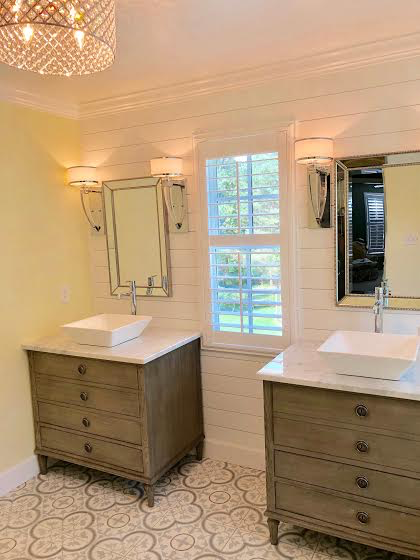
You may notice that the bathroom floor is already tiled. We chose to do this WELL before the rest of the bathroom for mere convenience reasons. The double vanity was sitting in the middle of our master bedroom and, although it fit and could have definitely sat in there for the months that our bathroom sat unfinished, we really just wanted it out of the bedroom. The best way for us to do this was to tile the floor and move the vanity into place so we would never have to move that heavy thing again! Below is a better look at the floor tile, it is a 12″ by 12″ cream colored porcelain tile (name is actually ‘meadow sand’) accented by 4, 5/8″ brushed marble tiles (the color of the accent tiles is ‘cafe emperador’).

Since we had already tackled the bathroom floor, the tiling we did this week was of the bathtub surround and the shower. Fortunately the shower was remaining in its originally location so it already had a lead pan and therefore the only prep Pavlo had to do for the tile was patch the thick set on the shower floor and then water proof the floor and all the shower walls (the water proofing is the pink/red coating on the walls seen in the image below).

Next, the floor was tiled. The tile used was the same 5/8″ brushed marble that was used as accent pieces for the bathroom floor.

Here is a close up of what the shower floor tiles look like
 Then came the door jam for the shower followed by the shower walls. The door jam was tiled in a 12″ by 12″ version of the same brushed marble that was laid on the shower floor, while the shower walls were tiled in an 8″ by 10″ porcelain tile that matched the bathroom floor (color also ‘meadow sand’). Approximately 3/4ths of the way up the walls, 3 rows of the same dark brushed marble were used as an accent band around the shower to coordinate with the bathroom floor.

Finally, we tiled the bathtub surround. It was tiled almost identically to the shower walls.

Now we’re moving on to grouting and then onto the bathroom’s trim. Hopefully the next post on this bathroom will reveal a completed master bathroom!