Frame It!
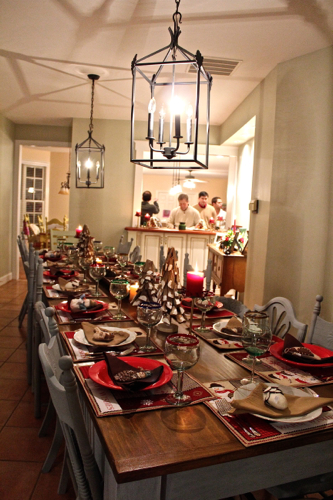
I know, I know, where have I been? Over two weeks since my last post is just inexcusable! Well, let’s just say we’ve had a lot going on (mostly with the house) and therefore haven’t had a whole lot of time to write. Actually, that’s not true, I’ve written an incredibly long “Things to post on” list. I figure I’ll start from where I left off and start to tell you how Pavlo built this dreamy farmhouse table for my parents:

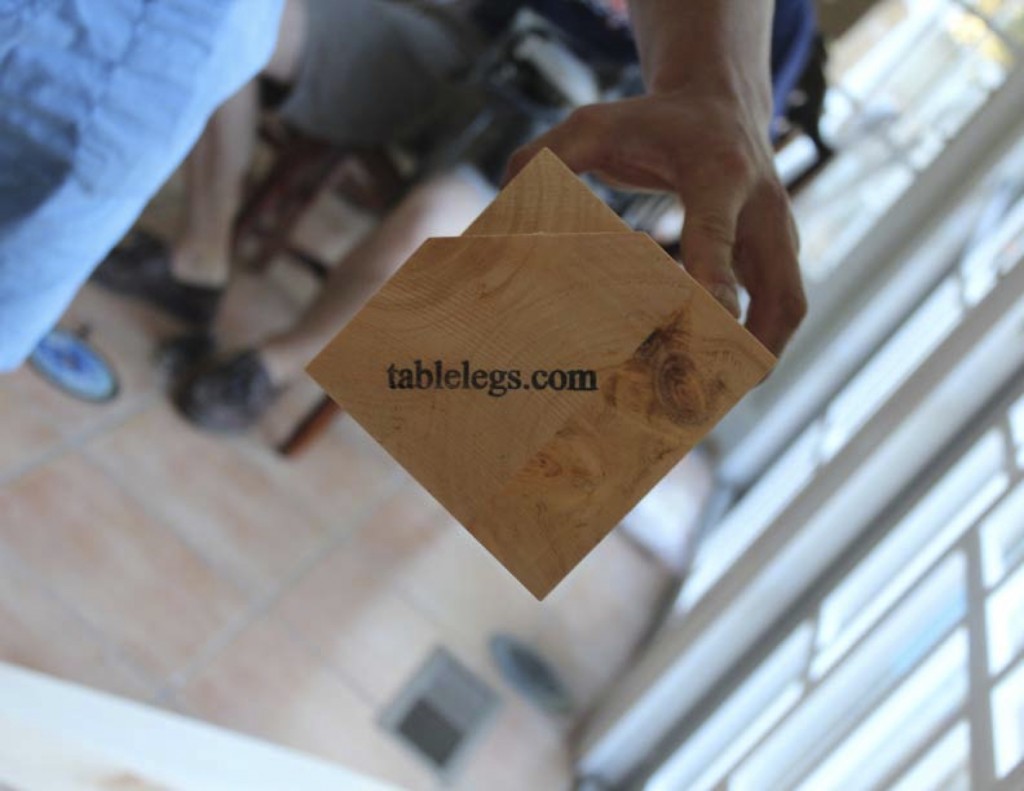
As I said in the previous post, we found table legs on tablelegs.com (the same site we purchased our table legs from back when Pavlo built our little farmhouse table) since they were a very reasonable price and the legs would have taken a great deal of time (time=money) to perfect and make identical. Building the legs was something Pavlo was very willing to do, especially since the leg profile my mom was looking for wasn’t very elaborate. However, since the price on the site was juuuust right (just like Goldilocks would say), we whipped out the plastic and just sat back waiting for them to arrive.
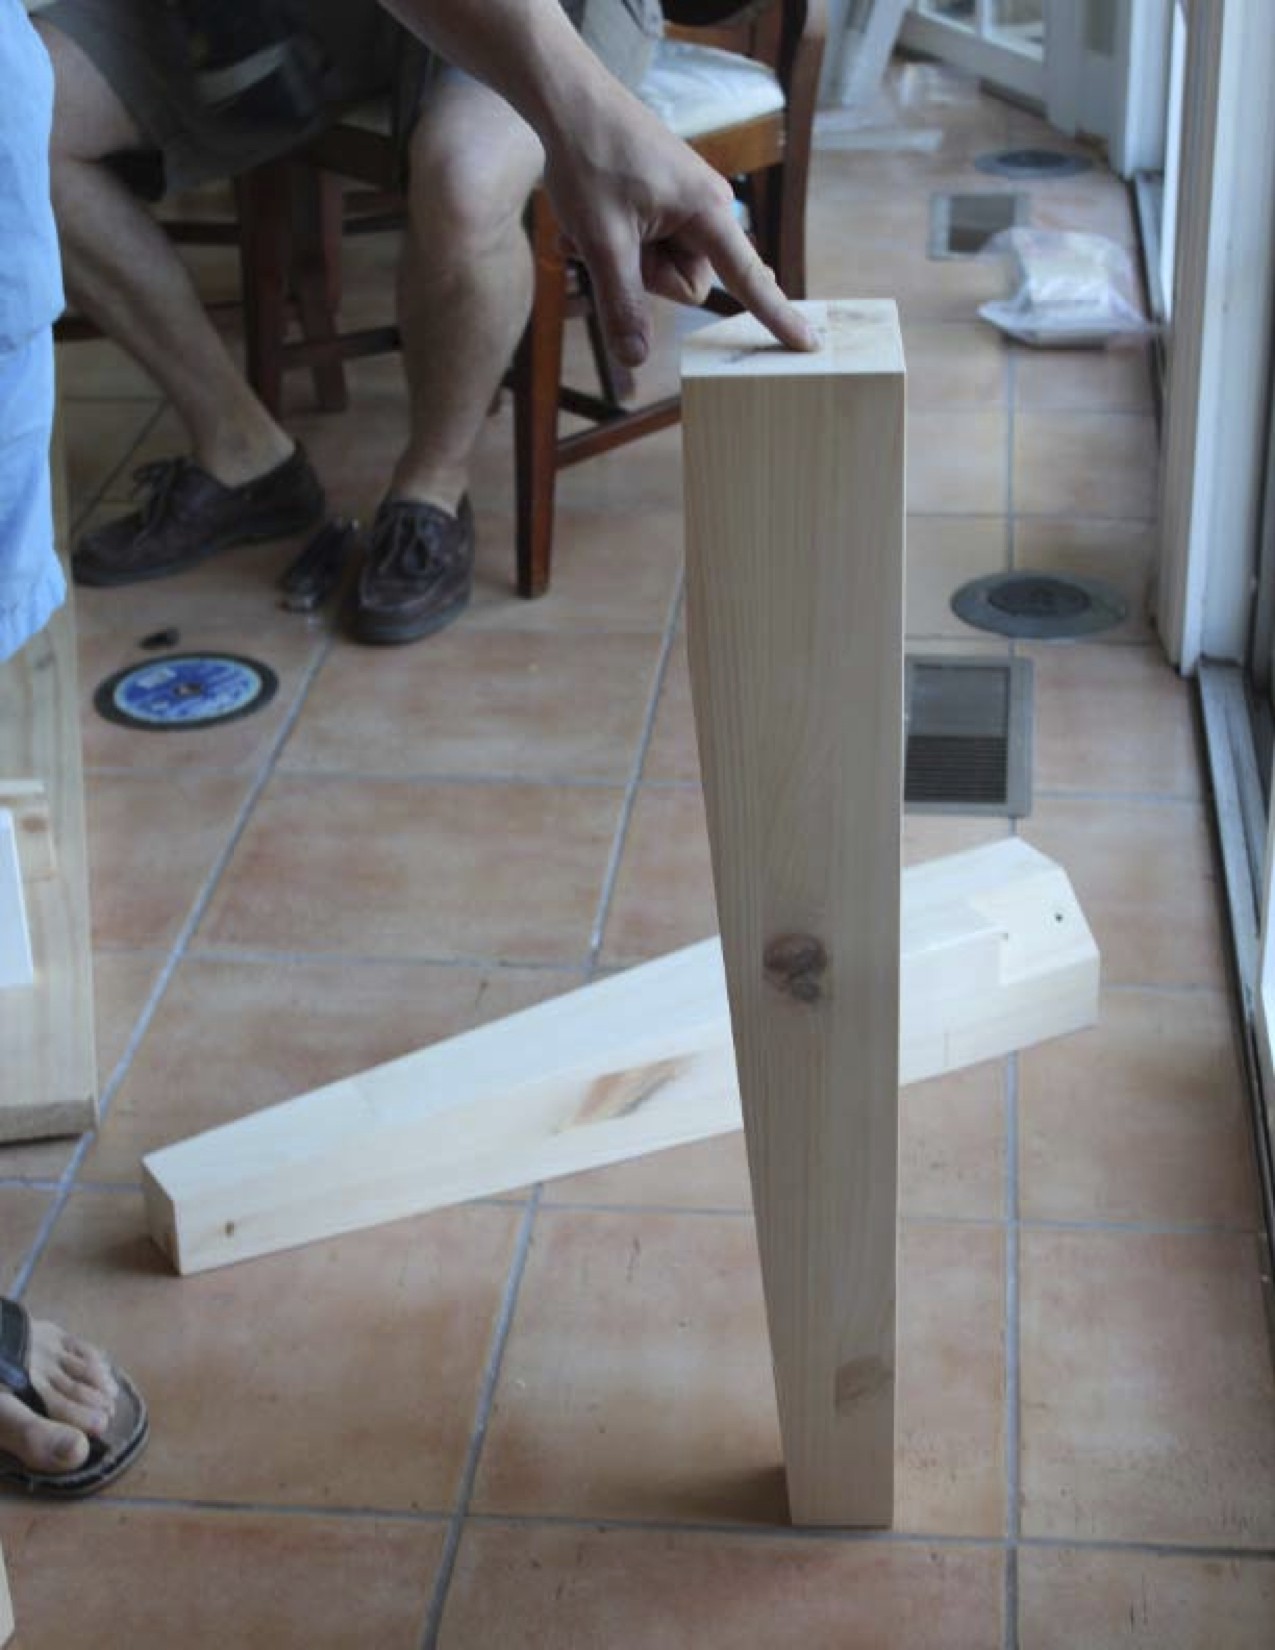
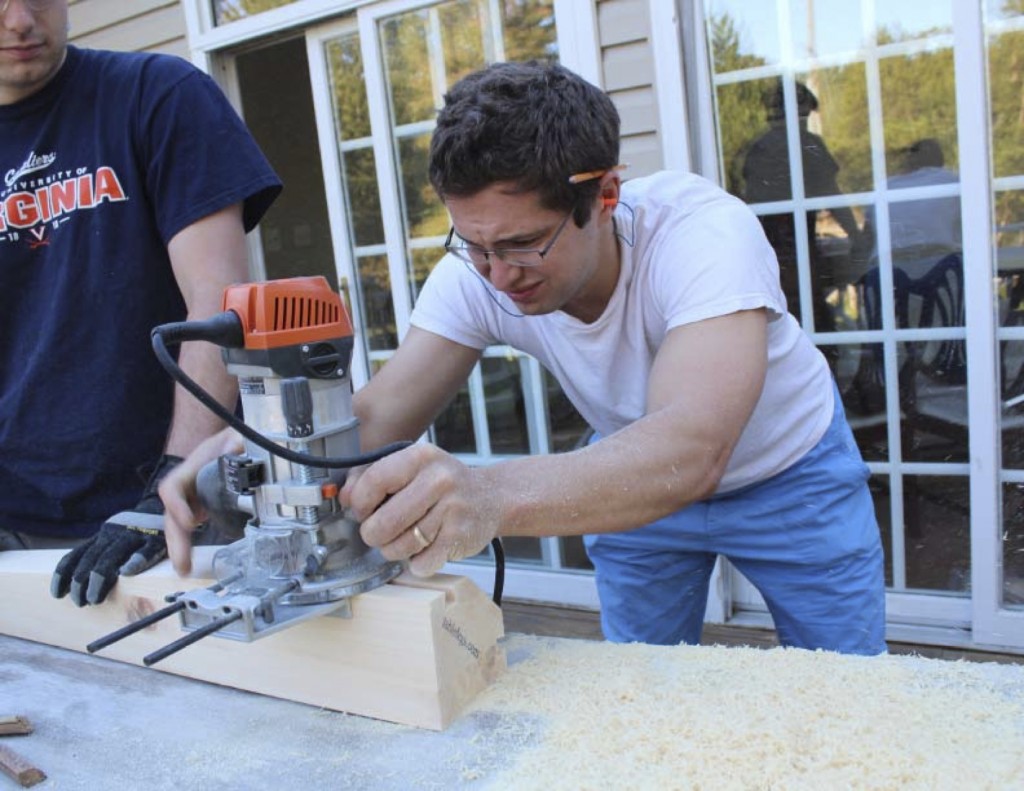
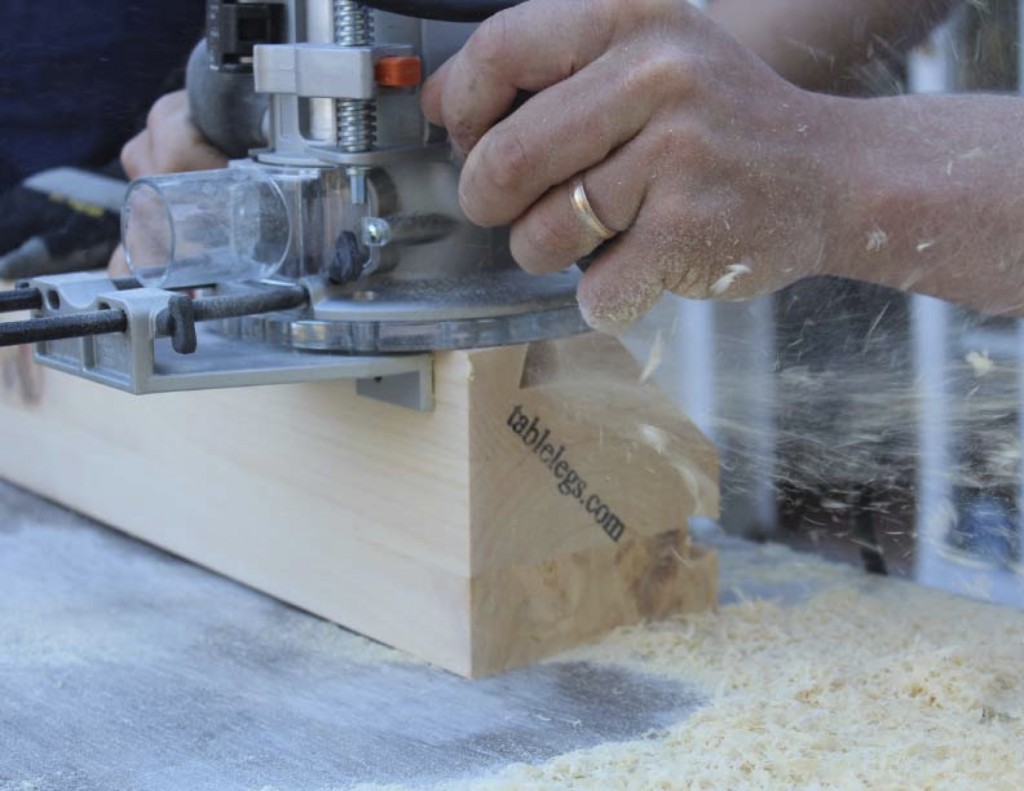
Once they came in we bought 16′ long pieces of 1×6 pine for the frame. Two pieces were cut down to just under 14′ and two other pieces were cut to a 3′-6″ length for the table ends. Once the pieces were cut to the correct length, the ends of each piece was dovetailed using a router. Typically this would be done using a router table to allow for a clean even cut, but due to the length of the pieces, a guide fence was installed on the router itself which allowed for a clean, straight cut.

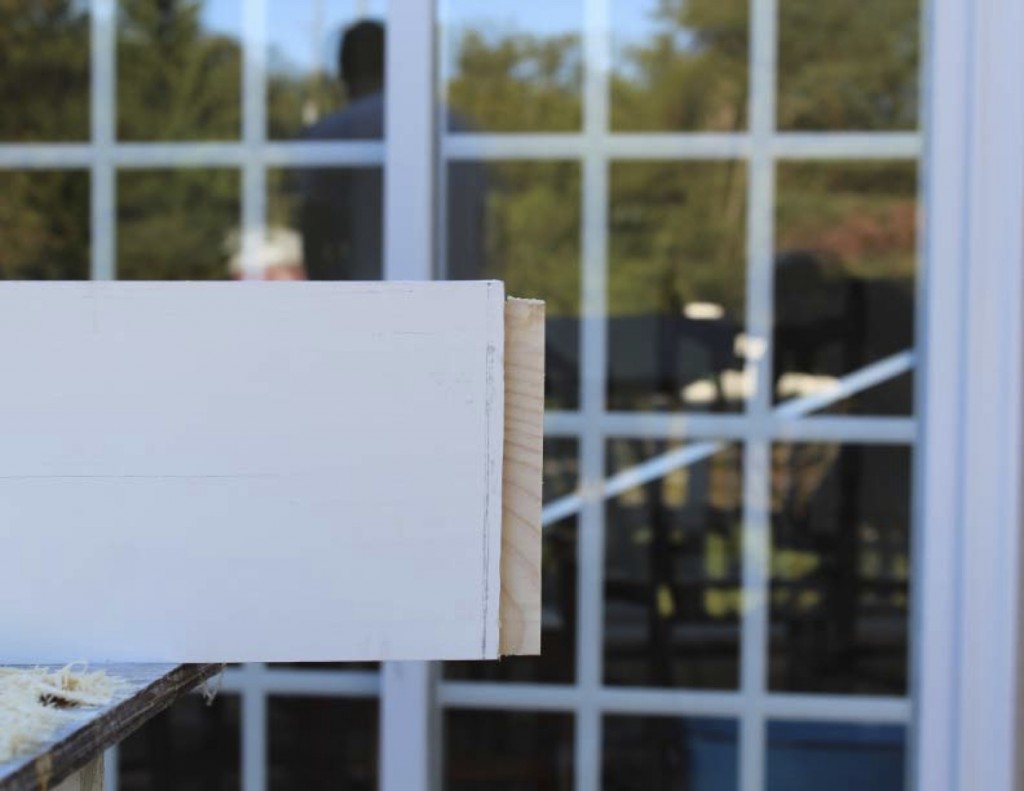
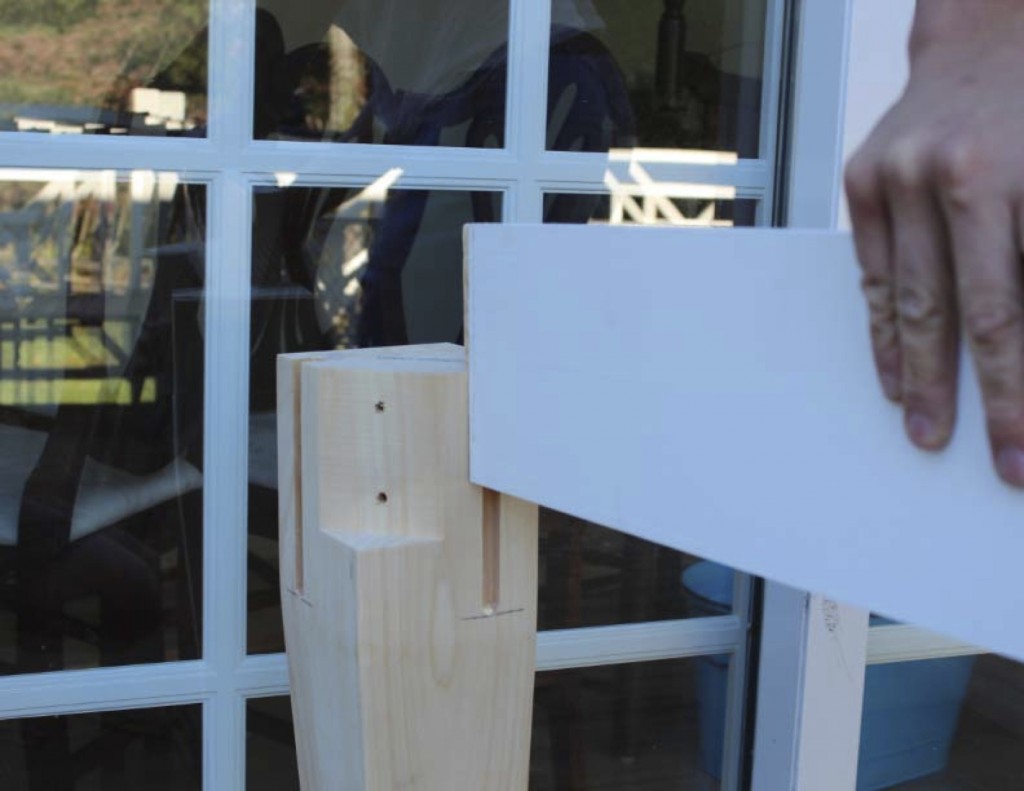
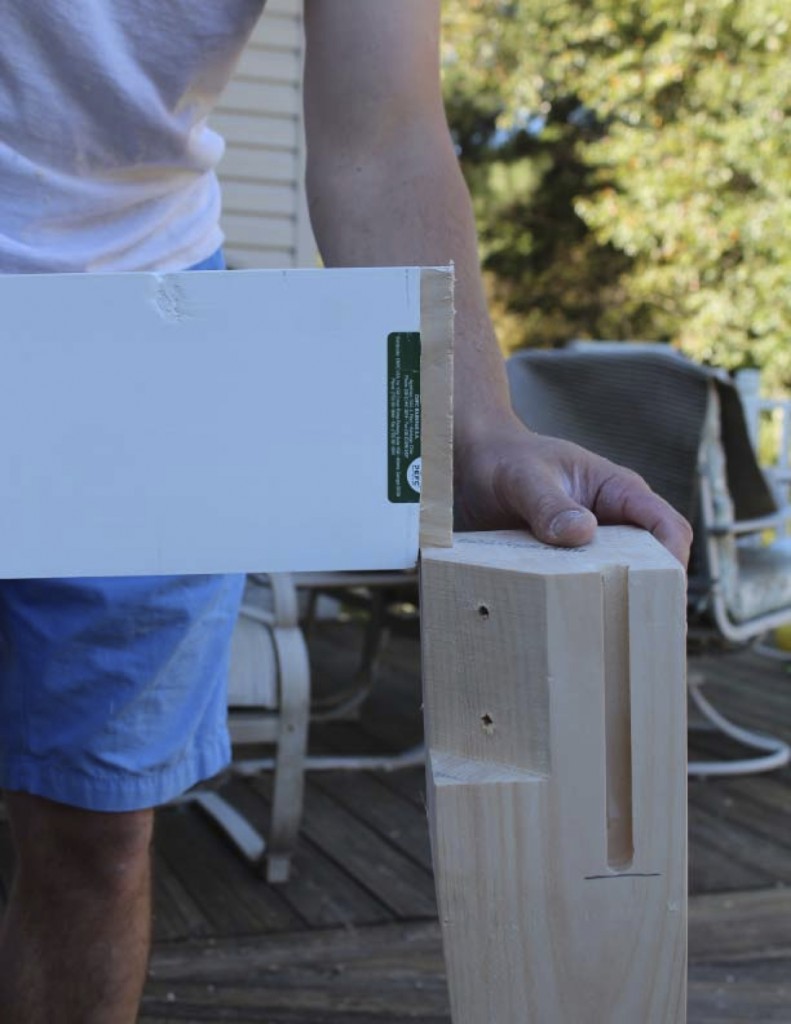
After the dovetails were cut in the rails of the frame, the same profile was cut into the legs to receive each piece. This was also achieved using the same guide rail with the router.
Once the dovetails were checked for proper fit, the rails and legs were glued and assembled.
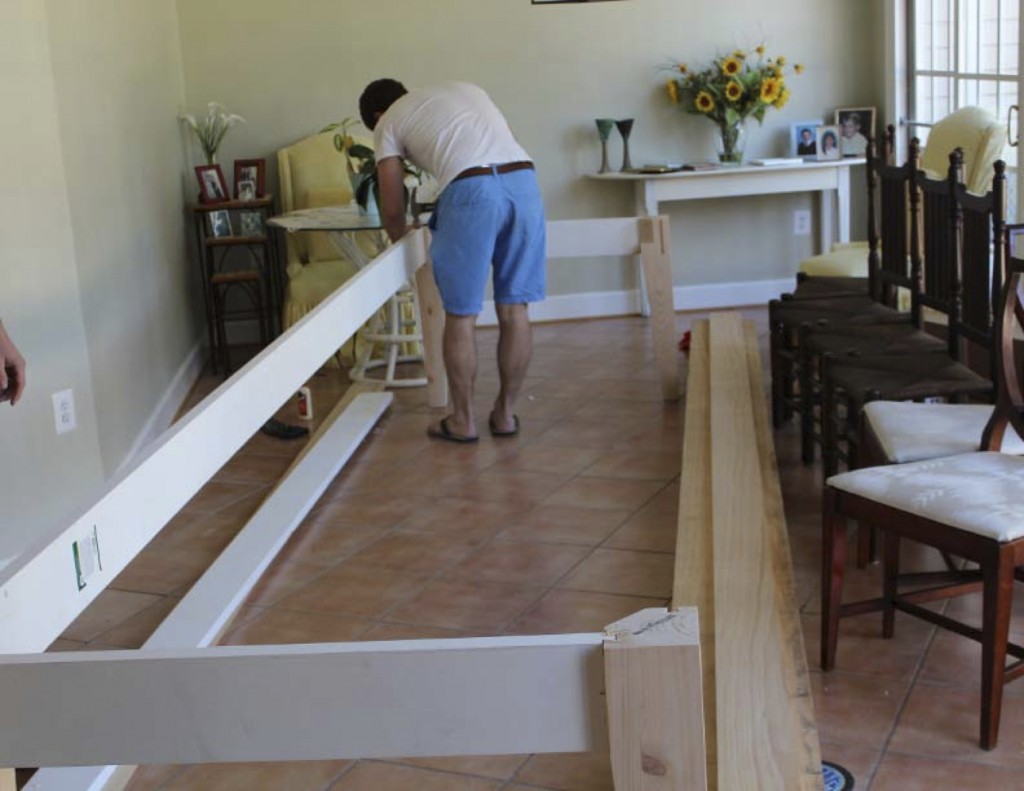
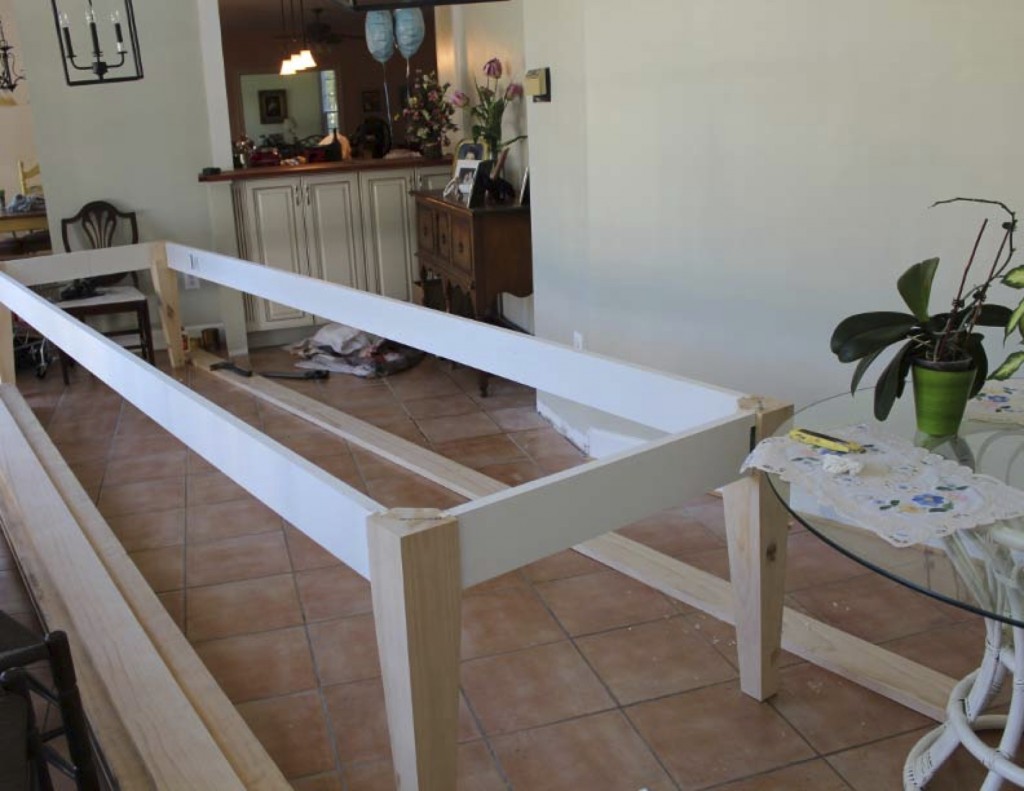

Opposite corners were measured to ensure that the table dried square.
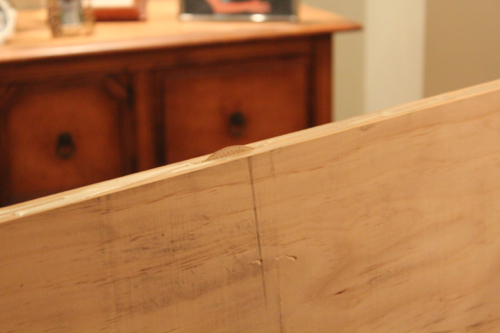
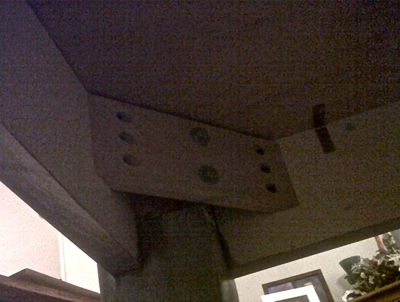
The next day, braces at the corners were installed along with the cross braces and the frame was completed. I forgot/wasn’t around to take a picture of this before Pav jumped right into working on the table top, so here is a shot of it from the underside of the completed table. (Sorry for the quality, Pavlo kindly emailed them to me when I realized I didn’t have them on my memory card. Darn those blurry blackberry photos!)
Be back soon (and I do mean soon, no more of this 2+ weeks between posts business) with how the table top was built.