To Top It All Off!
Hey there, Pavlo here! Yes, believe it or not I’ve actually written the last two posts about this farmhouse table. It just seemed easier for me to give you the step-by-step “how to” since Steph said she couldn’t remember every little detail and I admittedly work a little bit faster then she’s able to snap photos and ask questions. For some strange reason our kids actually need some attention and that inhibited Steph’s ability to keep up, demanding little ones!
Alright, back to the table, once the frame was built, we took a trip out to Smoot Lumber to pick up 16′, random width 5/4″ pine to build the top. First, the random width boards were laid together in an arrangement that Steph & her mom liked and then the construction began. The individual boards needed to be joined together to create the table top and I decided to join them by using biscuits. I chose to use biscuits because the pieces were so long that cutting multiple slots every 12″ was a lot easier to manage than inserting a spline. I made marks on the pieces of wood every 12 inches and then cut the slots for the biscuits using a biscuit joiner.

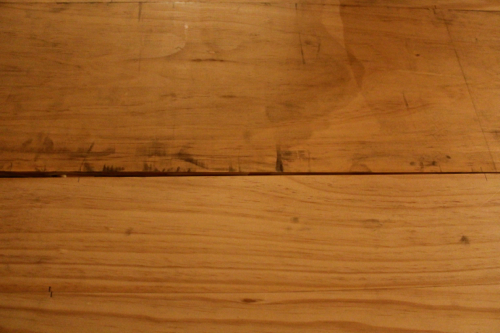
Once the slots were cut, I glued the pieces together with biscuits.
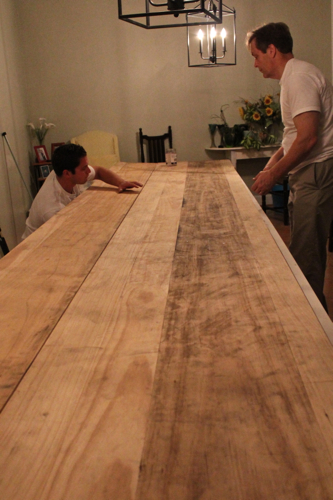
Once all the pieces were glued, large furniture clamps were used to set the pieces tight overnight. After the glue fully cured, the clamps were removed and the table was marked to a 14′ length and cut using a level as a straight edge to guide the saw.
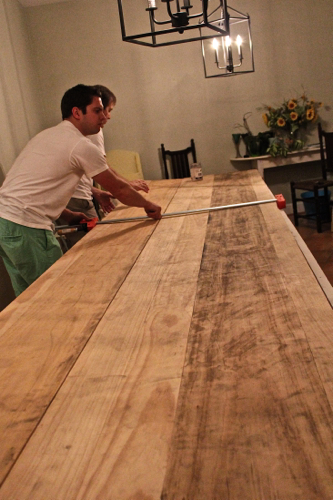
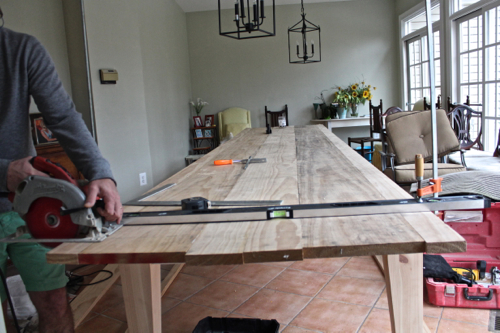
With the ends cut, two pieces of wood were cut to length to create a breadboard end.
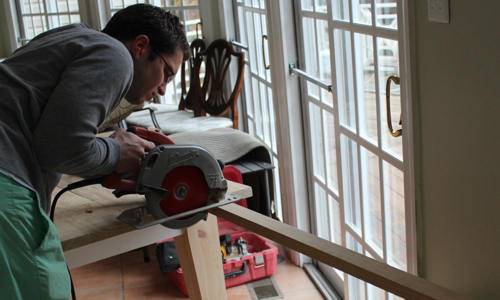
The breadboard end was checked for fit and then marked for biscuits, slotted, and then glued and clamped.
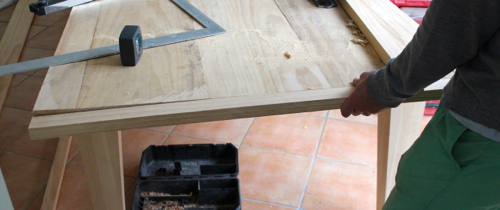
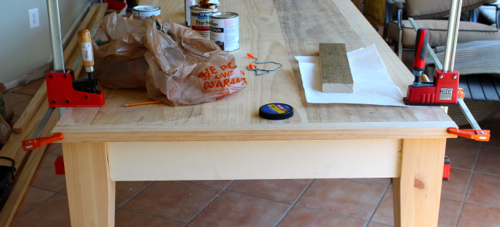
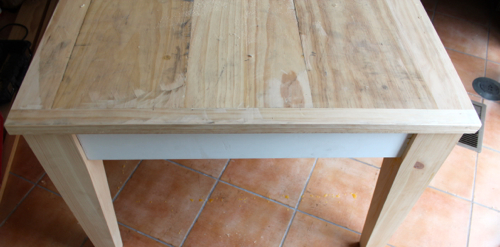
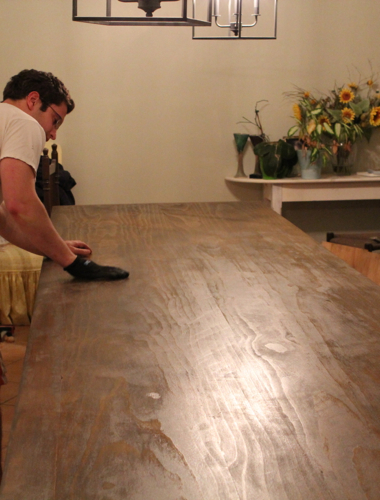
Once again, I waited for the glue to cure and then removed the clamps. After removal, I then hand planed the entire table to create a smooth table top. The hand planing was then followed by a light sand with 80 grit and 120 grit sand paper in preparation of stain.
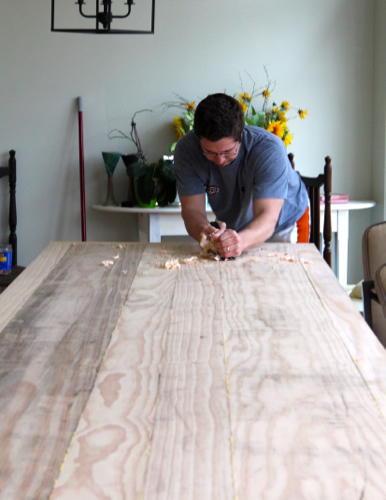
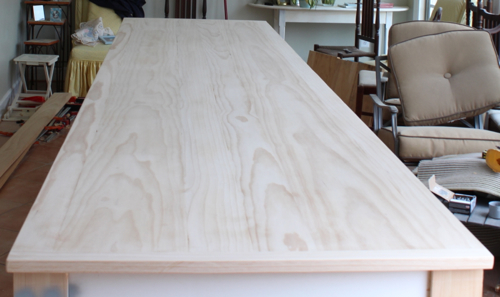
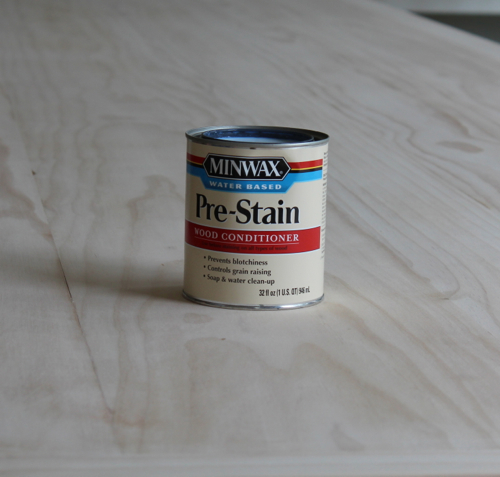
When staining soft woods, wood conditioner needs to be applied prior to stain to ensure stain is taken in evenly by the wood. I applied the conditioner and wiped off any excess that was not absorbed and waited 30 minutes to start staining.
We wanted to create any antique looking finish so a multiple layered finish was to be applied, starting with an early american stain.
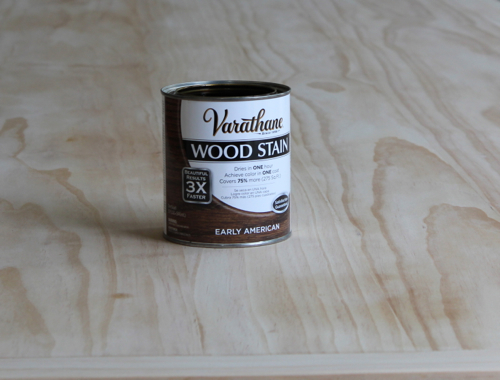
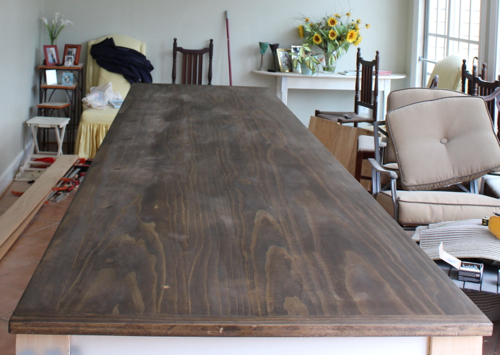
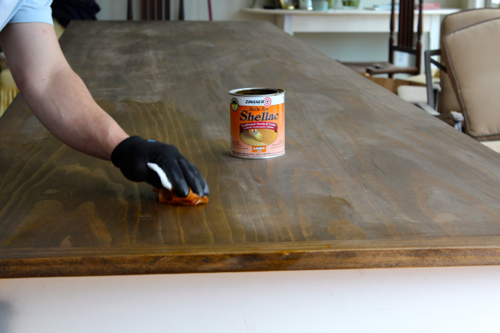
This was followed a few hours later by a layer of amber shellac.
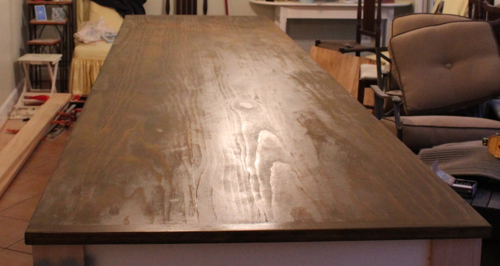
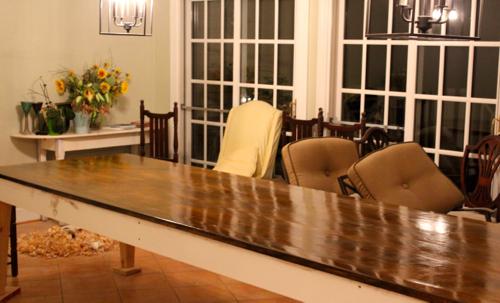
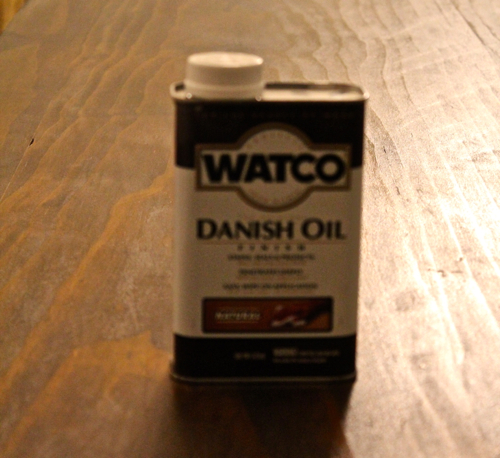
Once the shellac dried, steel wool was used to knock down any high spots and brush marks. Typically any top coat such as a polyurethane, or shellac in this case, needs a few coats to completely cover the wood. In this particular situation, since we wanted to create an antiqued look, we followed up the shellac with a classic danish oil to cover any final voids in the finish coat.
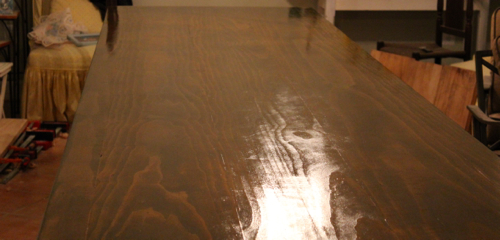
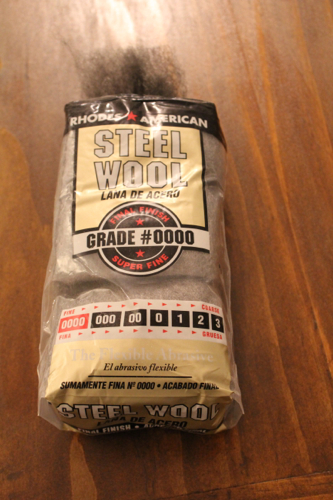
Once the danish oil was applied, we waited a day for it to dry and then sanded the entire surface with fine steel wool to create a nice smooth finish.
The table frame was now ready for final paint.
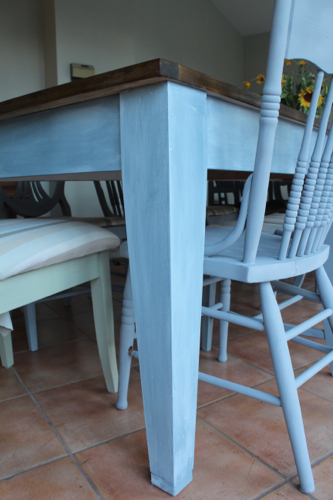
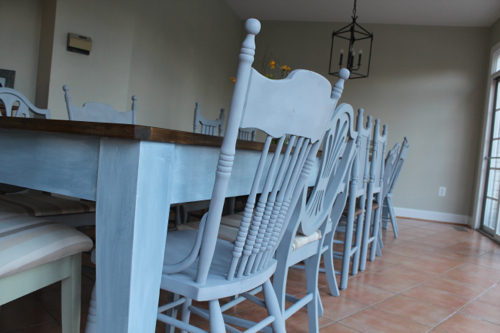
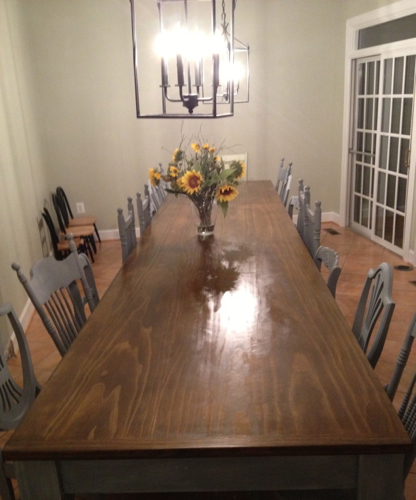
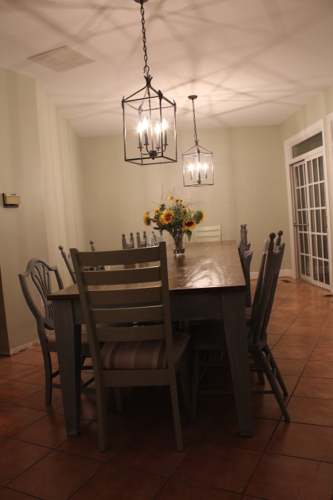
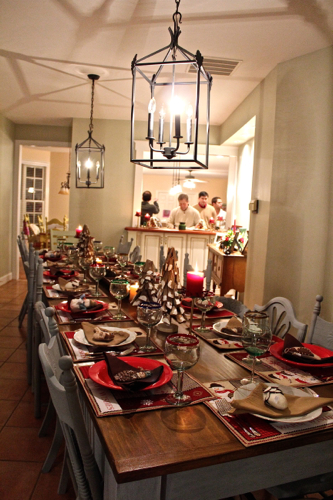
Final paint of the frame was “Slate” blue milk paint that, once dried, had a white glaze applied over it. The chairs were all antique store finds (with the exception of the head chairs that actually came from our first house) which Steph’s mom spray painted a gray that coordinated with the table frame. Now that I’ve gotten in touch with my feminine side discussing coordinating colors, I think I’ll leave you with some photos of the completed table.
You two are amazing! I love the country table and the assortment of chairs! The project looks like a great family memory too!
Gorgeous!! Will you be my son-in-law, too??
Pavlo says he may not be able to be your son-in-law but he’s looking forward to being your neighbor VERY soon! 🙂
Thanks Catherine! I’m working on a few posts about our house now, so much more has gotten accomplished! We’re hoping to move in soon! Yay!
-Steph
Thank you Pavlo and Stephie for our beautiful table. Lito and Lita can’t wait for the grandchildren to leave their little marks on it. Pavlo, great job contributing to the blog.
Of course, Lita! We’re a little surprised they haven’t marked it up yet!