The Great Wall of Landon: Part 2
After completing the last post I really did start to search and print for pictures of Landon and family, I swear I did. Then, after having “one of those days” with the printer (for several days in a row) followed by having the printer run out of ink once you finally get it to cooperate, I decided it would be easier to send the pictures to the nearest Walgreens and have them all printed in just 1 hour. For a project like this it was a fabulous decision!
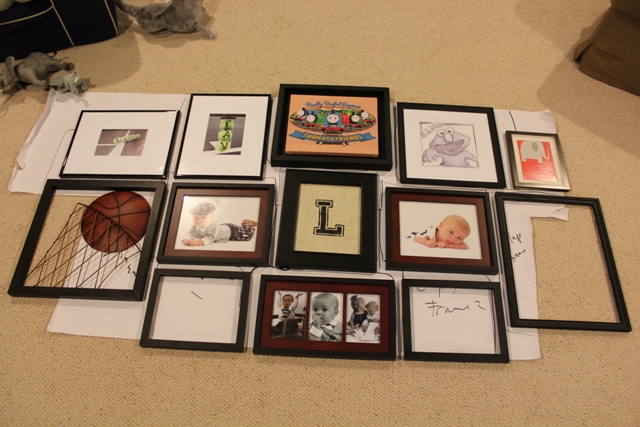
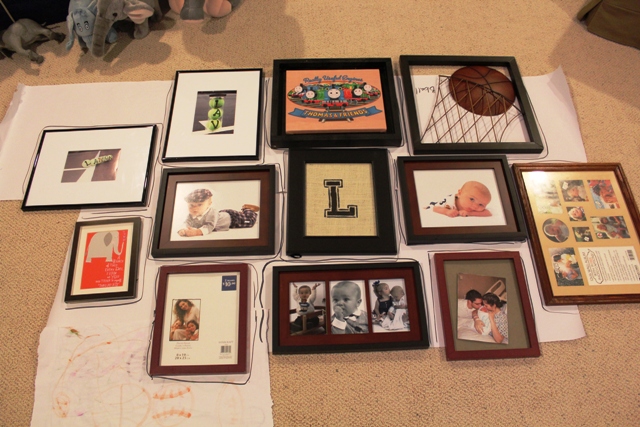
As shown in the previous post, here is the final layout I came up with:

Once we were ready to hang the frames (which we ended up doing before filling them with pictures because of the silly printer), we carefully measured for the center of the wall and hung the top, center item first. We did this not only because it marked the center of the collage and of the wall, but also because it allowed me to decide how high I wanted the collage to sit. Based on the collage’s measurements that I took while it was set out on the floor, I knew how far down and across it would span once this top, center piece was placed. From there we continued to hang frames, first going down the wall and then going out. Before long the collage was complete:

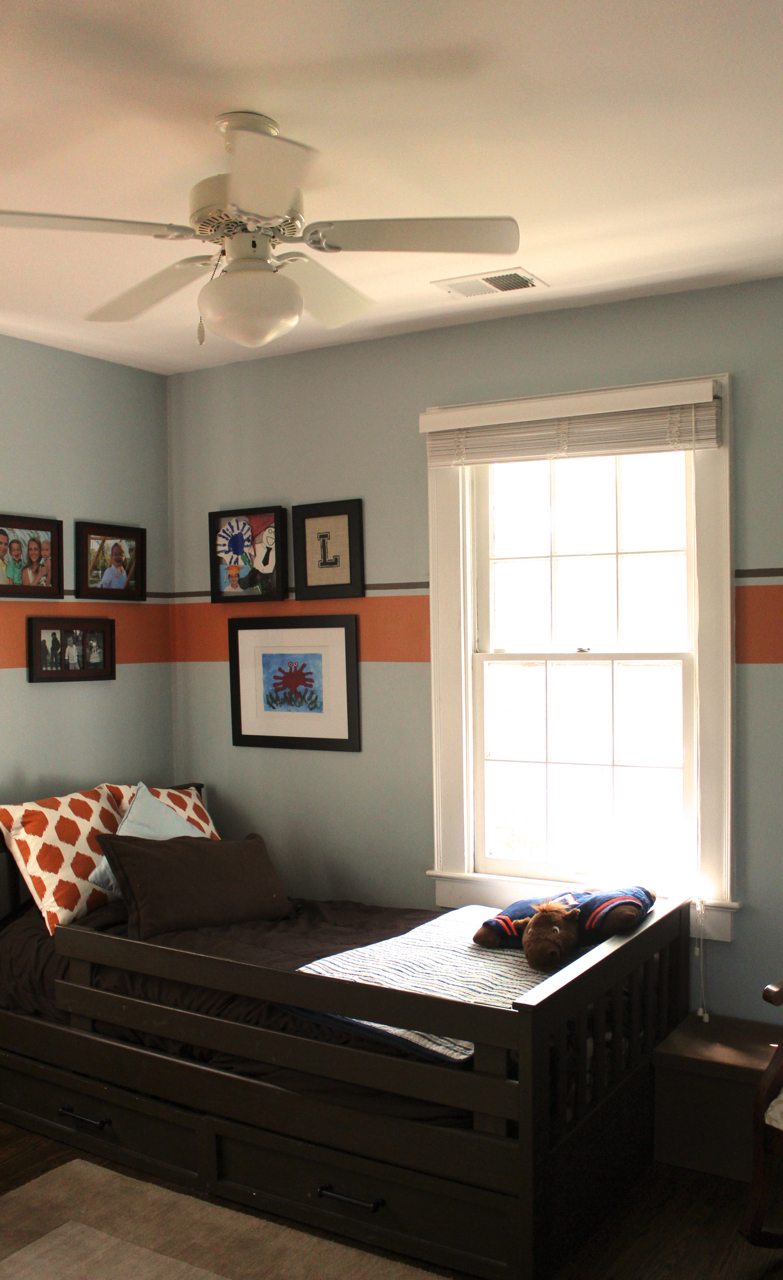
Turned out great!
Looks Great Steph! It’s ready for his big boy bed!! 🙂